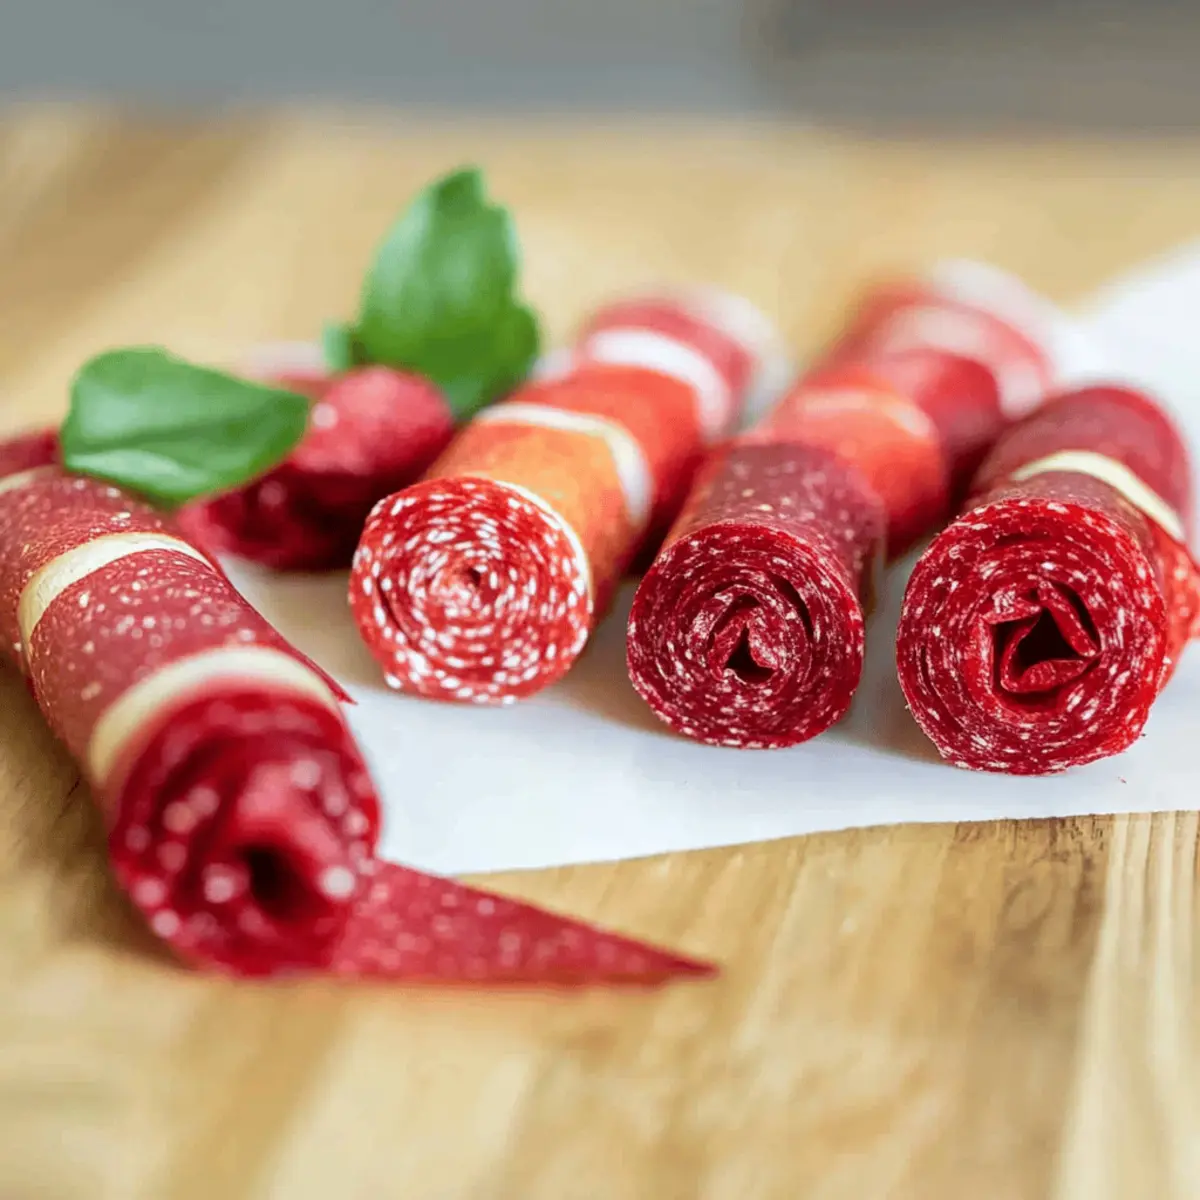
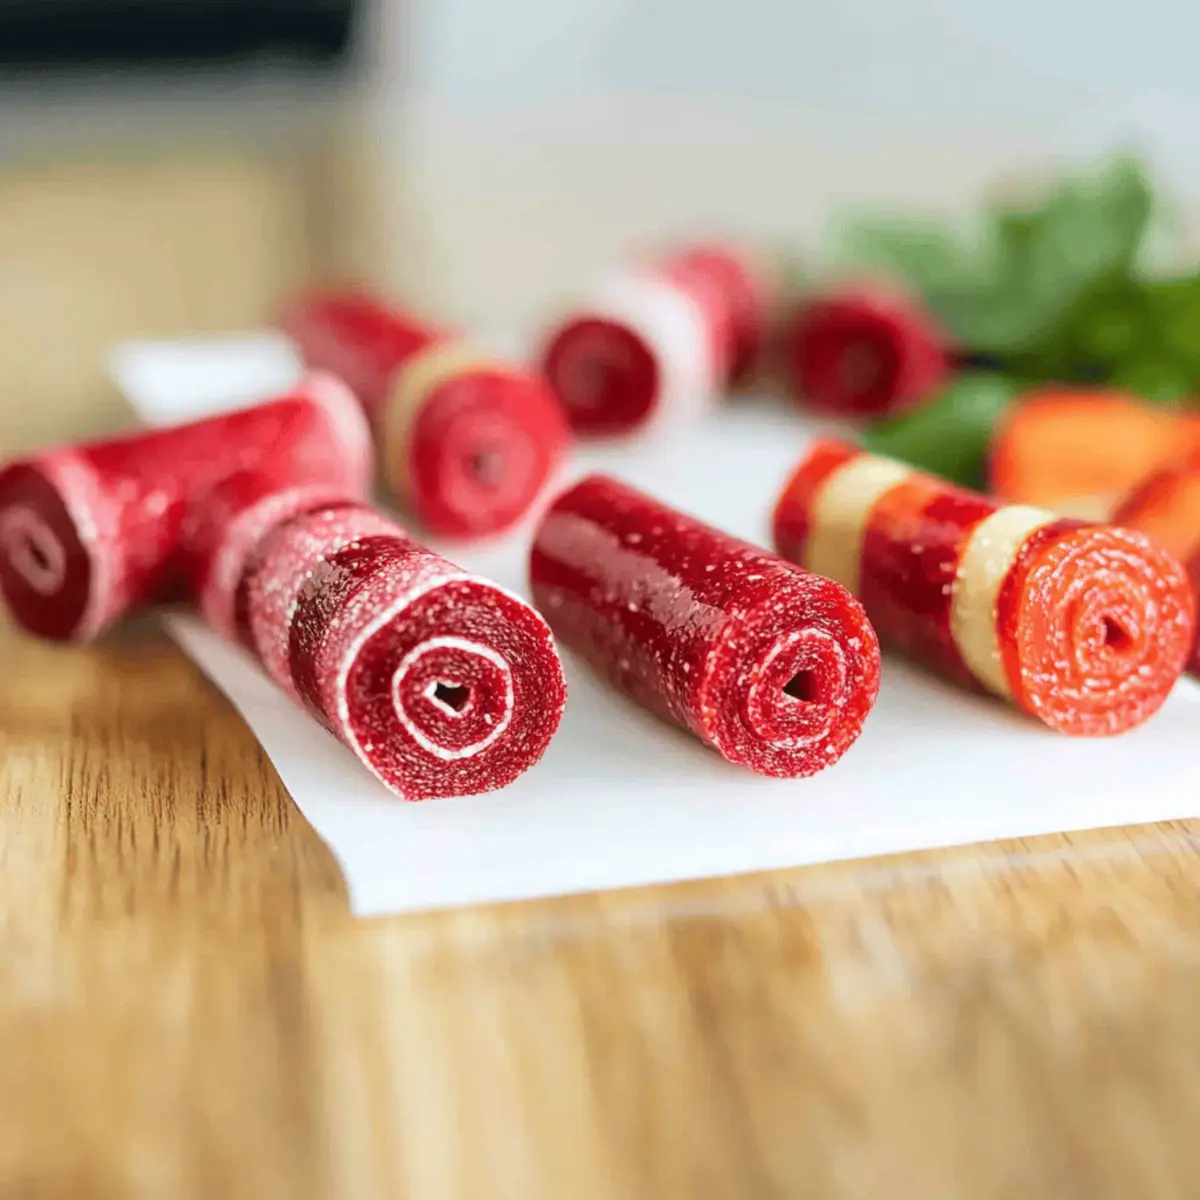
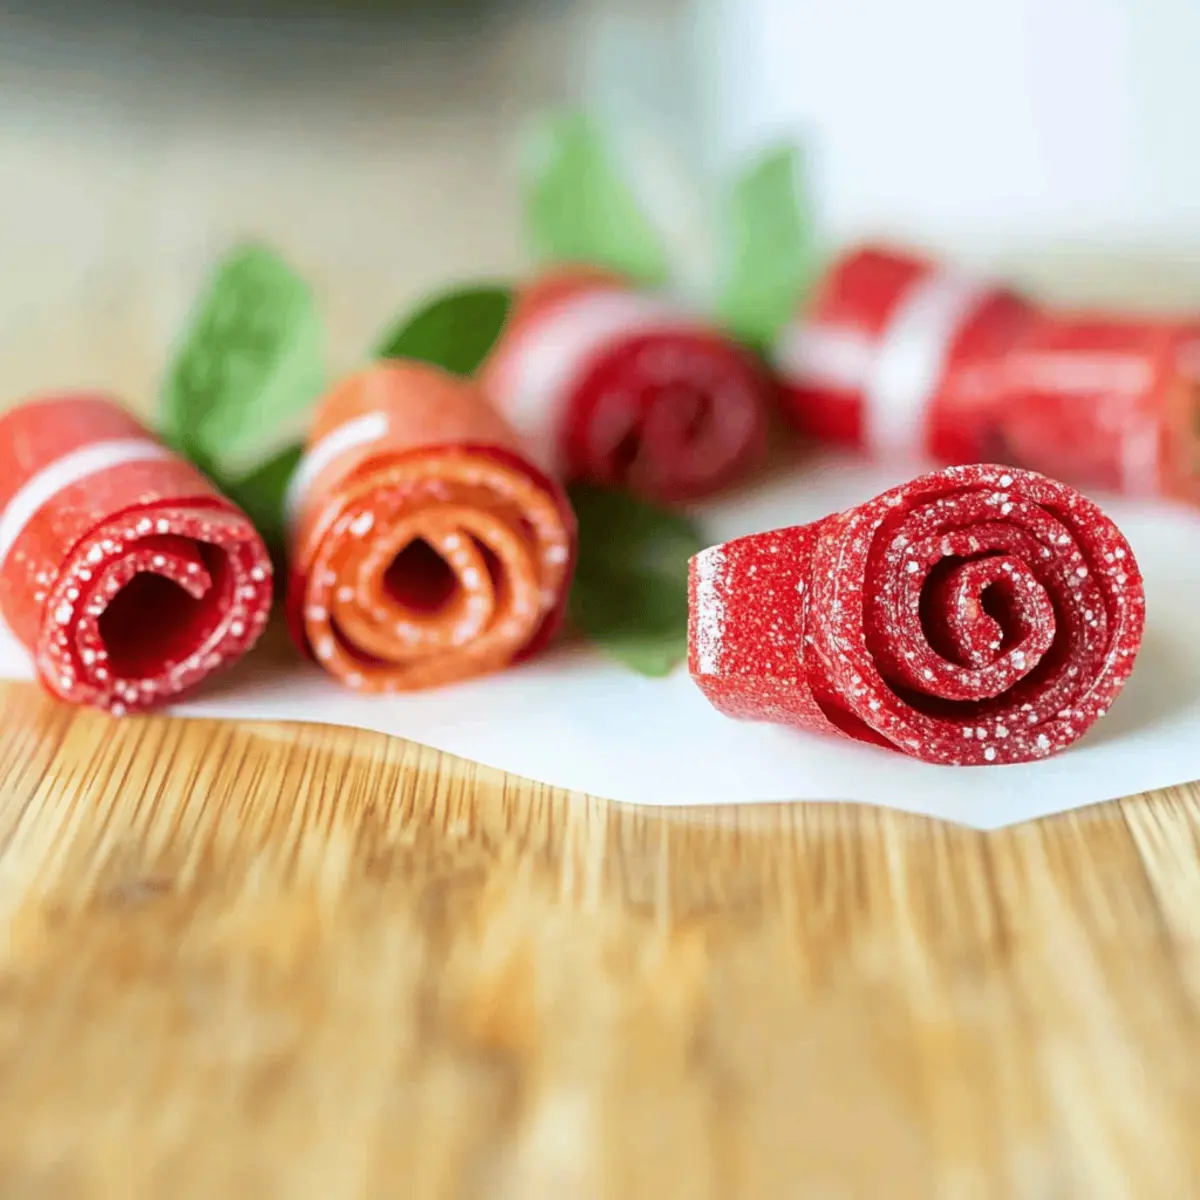
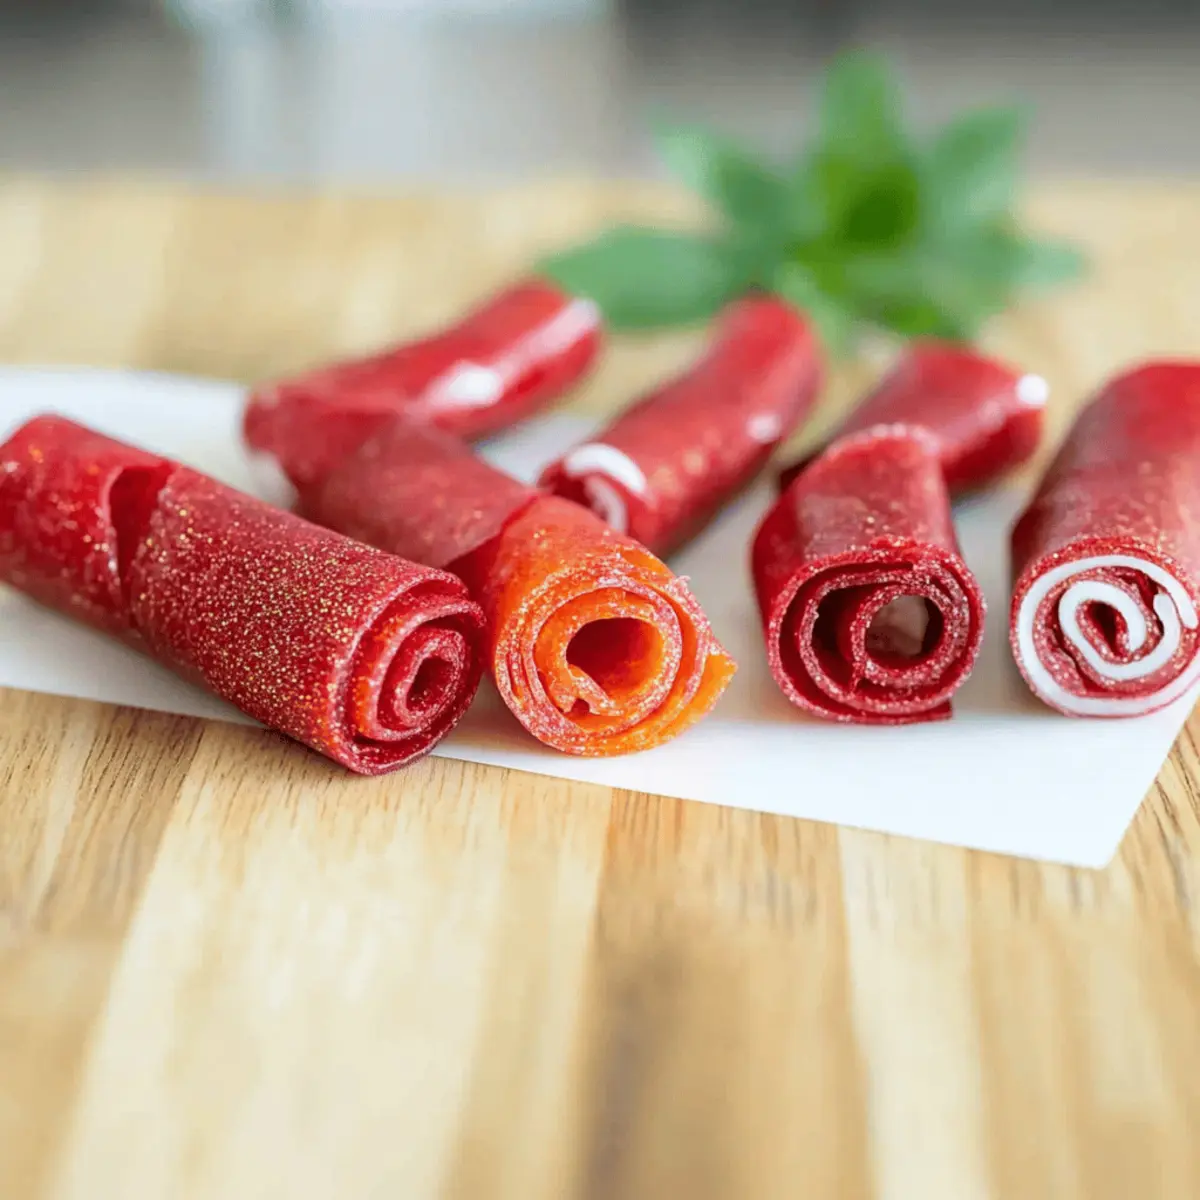
The kitchen was filled with the sweet scent of sun-ripened fruits as I whipped up a batch of my favorite treat: homemade Fruit Roll-Ups. With just three simple ingredients, these chewy snacks not only satisfy cravings but also make healthy eating feel like a treat. Whether you want a midday pick-me-up or a lunchbox surprise, these roll-ups are a perfect fusion of convenience and wholesome goodness. No added sugars, just the natural sweetness from your choice of fruits, creating a guilt-free indulgence everyone will love. Plus, the best part? You can customize them with your favorite flavors—from tropical pineapple and mango to a berry medley of cherries and blueberries. Are you ready to transform your kitchen into a fruity paradise? Let’s dive in!

Why Are These Fruit Roll-Ups So Special?
Simplicity: Made with just three ingredients, these rolls are a breeze to whip up, even for beginner cooks.
Flavorful Variety: Customize your fruit roll-ups by mixing and matching different fruits, making each batch a unique delight!
Healthy Indulgence: With no added sugars, you can relish every bite guilt-free, perfect for kids and adults alike.
Perfect Snack: Ideal for lunchboxes or on-the-go munching, they satisfy sweet cravings while keeping things wholesome.
Meal Prep Friendly: Make a big batch and store them for weeks, ensuring you always have a healthy snack on hand! For more easy snack ideas, check out my Cinnamon Roll Overnight or Basil Beef Rolls recipes!
Fruit Roll-Ups Ingredients
For the Base Mixture
- Fruit – Fresh or thawed frozen fruit adds natural sweetness and flavor, making these fruit roll-ups deliciously healthy.
- Honey – A natural sweetener that enhances flavor; substitute with agave syrup or a sugar alternative for a vegan option.
- Lemon Juice – Not only brightens the flavor but also preserves the vibrant color of the fruit; it can be omitted if desired.
Optional Flavoring
- Spices – Try adding some cinnamon or nutmeg for an exciting twist to your fruit roll-ups without any added sugars!
These simple ingredients come together to create delightful fruit roll-ups that will charm your taste buds!
Step‑by‑Step Instructions for Fruit Roll Ups
Step 1: Blend the Base Mixture
Begin by washing and preparing your choice of fresh or thawed frozen fruit. In a blender or food processor, combine the fruit, a drizzle of honey, and a splash of lemon juice. Blend on high until the mixture is completely smooth, scraping down the sides as needed. You want a creamy consistency, similar to applesauce. Adjust sweetness if necessary, then move on to the next step.
Step 2: Prepare the Baking Pan
Line a baking pan with parchment paper to prevent sticking and make cleanup a breeze. Pour the blended fruit mixture into the pan, smoothing it out with a spatula to an even thickness of about ⅛ to ¼ inch. Ensure the layer is uniform; this will help it dry evenly and become delicious fruit roll-ups. Once the mixture is set, you’re ready for the next step.
Step 3: Dehydrate in the Oven
Preheat your oven to the lowest setting, typically between 140°F to 170°F (60°C to 75°C). Place the baking pan in the oven and let it dehydrate for 4 to 6 hours. Check periodically; the fruit roll-ups are ready when the center is no longer tacky and feels firm to the touch. If the edges dry out faster, consider rotating the pan for even drying.
Step 4: Cool and Slice
Once dried, remove the pan from the oven and allow it to cool completely at room temperature. This step is important to set the texture. After cooling, trim the edges for a neat appearance, then use kitchen scissors to cut the fruit leather into 1-inch wide strips. Roll each strip tightly for easy snacking. Your homemade fruit roll-ups are now ready to enjoy!

Fruit Roll Ups: Fun Variations!
Let your creativity shine in the kitchen by customizing your fruit roll-ups with these delightful variations!
-
Tropical Twist: Combine pineapple and mango for a refreshing flavor burst that transports you to a sunny beach.
Tropical fruits offer a sweet, tangy flavor combination, perfect for summer snacking or a fun twist all year round. -
Berry Medley: Mix cherries, blueberries, and raspberries for a colorful and antioxidant-rich treat.
This delightful blend not only looks beautiful but also packs in the nutrients, making it a perfect healthy snack! -
Spiced Up: Add a dash of cinnamon or ginger for a warm, comforting flavor enhancement.
These spices elevate the taste profile, offering a cozy feel that pairs beautifully with the sweetness of the fruit. -
Citrus Zing: Experiment with different citrus fruits like oranges or tangerines for a zesty flavor kick.
Citrus can brighten the roll-ups and add a refreshing citrusy punch that’s incredibly revitalizing! -
Nutty Crunch: Stir in finely chopped nuts like almonds or walnuts for added texture and healthy fats.
This little twist gives your fruit roll-ups a satisfying crunch, transforming them into a hearty snack! -
Green Goodness: Blend in some spinach or kale with your fruit for an extra health boost.
You can’t taste the greens, but you’ll reap all their health benefits while enjoying a sweet treat. -
Chili Kick: For those who enjoy a little heat, sprinkle some chili powder into the mix.
This unexpected twist adds a nice zing, balancing the sweetness with a spicy surprise that wakes up your taste buds!
Feeling inspired? You can always check out Mari Korean Rolled for another exciting way to think outside the box in your kitchen, or add some savory surprise with Ham Cheese Rolls.
What to Serve with Healthy Homemade Fruit Roll-Ups
Nothing enhances the experience of these delightful snacks like pairing them with foods that complement their vibrant flavors.
- Nut Butter Dip: A creamy peanut or almond butter dip adds protein and richness, making your fruit roll-ups even more satisfying.
- Yogurt Parfait: Layer your fruit roll-ups with yogurt and granola for a delicious parfait, perfect for breakfast or a healthy dessert.
- Cheese Cubes: Pairing with mild cheese, like mozzarella or gouda, creates a delicious sweet-savory contrast that will surprise your taste buds.
- Fresh Fruit Salad: A bright, refreshing fruit salad can enhance the fruit flavors, making every bite a burst of sweetness and freshness.
- Smoothie Bowl: Serve your fruit roll-ups alongside a smoothie bowl for a nutritious breakfast option that is visually appealing and incredibly tasty.
- Trail Mix: Create a snack mix with nuts, seeds, and dark chocolate to accompany your roll-ups, adding crunch and indulgence to your healthy treat.
These pairings not only elevate the enjoyment of your homemade fruit roll-ups but also ensure a well-rounded and delightful snacking experience!
Expert Tips for Fruit Roll-Ups
- Check Thickness: Ensure the fruit mixture is spread evenly on the baking pan, about ⅛ to ¼ inch thick, for consistent drying.
- Moisture Control: Regularly check the roll-ups to prevent over-drying. They should be firm yet slightly tacky when done.
- Avoid Canned Fruit Pitfalls: If using canned fruit, be sure to drain and dry thoroughly to prevent excess moisture and achieve perfect fruit roll-ups.
- Flavor Enhancements: Don’t hesitate to experiment with spices like cinnamon or ginger to elevate the taste of your fruit roll-ups!
- Storage Solutions: Keep your fruit roll-ups in an airtight container in the fridge for up to 2 weeks or freeze for extended freshness.
Make Ahead Options
These Healthy Homemade Fruit Roll-Ups are perfect for busy cooks looking to simplify meal prep! You can blend your fruit mixture and refrigerate it for up to 24 hours before spreading it on the baking pan. Ensure it’s covered tightly to maintain freshness and prevent browning. Additionally, once the fruit roll-ups are dehydrated and cooled, they can be stored in an airtight container in the fridge for up to 2 weeks or frozen for up to 3 months. When you’re ready to enjoy them, just slice, roll, and pack them as a healthy snack for school or work—homemade goodness that keeps pace with your busy life!
Storage Tips for Fruit Roll-Ups
Fridge: Store your homemade fruit roll-ups in an airtight container in the fridge for up to 2 weeks to maintain freshness and flavor.
Freezer: For longer storage, freeze the fruit roll-ups wrapped in parchment paper inside an airtight container or freezer bag for up to 3 months.
Thawing: When ready to enjoy, simply thaw frozen fruit roll-ups in the refrigerator overnight for the best texture and taste.
Avoid Moisture: Make sure the roll-ups are fully dried before storing to prevent any unwanted moisture and ensure a chewy bite every time!

Healthy Homemade Fruit Roll-Ups Recipe FAQs
What type of fruit works best for these roll-ups?
Absolutely! You can use any fruit that you love or have on hand. Fresh or thawed frozen fruit like strawberries, bananas, mangoes, or berries work beautifully. Just make sure they are ripe and sweet for the best flavor!
How should I store my homemade fruit roll-ups?
Store your fruit roll-ups in an airtight container in the fridge for up to 2 weeks. If you want to keep them longer, they can be frozen for up to 3 months. For freezing, wrap each roll-up in parchment paper and place them in a freezer-safe bag or container.
Can I freeze the fruit roll-ups, and how do I do it?
Yes, indeed! Freezing is a great option for preserving your fruit roll-ups. After ensuring they are completely dried and cool, cut them into strips, wrap each strip in parchment paper, and then place them in a freezer-safe container or bag. They can be stored this way for up to 3 months. To serve, simply thaw them in the refrigerator overnight for the best texture!
What should I do if the fruit mixture is too thick?
If your fruit mixture seems too thick when about to spread, feel free to add a splash of water or additional lemon juice to thin it out. A thicker mixture may not dry evenly, so aim for a creamy consistency that’s easy to pour and spread, about ⅛ to ¼ inch in thickness on your baking pan.
Are there any dietary concerns I should consider?
While these fruit roll-ups are a healthy snack, be mindful of allergies. If making for someone with allergies, avoid using any fruits or sweeteners that could cause reactions. For vegan options, substitute honey with agave syrup or any sweetener of choice. Also, ensure to watch out for potential citrus allergies if using lemon juice.
Can pets eat these fruit roll-ups?
While the ingredients in homemade fruit roll-ups are generally safe for pets, it’s crucial to ensure there are no added sweeteners or ingredients that could be toxic. Fruits like apples and bananas are safe in moderation, but it’s always best to check with your vet before giving any human food to pets.

Delicious Fruit Roll Ups: 3-Ingredient Healthy Snack Magic
Ingredients
Equipment
Method
- Wash and prepare your choice of fresh or thawed frozen fruit. In a blender, combine the fruit, honey, and lemon juice. Blend until smooth.
- Line a baking pan with parchment paper. Pour the blended mixture into the pan, smoothing it out to about ⅛ to ¼ inch thick.
- Preheat your oven to the lowest setting (140°F to 170°F). Place the baking pan in the oven and dehydrate for 4 to 6 hours.
- Allow the fruit roll-ups to cool completely before trimming and slicing into strips. Roll them up tightly for snacking.

Leave a Reply