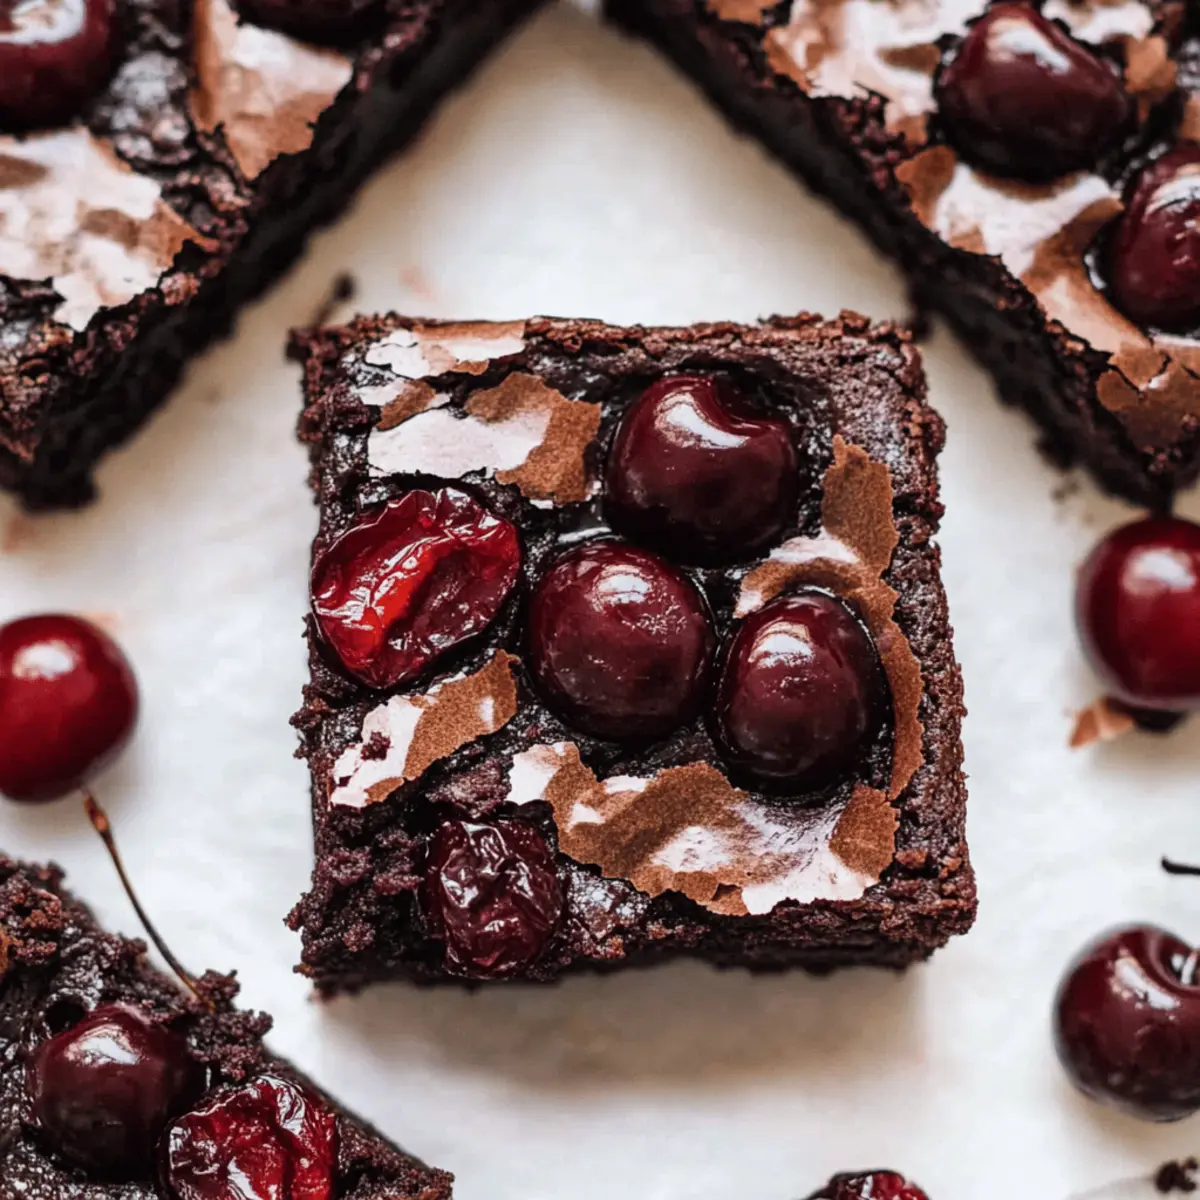
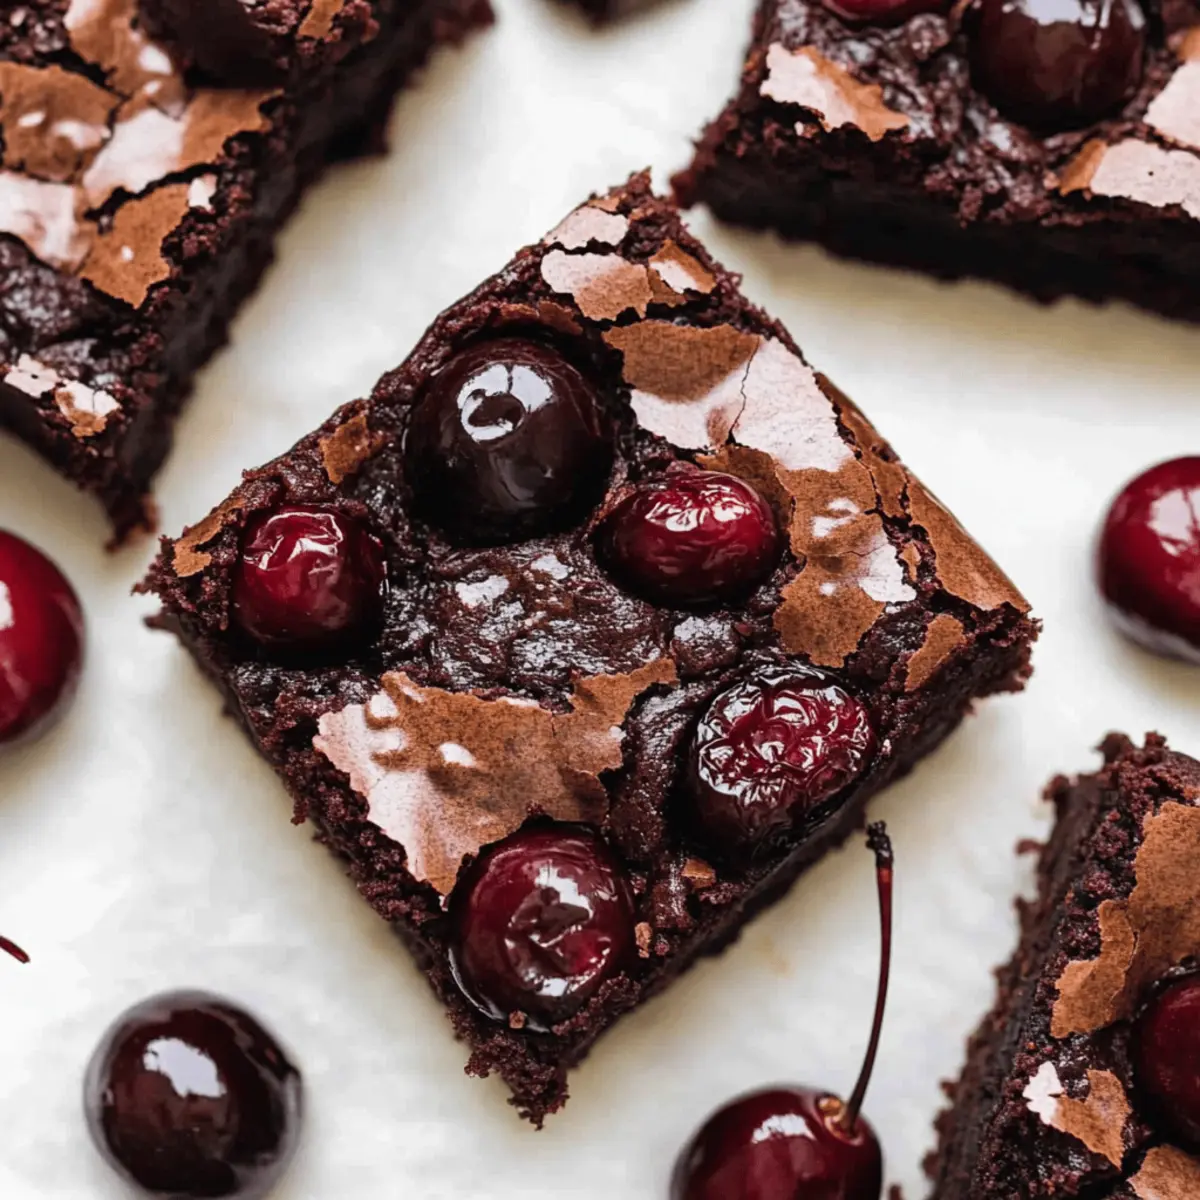
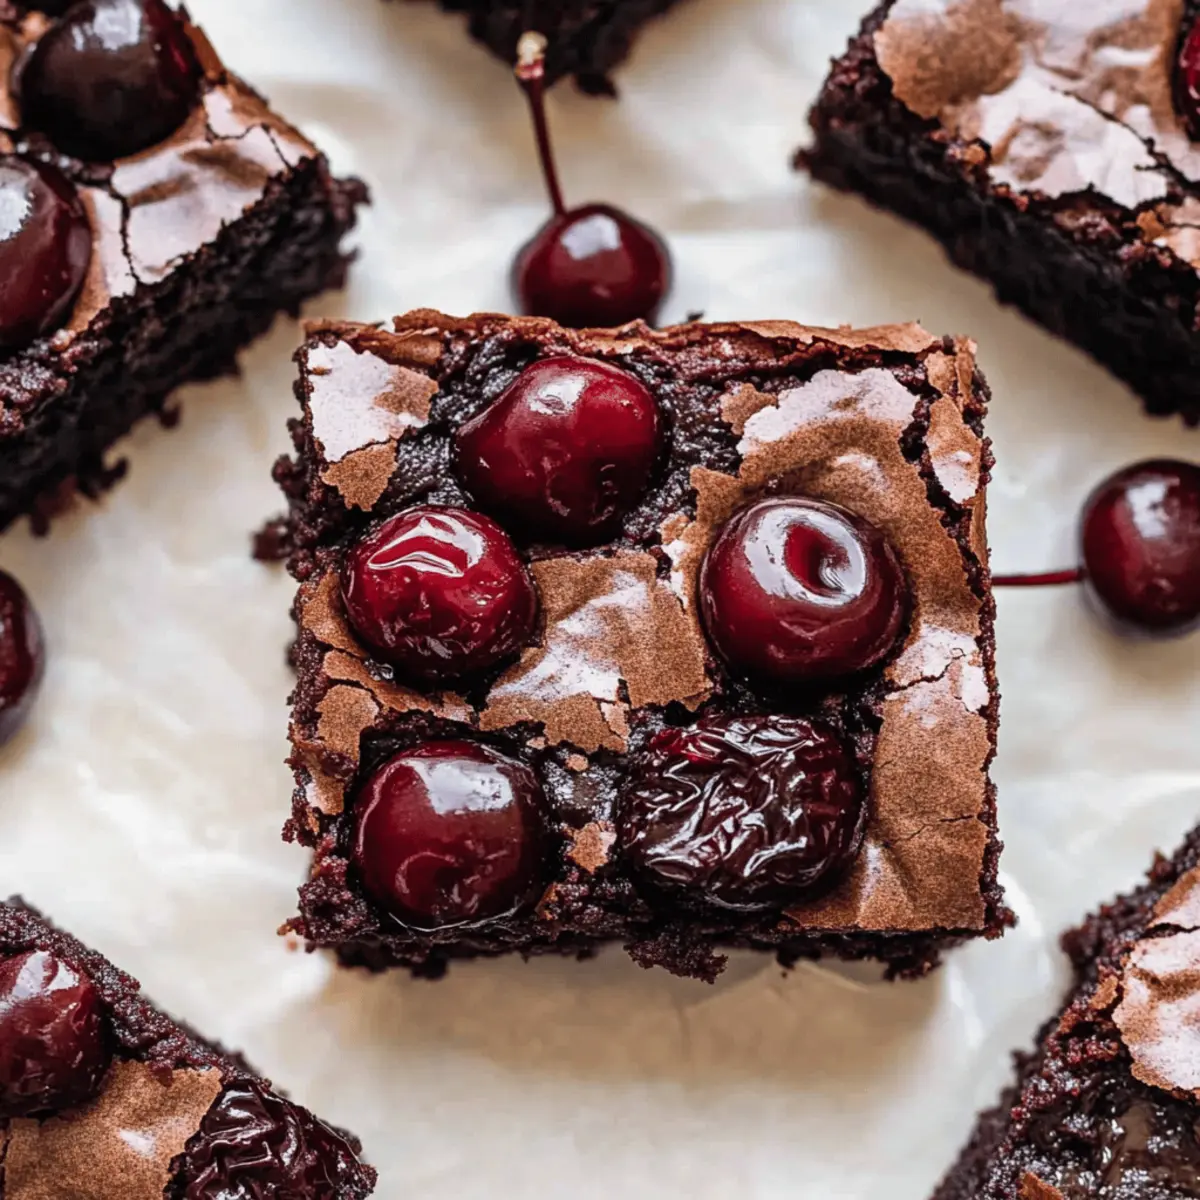
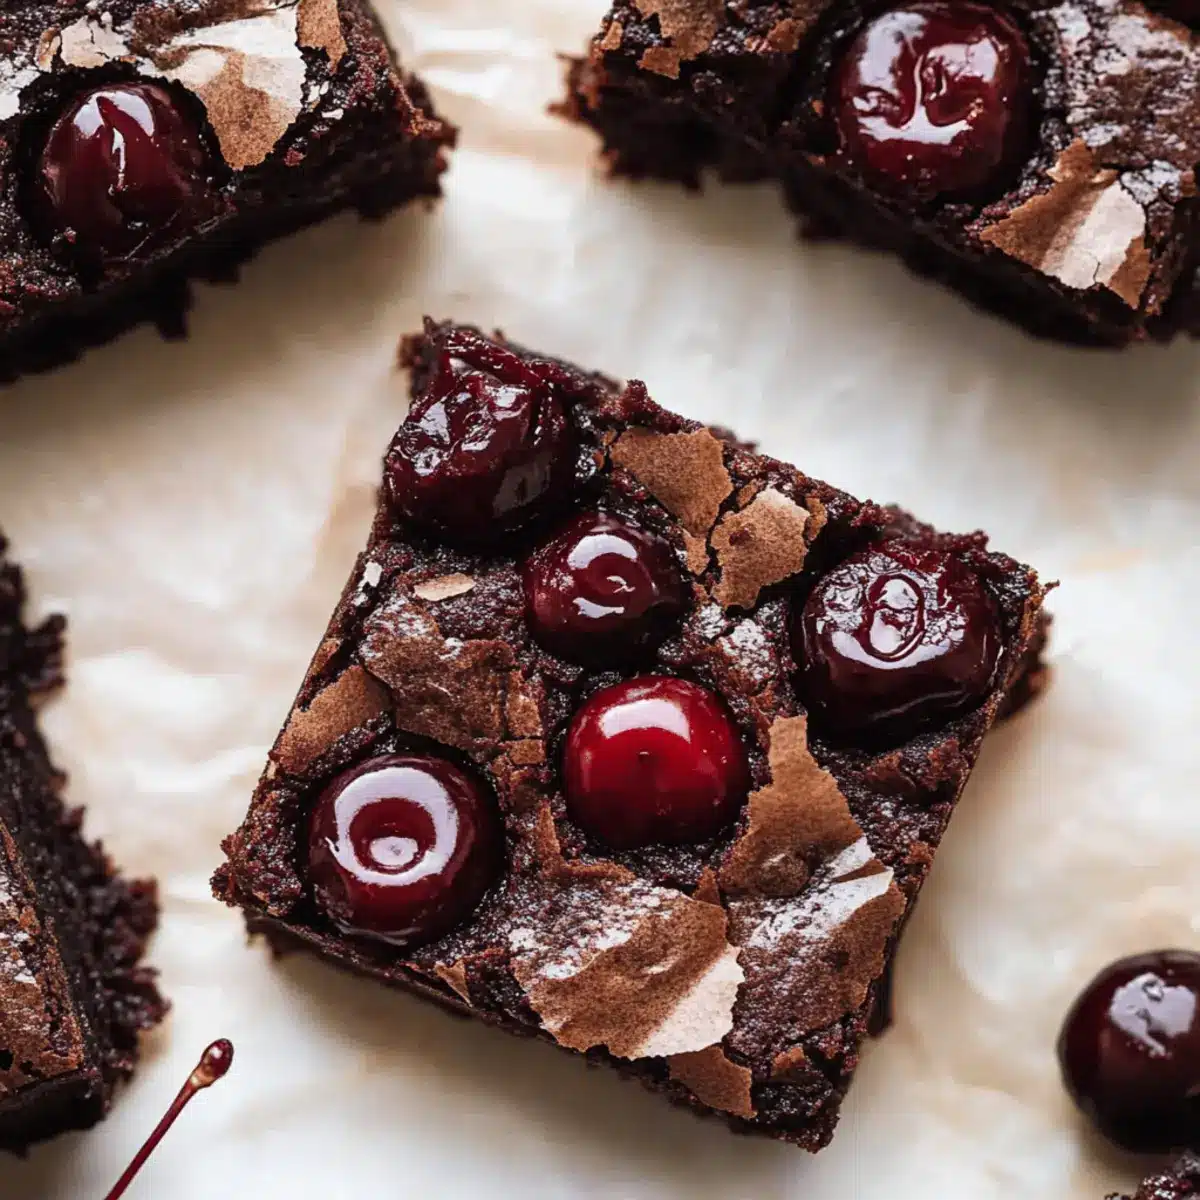
As I stood in my kitchen, the rich scent of chocolate wafted through the air, dancing with the sweet aroma of roasted cherries. That’s when I realized it was time to whip up a batch of my beloved Roasted Chocolate Cherry Brownies. These fudgy creations are not only indulgently delicious but also surprisingly simple to make, transforming your kitchen into a cozy haven. The best part? They’re perfect for impressing friends or sharing a sweet moment with a loved one on Valentine’s Day! Each delightful bite combines the deep richness of chocolate with the luscious tang of cherries, creating an unforgettable dessert experience. Whether you’re a seasoned home chef or just seeking a break from fast food, this chocolate cherry dessert will surely delight your taste buds. Ready to dive into the world of homemade decadence? Let’s bake these brownies and spread some joy!

Why are these brownies irresistible?
Fudgy Perfection: Each brownie is packed with a rich, fudgy texture that melts in your mouth, thanks to the combination of butter, eggs, and Dutch cocoa.
Roasted Cherry Delight: The luscious roasted cherries add a burst of flavor, balancing the deep chocolate richness perfectly.
Quick and Easy: With simple ingredients and straightforward steps, these brownies come together effortlessly—ideal for busy home cooks!
Versatile Treat: Perfect for various occasions, they make a delightful addition to your Valentine’s Day celebrations or cozy family nights in.
Crowd-Pleaser: Share them with friends or family, and watch faces light up at the first bite—no one can resist this chocolate cherry duo!
Serving Suggestion: Pair with a scoop of vanilla ice cream or a dollop of whipped cream for an extra special touch. Enjoy!
Roasted Chocolate Cherry Brownies Ingredients
• Get ready to indulge in the flavors!
For the Brownie Batter
- Cherries – Fresh or frozen, roasted cherries give a sweet, tangy burst of flavor.
- Sugar – Essential for sweetness and moisture; don’t skip it for that fudgy texture!
- Eggs – Bind the ingredients and help create that beautiful crinkly top.
- Egg Yolk – Adds richness and moisture, contributing to an even fudgier brownie.
- Unsalted Butter – Provides rich flavor and moisture; can swap for margarine or coconut oil.
- Oil – Keeps brownies moist; can use canola, vegetable, or olive oil.
- Vanilla Extract – Pure extract enhances flavor; it’s worth it for the depth.
- All-Purpose Flour – Essential for structure; skip the gluten-free alternatives for this recipe.
- Dutch Process Cocoa Powder – Brings out a rich chocolate flavor; substitutes might change the taste.
- Cornstarch – Creates tenderness, contributing to that fudgy texture.
- Salt – Balances the sweetness; don’t leave it out!
- Semi-Sweet Chocolate Chips – Adds extra chocolate flavor; milk chocolate works for a sweeter treat.
For Topping
- Reserved Roasted Cherries – Use the cherries you roasted earlier to top your brownies for added flavor and aesthetic!
Now that you have all the ingredients ready, it’s time to dive into the wonderful world of making your own Roasted Chocolate Cherry Brownies!
Step‑by‑Step Instructions for Roasted Chocolate Cherry Brownies
Step 1: Preheat and Roast Cherries
Begin by preheating your oven to 400°F (200°C). Line a baking sheet with parchment paper and spread the halved cherries evenly. Sprinkle a touch of sugar over them to enhance their natural sweetness. Roast the cherries in the preheated oven for about 10 minutes, until they become tender and fragrant, releasing their lovely juices.
Step 2: Prepare the Baking Pan
After roasting, lower the oven temperature to 325°F (163°C). Take an 8×8 inch baking pan and generously grease it with cooking spray. Then, line the bottom and sides with parchment paper, leaving some overhang for easy removal. This preparation ensures your fudgy brownies come out perfectly, without sticking to the pan.
Step 3: Mix Dry Ingredients
In a large mixing bowl, sift together the all-purpose flour, Dutch process cocoa powder, cornstarch, and salt. This combines the dry ingredients and adds air for a lighter texture. The flour gives structure, while cocoa adds that rich flavor crucial for these Roasted Chocolate Cherry Brownies. Set this bowl aside, as you’ll incorporate these dry ingredients shortly.
Step 4: Whip Sugar and Eggs
In another mixing bowl, use an electric mixer to whip the sugar, eggs, and egg yolk on high speed for about 5 minutes. You want the mixture to become pale and fluffy, which helps create a beautiful crinkly top on your brownies. This step is essential for achieving that luscious, fudgy texture in the final product.
Step 5: Combine Wet Ingredients
Once your sugar and egg mixture is fluffy, reduce the mixer speed to low and add in the melted unsalted butter, oil, and vanilla extract. Mix until well combined. The addition of these wet ingredients contributes to the richness and moisture of your roasted chocolate cherry brownies, creating that decadent mouthfeel you crave.
Step 6: Fold in Dry Ingredients
Gradually add the dry mixture to the wet ingredients, folding carefully with a spatula. Avoid overmixing; you want to maintain that airy texture. Once combined, gently stir in the roasted cherries and semi-sweet chocolate chips. This step ensures that the brownies are dotted with sweet bursts of flavor throughout each bite.
Step 7: Bake the Brownies
Pour the brownie batter into your prepared baking pan, smoothing the top with a spatula if needed. Place the pan in the oven and bake at 325°F (163°C) for 40-50 minutes. Keep an eye on the edges—they should be set and slightly pulling away from the sides, while the center may still look slightly underdone, guaranteeing a fudgy finish.
Step 8: Cool and Serve
Once baked, remove the brownies from the oven and allow them to cool in the pan. For easier slicing, freeze the pan for about 15 minutes. When ready, use the parchment overhang to lift the brownies out of the pan. Top with the reserved roasted cherries for added flavor and presentation. Slice into squares and get ready to savor these delightful roasted chocolate cherry brownies!

Expert Tips for Roasted Chocolate Cherry Brownies
-
Beat the Eggs Well: Make sure to whip the sugar, eggs, and egg yolk for a full 5 minutes until pale. This step creates the airy texture you want in fudgy brownies.
-
Avoid Moisture Issues: Add roasted cherries to the batter only after baking. This prevents excess liquid from making your brownies too soggy.
-
Cool Properly: Allow brownies to cool before slicing to maintain their structure. They may continue to cook slightly while cooling, ensuring the perfect fudgy texture.
-
Quality Ingredients: Use high-quality Dutch cocoa for the best flavor. It really makes a difference in the richness of the roasted chocolate cherry brownies.
-
Check for Doneness: Keep an eye on your brownies while baking. They should appear set around the edges but may look slightly underdone in the center for that ideal fudgy consistency.
How to Store and Freeze Roasted Chocolate Cherry Brownies
Room Temperature: Store brownies in an airtight container at room temperature for up to 3-4 days. Make sure they are completely cooled before sealing to maintain freshness.
Fridge: If you prefer a firmer texture, you can keep them in the fridge for up to a week. Just be sure to wrap them tightly to prevent drying out.
Freezer: For longer storage, freeze the brownies in an airtight container or freezer bag for up to 30 days. Thaw completely at room temperature before serving for the best texture.
Reheating: To enjoy them warm, reheat individual brownies in the microwave for about 10-15 seconds. This enhances the melted chocolate chips and brings back that fresh-baked goodness!
What to Serve with Roasted Chocolate Cherry Brownies
As you savor each bite of these decadent brownies, you’ll want to complement their rich chocolate and fruity flavors with delightful pairings.
-
Vanilla Ice Cream: The classic combination of warm brownies and cold ice cream creates a creamy contrast that enhances the chocolate and cherries.
-
Whipped Cream: A dollop of freshly whipped cream adds a light, airy texture that perfectly balances the dense fudginess of the brownies.
-
Fresh Berries: Serve with a mix of raspberries and strawberries for a burst of freshness. Their tartness cuts through the sweetness, making every bite refreshing.
-
Espresso or Coffee: A bold cup of espresso brings out the deep chocolate flavors, creating an indulgent pairing that coffee lovers will appreciate.
-
Chocolate Drizzle: Drizzling melted chocolate over each brownie amplifies the rich flavors and brings a touch of elegance, perfect for serving at special occasions.
-
Mint Tea: For a soothing touch, a cup of mint tea complements the chocolate cherry brownies delightfully, cleansing the palate between bites and adding a refreshing note.
Indulging in these pairings will lift your brownie experience to new heights, making your dessert not just a treat, but a celebration!
Roasted Chocolate Cherry Brownies Variations
Go ahead and unleash your creativity—there’s no need to stick to the original recipe!
-
Nutty Addition: Swap out half the cherries for chopped walnuts or pecans for a delightful crunch that adds an earthy flavor.
-
Mixed Chocolates: Blend dark and semi-sweet chocolate chips to create more complexity in flavor; the contrast will really elevate each bite.
-
Berry Blast: Replace cherries with fresh raspberries or strawberries for a vibrant, fruity twist that brightens the brownies and makes them pop.
-
Spiced Up: Add a pinch of cayenne or chili powder for a surprising kick; the heat beautifully contrasts with the sweetness of the chocolate.
-
Coconut Twist: Mix in shredded coconut for a tropical flair; the chewy texture complements the fudginess in every mouthful.
-
Minty Fresh: Infuse a drop of mint extract into the batter for an unexpected mint-chocolate delight; just a hint takes you straight to paradise.
-
Gluten-Free Option: Use a 1:1 gluten-free blend instead of all-purpose flour, ensuring everyone can enjoy these delicious brownies.
-
Fudge Brownie Base: For a deeper chocolate experience, replace half the cocoa powder with an equal amount of chocolate syrup to intensify the fudginess.
Don’t forget, these variations can make each batch unique—feel free to experiment and share the delicious results! If you’re looking for even more flavor inspiration, consider pairing these brownies with a scoop of vanilla ice cream for that irresistible contrast of warm and cold—a delightful detail that enhances your dessert experience.
Make Ahead Options
These Roasted Chocolate Cherry Brownies are perfect for busy home cooks looking to save time in the kitchen! You can prepare the brownie batter up to 24 hours in advance—simply mix the ingredients as instructed and cover the bowl tightly with plastic wrap, refrigerating to maintain freshness. The roasted cherries can also be made ahead; just roast them and store in an airtight container in the fridge for up to 3 days. When you’re ready to bake, stir in the chilled cherries into the batter, transfer to the prepared pan, and bake as directed. This way, you’ll enjoy delicious brownies with minimal effort, perfect for any occasion!

Roasted Chocolate Cherry Brownies Recipe FAQs
How do I choose the best cherries for the brownies?
Absolutely! Fresh, ripe cherries will provide the sweetest flavor. Look for cherries that are firm and glossy, avoiding any with dark spots or squishy textures. If fresh cherries are out of season, frozen cherries are a fabulous substitute; just be sure to thaw and drain them well to reduce excess moisture in your brownies.
How should I store my brownies, and how long will they last?
You can store your roasted chocolate cherry brownies in an airtight container at room temperature for up to 3-4 days. Make sure to let them cool completely before sealing them to keep them fresh and delicious. For a longer shelf life, these brownies can last up to a week in the fridge, and freezing is another great option—just keep them in an airtight container or freezer bag for up to 30 days.
Can I freeze my brownies, and how do I do it?
Yes, indeed! To freeze your roasted chocolate cherry brownies, first ensure they are completely cooled. Next, slice them into squares, and then place them in a single layer on a baking sheet lined with parchment paper. Freeze them for about an hour, and then transfer the squares to a tight-sealing container or freezer bag. This way, they will maintain their shape and stay delicious for up to 30 days.
What should I do if my brownies turn out too cakey?
If your brownies come out too cakey, it’s possible that they were overmixed or baked too long. Make sure to mix just until the ingredients are combined, and check for doneness a few minutes before the recommended time—baking until the edges are set while leaving the center slightly underdone helps achieve that fudgy texture.
Are these brownies suitable for families with allergies?
If anyone in your family has allergies, be mindful of ingredients. The primary allergens in this recipe are eggs, dairy (from the butter), and gluten (from flour). You could substitute with egg replacements, dairy-free butter, or gluten-free flour, but keep in mind that these changes may affect the final texture and taste of your brownies. Always double-check labels for potential cross-contamination with allergens.
Can I adjust the sweetness of these brownies?
While you can experiment with the sugar in this recipe, I recommend not reducing it too much, as sugar not only sweetens the brownies but also contributes to their fudgy texture. If you prefer a less sweet brownie, consider using bittersweet or dark chocolate chips in place of semi-sweet chips, which can help balance out the overall sweetness.

Decadent Roasted Chocolate Cherry Brownies for Sweet Moments
Ingredients
Equipment
Method
- Preheat your oven to 400°F (200°C). Line a baking sheet with parchment paper and spread the halved cherries evenly. Sprinkle a touch of sugar and roast for about 10 minutes.
- Lower the oven temperature to 325°F (163°C). Grease an 8x8 inch baking pan and line it with parchment paper.
- In a mixing bowl, sift together the all-purpose flour, Dutch cocoa, cornstarch, and salt.
- In another bowl, whip the sugar, eggs, and egg yolk on high speed for about 5 minutes until fluffy.
- Reduce mixer speed to low and add melted butter, oil, and vanilla extract. Mix until well combined.
- Gradually fold the dry mixture into the wet ingredients, then gently stir in the roasted cherries and chocolate chips.
- Pour batter into the prepared baking pan and bake at 325°F (163°C) for 40-50 minutes until edges are set.
- Remove from oven and let cool in the pan for 15 minutes, then lift out using parchment overhang. Top with reserved roasted cherries.

Leave a Reply