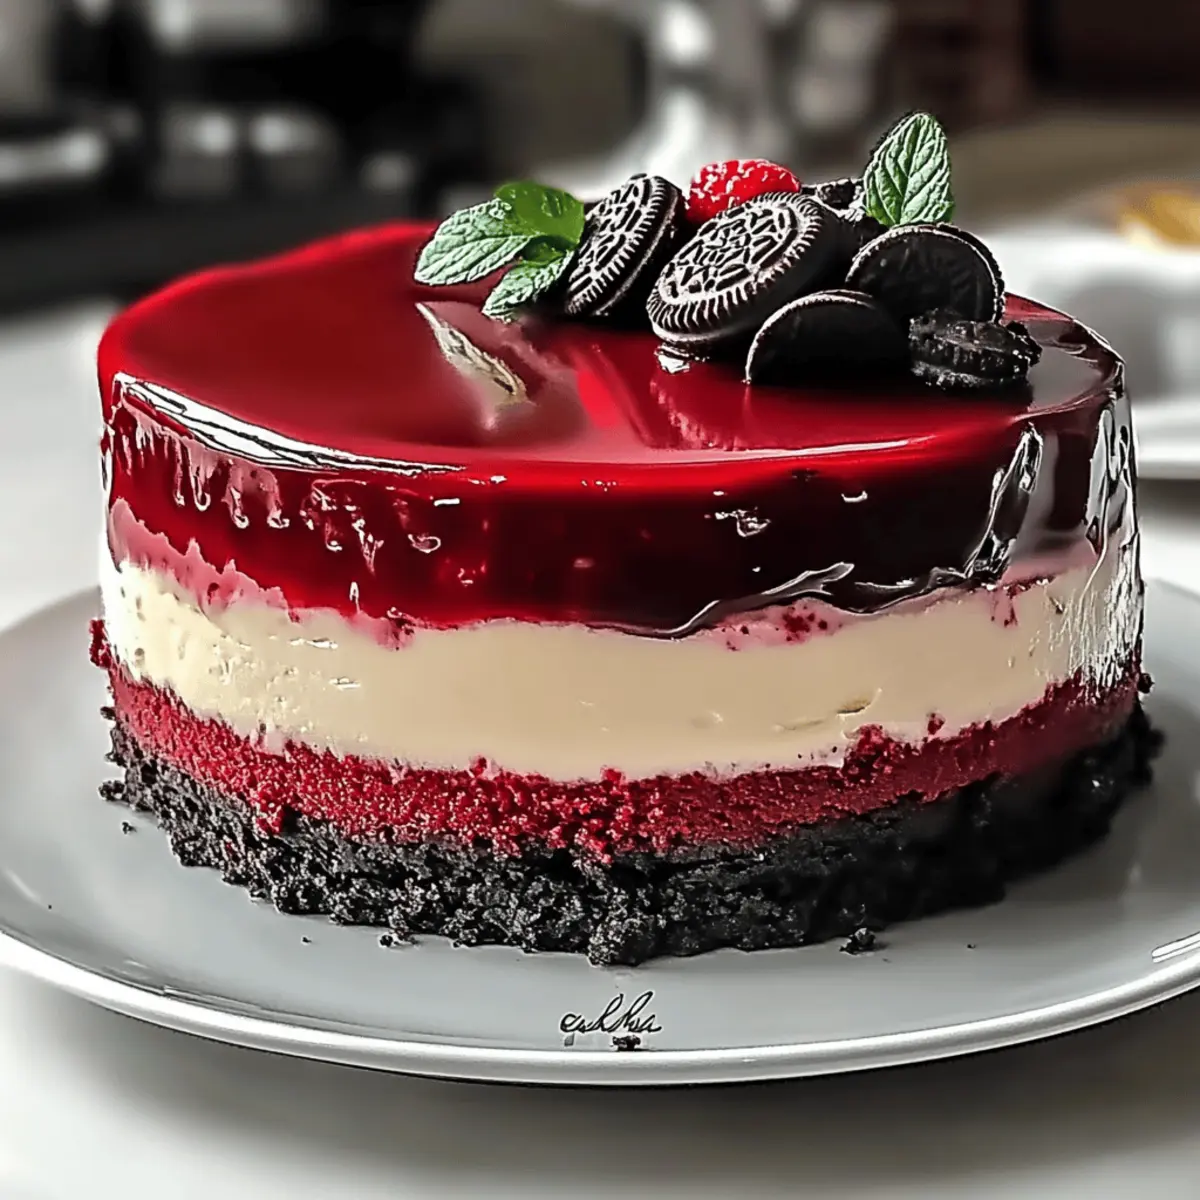
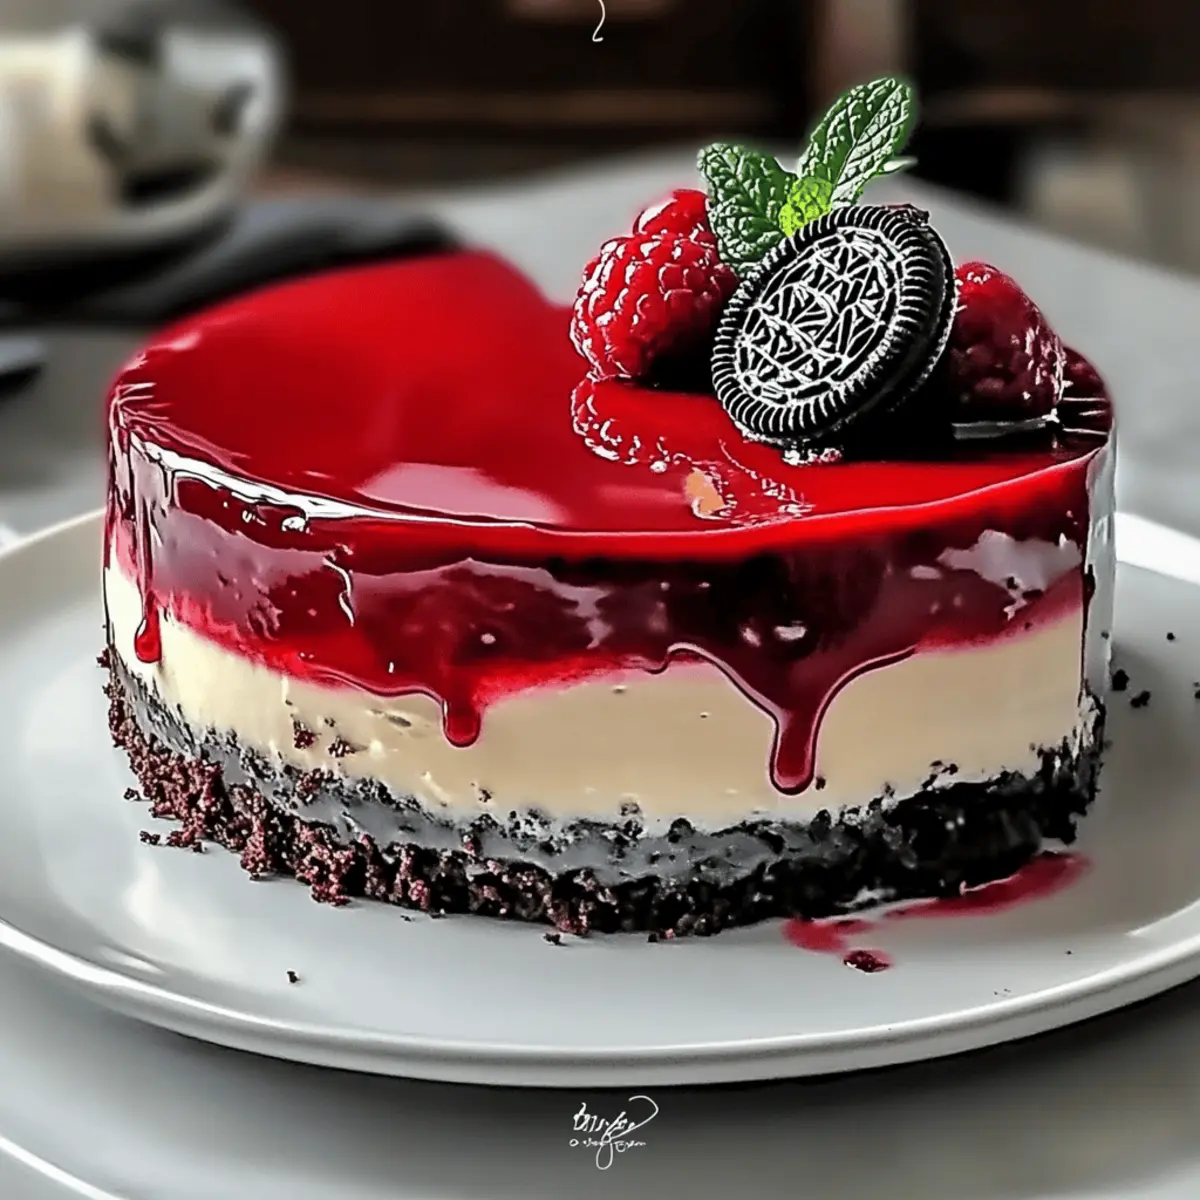
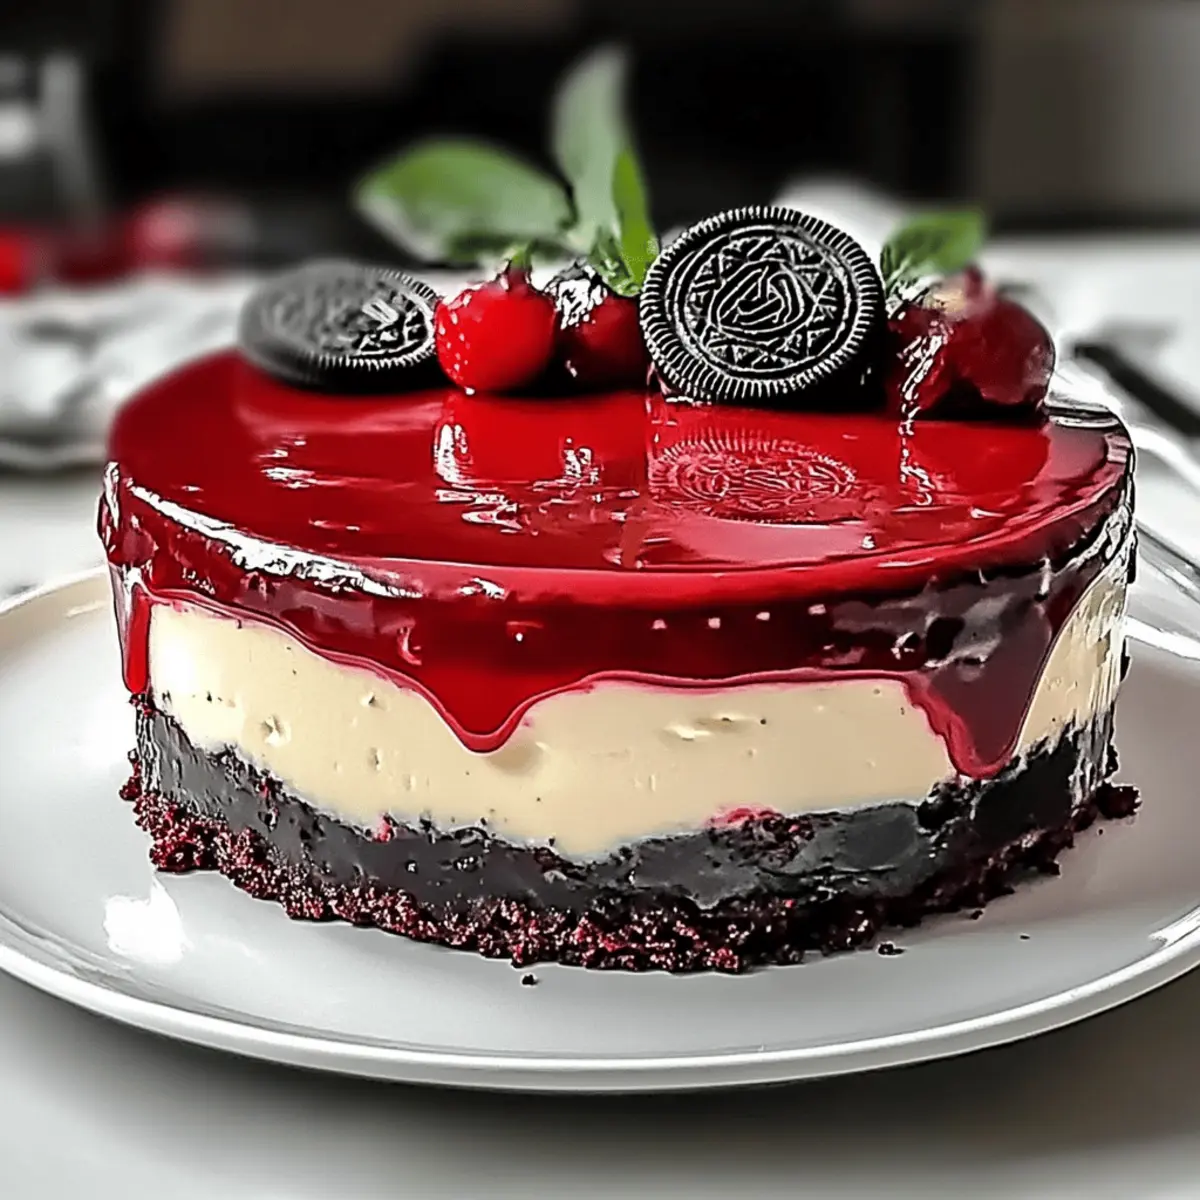
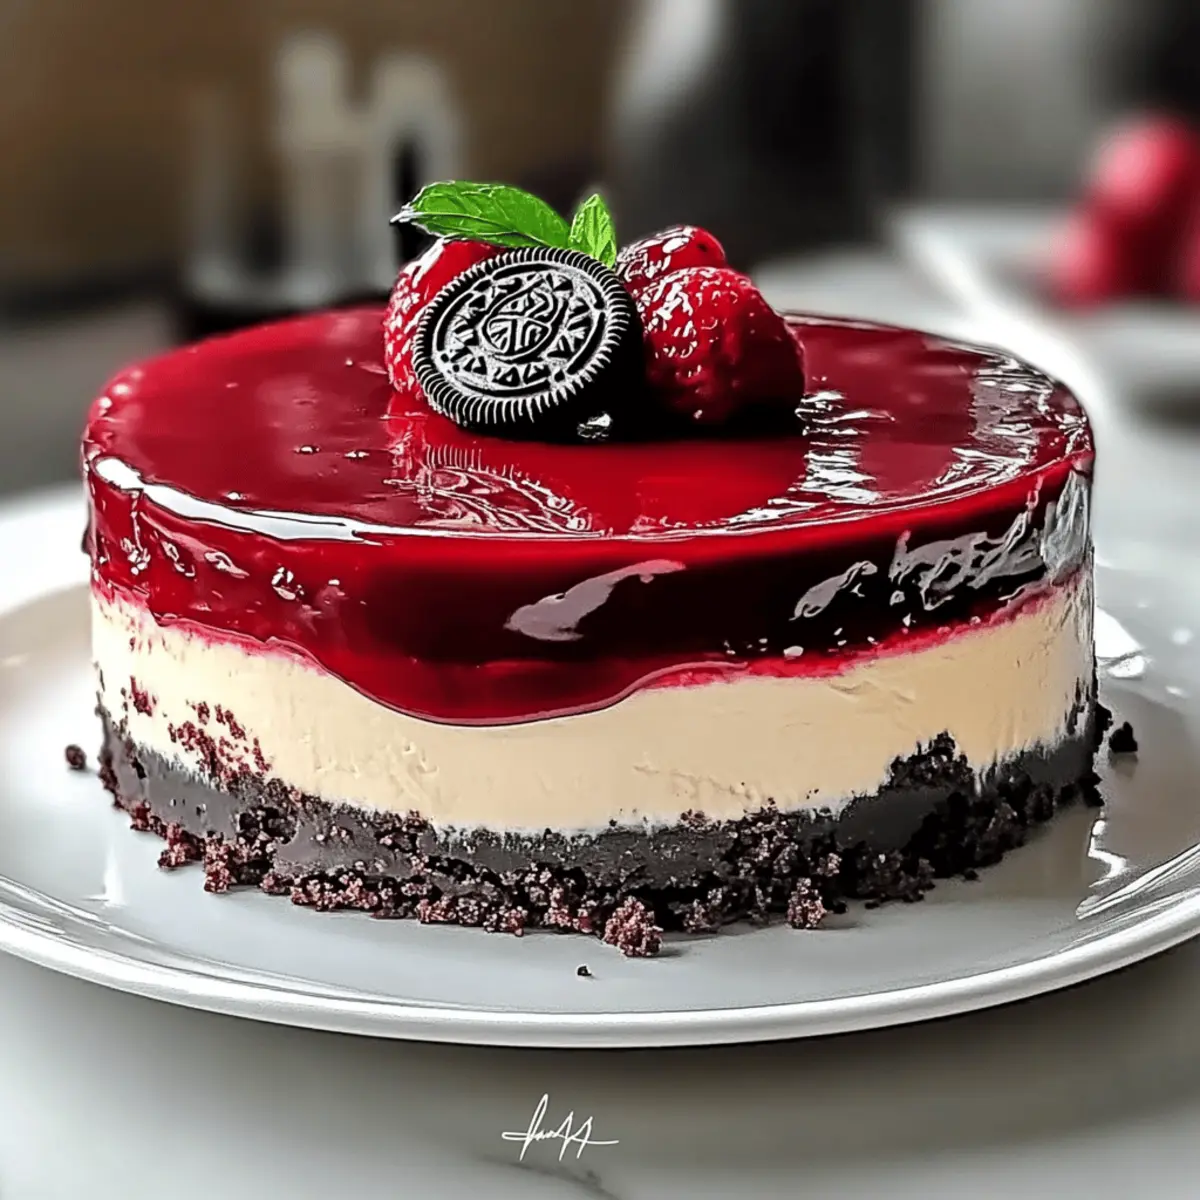
The kitchen echoed with laughter and the clinking of spoons as my friends and I navigated the world of desserts, but it was the stunning Red Velvet Cheesecake that stole the show. This layered beauty pairs the iconic richness of red velvet with a creamy Oreo-infused cheesecake filling, making it an irresistible addition to any gathering. Not only does this recipe dazzle with its vibrant hues, but it also comes with the convenience of a gluten-free option, ensuring everyone can enjoy a slice of joy. Whether you’re celebrating a special occasion or simply satisfying a sweet craving, this dessert promises to be a delightful centerpiece. So, what are you waiting for? Let’s dive into the delightful world of this Red Velvet Cheesecake together!

Why is Red Velvet Cheesecake a Must-Try?
Indulgence at Its Finest: This Red Velvet Cheesecake is a showstopper that seamlessly marries two beloved desserts, delighting your taste buds with every bite.
Gluten-Free Option: No one is left out; simply swap flour for a gluten-free blend and enjoy!
Visually Stunning: The vibrant red layers create a jaw-dropping centerpiece for your table.
Creamy and Flavorful: The Oreo filling infuses each slice with rich flavor and a smooth texture.
Perfect for Celebrations: From birthdays to brunches, this dessert is sure to impress your guests and elevate any occasion. For more delicious cheesecake inspiration, check out our Mini Chocolate Cheesecake Bites and Red Velvet Strawberry Cheesecake!
Red Velvet Cheesecake Ingredients
• Here’s everything you need to create this luscious dessert!
For the Cake
- All-Purpose Flour – Provides structure; substitute with a gluten-free flour blend for a gluten-free version.
- Cocoa Powder – Adds chocolate flavor and depth to the cake.
- Salt – Enhances overall flavor and balances sweetness.
- Butter – Contributes richness and moisture; use unsalted for better control over salt.
- Granulated Sugar – Sweetens the cake, aiding in the perfect texture.
- Sour Cream – Adds tanginess and moisture for a tender cake.
- Vegetable Oil – Keeps the cake moist and tender.
- Vanilla Extract – Enhances flavor profile and complements other ingredients.
- Eggs – Provide binding and structure; use room temperature for better mixing.
- Red Food Coloring – Gives the cake its iconic red hue.
- Buttermilk – Adds moisture and acidity for a tender crumb.
- Baking Soda & Vinegar – Work together as leavening agents for a light, fluffy cake.
For the Cheesecake Filling
- Oreos – Crushed for flavor and texture in the cheesecake filling.
- Cream Cheese – The creamy base; use full-fat for best results.
- Cornstarch – Stabilizes the filling to prevent cracking.
- Granulated Sugar – Sweetens the cheesecake filling.
- Sour Cream – Adds creaminess and a subtle tang.
- Vanilla Extract – Enhances overall flavor.
- Eggs – Essential for binding; ensure they’re at room temperature for optimal mixing.
For the Ganache
- Heavy Cream – Used to create a rich ganache, adding luxurious texture.
- Dark Chocolate Chips – Forms the ganache, delivering rich chocolate flavor.
Step‑by‑Step Instructions for Irresistible Red Velvet Cheesecake with Oreo Delight
Step 1: Preheat and Prepare
Preheat your oven to 350°F (175°C) while you prepare your baking pans. Line a 9-inch springform pan and an 8-inch round cake pan with parchment paper and coat with non-stick spray to ensure easy release after baking. This preparation is crucial for your layers of Red Velvet Cheesecake to come out perfectly.
Step 2: Mix Dry Ingredients
In a medium mixing bowl, whisk together 2 cups of all-purpose flour, ½ cup of cocoa powder, and ½ teaspoon of salt. This mixture will create a balanced foundation for your cake. Make sure there are no lumps in the cocoa powder, as this will help achieve the lovely texture of your Red Velvet Cheesecake.
Step 3: Cream Butter and Sugar
In a large mixing bowl, cream together 1 cup of unsalted butter and 2 cups of granulated sugar using an electric mixer on medium speed until the mixture is fluffy and light in color, about 3-4 minutes. Next, blend in 1 cup of sour cream, ½ cup of vegetable oil, 1 tablespoon of vanilla extract, 2 large eggs, and 2 tablespoons of red food coloring until fully incorporated.
Step 4: Combine Wet and Dry Ingredients
Gradually add the dry ingredients to your creamy mixture while alternating with 1 cup of buttermilk. Mix on low speed until just combined to avoid overmixing, then gently fold in 1 teaspoon of baking soda and 1 teaspoon of vinegar, which will help your layers rise beautifully while baking.
Step 5: Bake Red Velvet Layers
Divide the batter evenly between the prepared pans and smooth the tops with a spatula. Place them in the preheated oven and bake for 18-20 minutes, or until a toothpick inserted into the centers comes out clean. Allow the cakes to cool in the pans for about 10 minutes before transferring them to a wire rack to cool completely.
Step 6: Prepare the Cheesecake Filling
For the cheesecake filling, crush 1 ½ cups of Oreos into fine crumbs. In a mixing bowl, beat 16 ounces of cream cheese until smooth, then add the crushed Oreos, ¾ cup of granulated sugar, 2 tablespoons of cornstarch, ½ cup of sour cream, 1 teaspoon of vanilla extract, and 2 large room-temperature eggs. Mix until creamy and fully combined, ensuring to scrape down the sides of the bowl.
Step 7: Assemble Cheesecake
Once the red velvet layers are completely cooled, place one layer at the bottom of the 9-inch springform pan. Pour the cheesecake filling over it, smoothing the top. Layer the second red velvet cake on top of the filling. This stacking creates the harmonious blend of flavors that make this Red Velvet Cheesecake so delightful.
Step 8: Bake the Cheesecake
To prevent cracking, set your springform pan inside a larger baking dish and fill it with hot water to create a water bath. Bake the cheesecake at 300°F (150°C) for 90 minutes. Turn off the oven, crack the door open slightly, and allow the cheesecake to cool gradually in the oven for about an hour before transferring it to the fridge overnight.
Step 9: Make the Ganache
The next day, create the ganache by microwaving 1 cup of heavy cream until it’s just simmering. Remove from the microwave and add 1 ½ cups of dark chocolate chips, stirring until completely melted and smooth. This rich ganache will add a luxurious finish to your Red Velvet Cheesecake.
Step 10: Finish and Serve
Pour the chocolate ganache evenly over the cooled cheesecake, letting it drip down the sides for a beautiful presentation. For a fun touch, decorate the top with crumbled pieces of the red velvet cake and dollops of cream cheese frosting. Slice and serve this irresistible Red Velvet Cheesecake chilled and watch your guests savor each indulgent bite!

Red Velvet Cheesecake Variations
Feel free to customize your Red Velvet Cheesecake and take it to new heights of deliciousness. Let your creativity flow!
-
Gluten-Free: Substitute all-purpose flour with a gluten-free flour blend, allowing everyone to indulge without worry.
-
Vegan: For a plant-based option, swap cream cheese and heavy cream with dairy-free alternatives to create a luscious vegan cheesecake.
-
Cookie Swap: Use different sandwich cookies in place of Oreos—think of golden Oreos or peanut butter varieties for a fun twist.
-
Chocolate Lover’s Delight: Add chocolate chips to the cheesecake filling for an extra layer of chocolate flavor. This simple addition can elevate your dessert experience.
-
Nutty Crunch: Fold in some finely chopped nuts, like pecans or walnuts, into the cheesecake filling for added texture and flavor.
-
Fruit Flavor Blast: Layer fresh or puree fruits like raspberries or strawberries between the red velvet layers for a fruity surprise.
-
Spice It Up: Add a dash of cinnamon or allspice to the cheesecake filling for a warm, fragrant twist that enhances the chocolate flavor.
-
Serve with a Twist: Try serving your cheesecake with a drizzle of fruit compote or a dollop of whipped cream, taking each bite to new, decadent levels.
If you want to explore other delightful cheesecake recipes, check out our Vegan Mango Cheesecake or Sugar Cookie Cheesecake for more inspiration!
How to Store and Freeze Red Velvet Cheesecake
- Room Temperature: Red Velvet Cheesecake should not be left out at room temperature for more than 2 hours to ensure freshness and prevent spoilage.
- Fridge: Store in the refrigerator for up to 5 days. Cover it loosely with plastic wrap or place it in an airtight container to keep the cheesecake moist.
- Freezer: For longer storage, wrap tightly in plastic wrap and aluminum foil, then freeze for up to 3 months. Ensure it’s well-sealed to prevent freezer burn.
- Reheating: To enjoy frozen cheesecake, thaw it overnight in the refrigerator before serving. This allows the texture to return to its creamy, indulgent state.
Tips for the Best Red Velvet Cheesecake
- Use Room Temperature Ingredients: Ensure eggs and cream cheese are at room temperature for the best mixing and texture in your Red Velvet Cheesecake.
- Avoid Overmixing: Mix just until incorporated to prevent air bubbles, which can lead to cracks in your cheesecake.
- Water Bath Magic: Always bake your cheesecake in a water bath to maintain moisture and ensure even baking, reducing the chance of cracks.
- Cool Gradually: Allow the cheesecake to cool in the oven with the door slightly ajar after baking to help prevent sudden temperature changes that cause cracks.
- Chill Overnight: Refrigerate your cheesecake overnight for enhanced flavor and the best texture before serving.
What to Serve with Irresistible Red Velvet Cheesecake with Oreo Delight
Elevate your dessert experience with delightful pairings that enhance the sumptuous layers of this breathtaking cheesecake.
-
Fresh Berries: Brightly colored strawberries or raspberries add a refreshing burst of flavor, balancing the richness of the cheesecake beautifully. Their natural sweetness complements the decadent layers, creating a delightful contrast.
-
Whipped Cream: Light and airy, a dollop of freshly whipped cream provides a creamy finish while allowing the cheesecake’s flavors to shine. Top each slice before serving for an extra touch of indulgence.
-
Chocolate Sauce: Drizzling warm chocolate sauce over your cheesecake adds an extra layer of chocolatey goodness. The richness of the sauce pairs perfectly with the creamy cheesecake and crunchy Oreos for a truly decadent dessert.
-
Coffee or Espresso: A robust cup of coffee or a shot of espresso enhances dessert time, cutting through the richness of the cheesecake. The bitter notes of coffee contrast well with the sweetness, creating a perfectly balanced pairing.
-
Vanilla Ice Cream: Creamy vanilla ice cream provides a classic, nostalgic twist that plays well with the red velvet flavors. The cool ice cream melting into the warm ganache creates a lovely textural experience in each bite.
-
Mint Leaves: Garnish each slice with fresh mint leaves for a pop of color and a refreshing herbaceous note. This adds an aromatic quality and sophistication to the presentation while enhancing the overall flavor profile.
-
Sparkling Water: For a refreshing drink option, serve sparkling water with a slice of lemon. Its effervescence cleanses the palate between bites, allowing for each taste to be savored fully.
-
Chocolate-Covered Strawberries: These indulgent treats not only look stunning but also bring an extra layer of excitement to your dessert spread. The fruity sweetness of strawberries encased in rich chocolate echoes the flavors of the cheesecake beautifully.
-
Caramel Sauce: A swirl of warm caramel adds a luscious sweetness that complements the other flavors, inviting your guests to indulge wholeheartedly. The gooey texture creates a mouth-watering experience with each bite of cheesecake.
Embrace the deliciousness that accompanies your Red Velvet Cheesecake and watch as your gathering becomes a sweet celebration!
Make Ahead Options
These Irresistible Red Velvet Cheesecakes are perfect for meal prep enthusiasts looking to save time on busy days! You can bake the red velvet layers up to 3 days in advance, storing them in an airtight container at room temperature to maintain their moisture. The cheesecake filling can be made up to 24 hours ahead; simply prepare it, cover, and refrigerate until you’re ready to assemble. When you’re set to serve, layer the cooled red velvet cakes with the cheesecake filling, bake in a water bath, and refrigerate overnight to ensure it’s just as delicious as fresh-baked! This preparation allows you to effortlessly impress guests with remarkable flavors and textures.

Red Velvet Cheesecake Recipe FAQs
How can I ensure my red velvet cake is moist and fluffy?
Absolutely! To maintain moisture and fluffiness in your red velvet cake, use room temperature ingredients, especially your eggs, butter, and buttermilk. Mixing your wet and dry ingredients alternately helps to keep the batter light. Avoid overmixing after adding the dry ingredients, as this can introduce air bubbles that may cause the cheesecake to crack during baking.
What’s the best way to store Red Velvet Cheesecake?
For the best storage, keep your Red Velvet Cheesecake in the refrigerator, where it can stay fresh for up to 5 days. It’s recommended to cover it loosely with plastic wrap or place it in an airtight container to prevent it from absorbing any odors and to maintain its moisture.
Can I freeze my Red Velvet Cheesecake?
Yes, you definitely can! To freeze your cheesecake, wrap it tightly in plastic wrap followed by aluminum foil to prevent freezer burn. You can store it in the freezer for up to 3 months. When you’re ready to enjoy it, thaw it overnight in the refrigerator before serving—this helps retain its creamy texture!
What if my cheesecake cracks while baking?
If you notice cracks in your cheesecake, don’t fret—it’s common! Make sure to always bake your cheesecake in a water bath; this provides a moist environment. Also, ensure your ingredients are at room temperature, and avoid overmixing. If cracks do form, you can simply cover them with ganache or whipped cream for a delicious disguise!
Are there any dietary considerations for this recipe?
Very! For a gluten-free option, just swap out all-purpose flour with a gluten-free flour blend. If you’re looking for a lower-calorie version or have dairy allergies, you can use dairy-free substitutes for cream cheese, heavy cream, and sour cream. Just keep in mind to maintain the same proportions for the best results!

Irresistible Red Velvet Cheesecake You Can't Resist
Ingredients
Equipment
Method
- Preheat your oven to 350°F (175°C) and prepare your baking pans by lining a 9-inch springform pan and an 8-inch round cake pan with parchment paper and coating with non-stick spray.
- In a medium bowl, whisk together 2 cups of all-purpose flour, ½ cup of cocoa powder, and ½ teaspoon of salt.
- In a large bowl, cream together 1 cup of unsalted butter and 2 cups of granulated sugar until fluffy, then blend in 1 cup of sour cream, ½ cup of vegetable oil, 1 tablespoon of vanilla extract, 2 eggs, and 2 tablespoons of red food coloring.
- Gradually add the dry ingredients to the creamy mixture alternating with 1 cup of buttermilk.until just combined, then fold in 1 teaspoon of baking soda and 1 teaspoon of vinegar.
- Divide the batter between the prepared pans and bake for 18-20 minutes until a toothpick comes out clean. Allow to cool.
- For the filling, crush 1 ½ cups of Oreos and beat 16 ounces of cream cheese until smooth, then mix in the Oreos, ¾ cup of sugar, 2 tablespoons of cornstarch, ½ cup of sour cream, 1 teaspoon of vanilla, and 2 eggs.
- Place one red velvet layer at the bottom of the springform pan, pour the cheesecake filling over it, then stack the second layer on top.
- Set the springform pan inside a larger dish, fill it with hot water, and bake at 300°F (150°C) for 90 minutes, then cool gradually in the oven.
- The next day, make the ganache by microwaving 1 cup of heavy cream and stirring in 1 ½ cups of dark chocolate chips until smooth.
- Pour the ganache over the cooled cheesecake, decorate with crumbs from the red velvet layer, slice, and serve chilled.

Leave a Reply