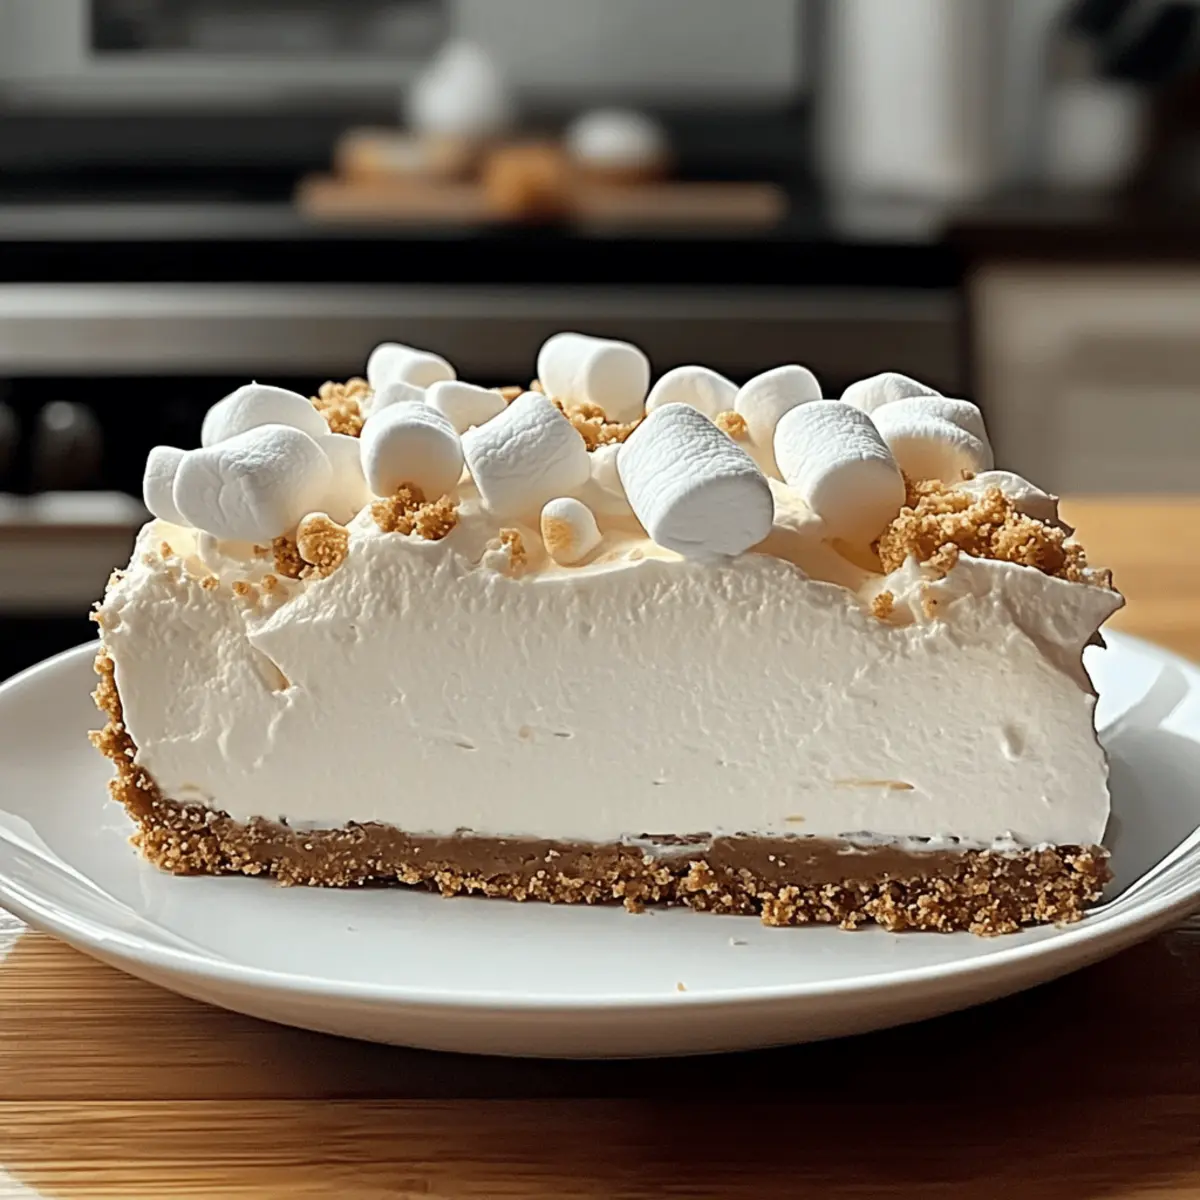
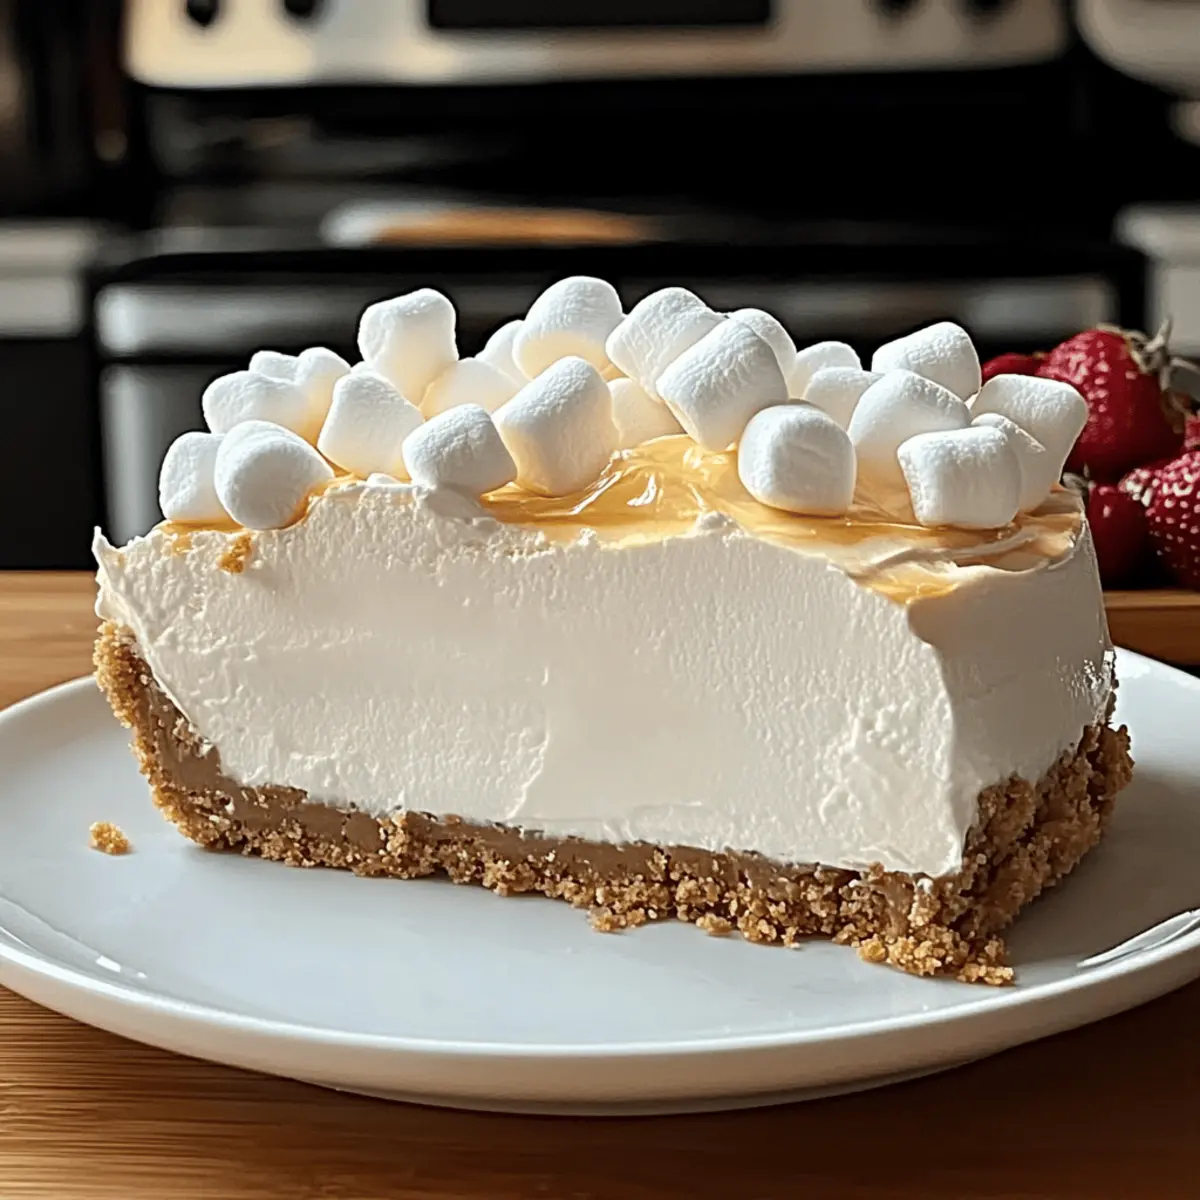
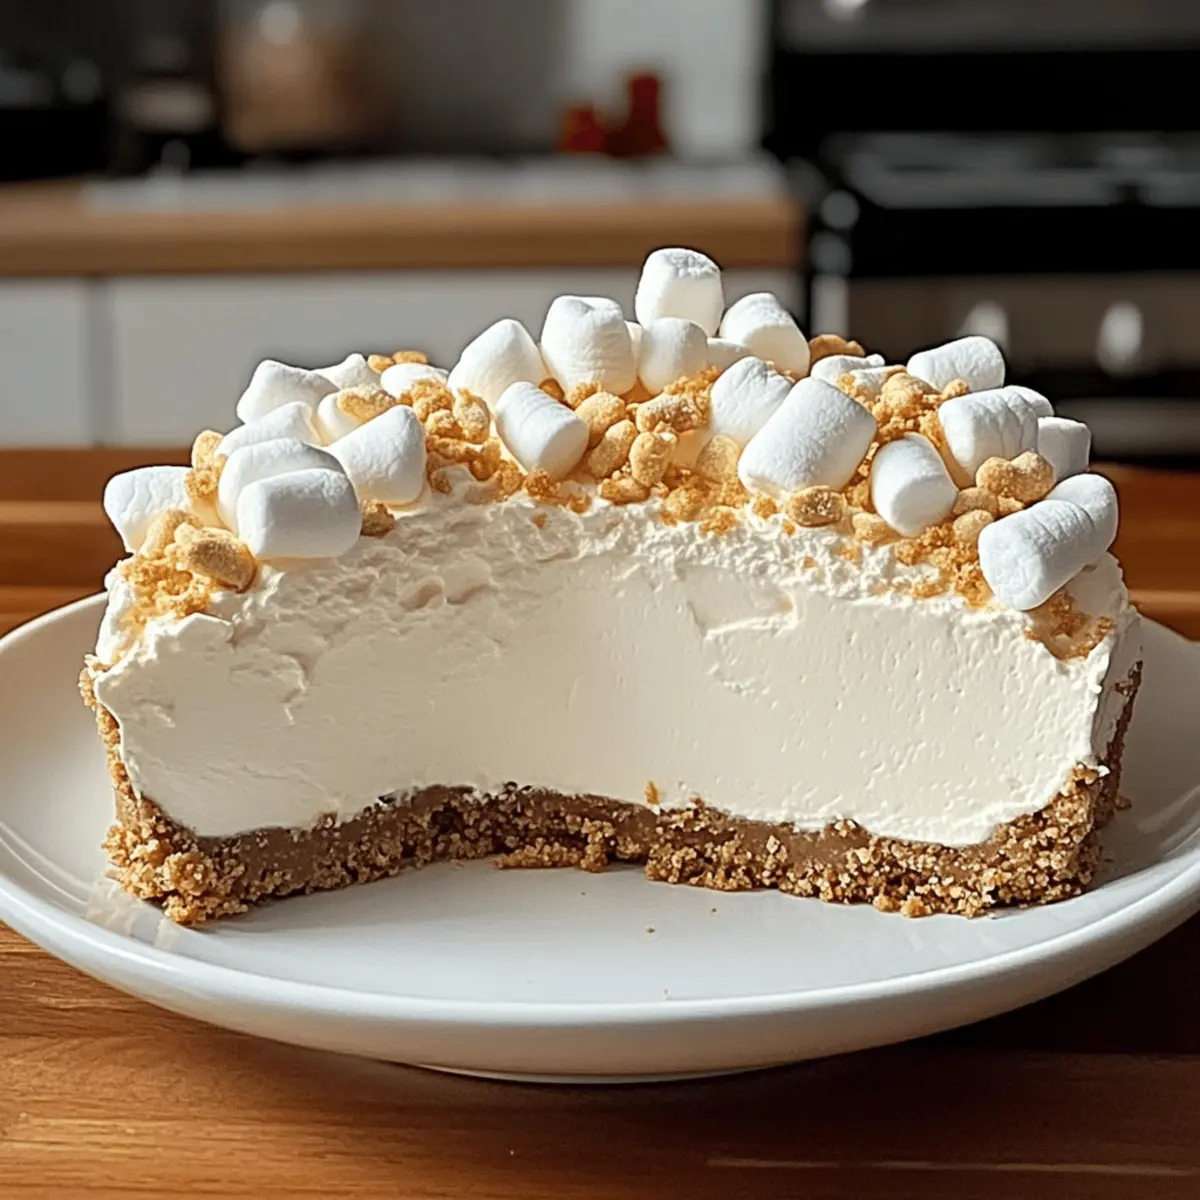
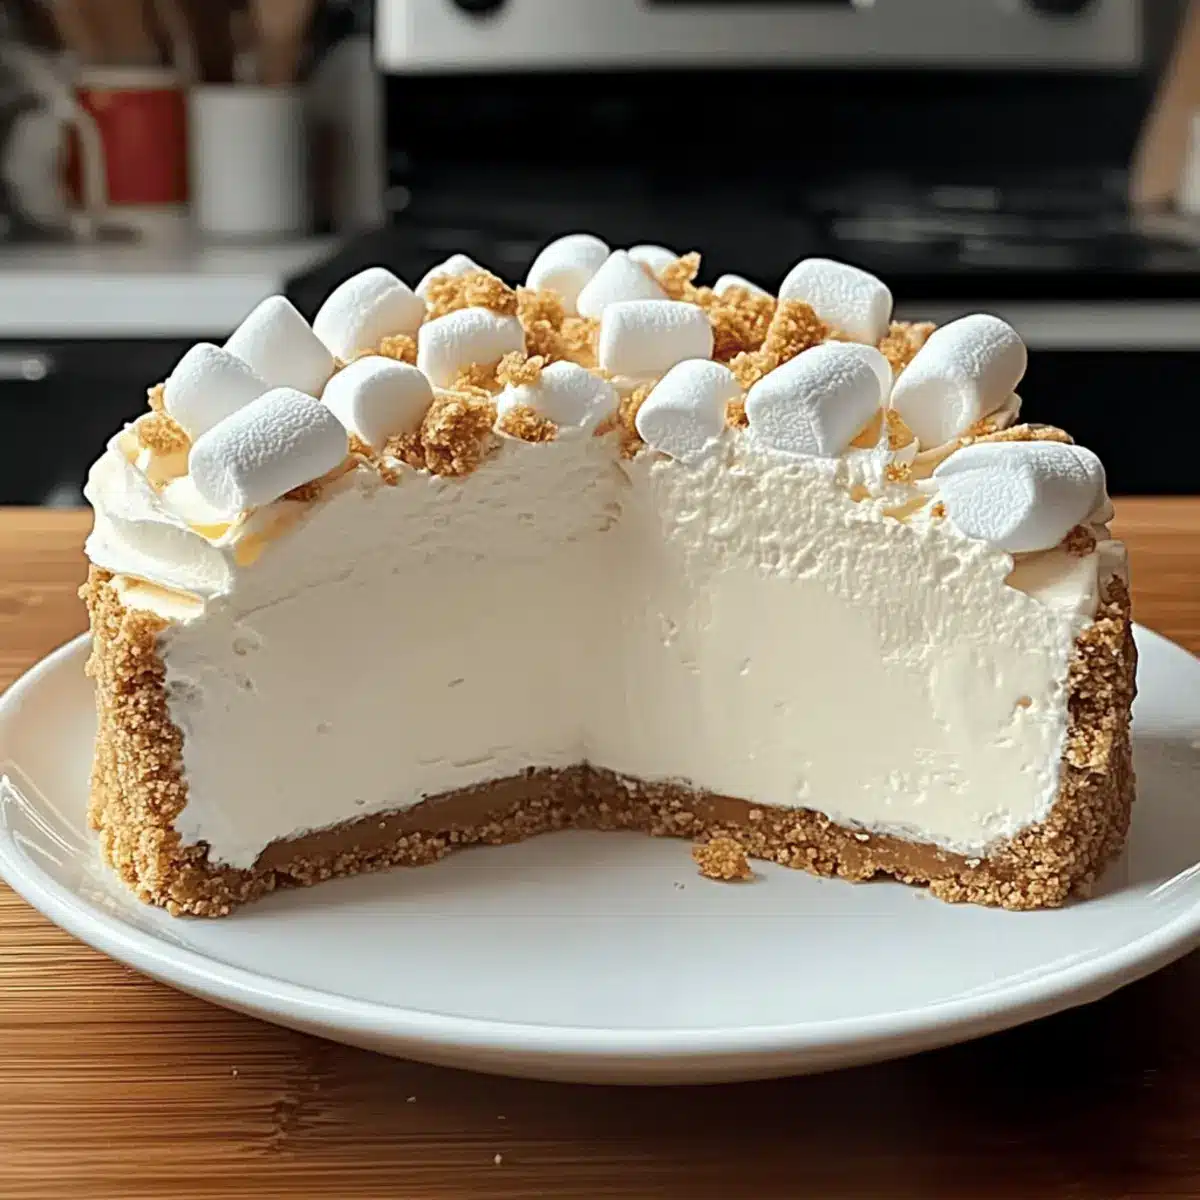
With a flick of the whisk and a dash of enthusiasm, I discovered the secret to a heavenly dessert: No-Bake Marshmallow Whip Cheesecake. This delightful treat marries the airy sweetness of marshmallow fluff with the creamy richness of cream cheese, all resting on a buttery graham cracker crust. What I love most about this recipe is how effortlessly it comes together, making it a breeze to whip up for summer gatherings or when you need a last-minute sweet fix. It’s the ultimate make-ahead dessert, perfect for those busy days when you crave something special without the hassle of baking. So, are you ready to be captivated by this dreamy cheesecake that’s as customizable as it is delicious? Let’s dive in!

Why is Marshmallow Whip Cheesecake irresistible?
Effortless Preparation: This no-bake dessert requires minimal time and skills, making it perfect for both beginners and busy cooks.
Customizable Toppings: Whether you prefer fresh berries, chocolate drizzle, or nuts, the topping options are endless, letting you personalize each slice.
Make-Ahead Magic: Prepare this cheesecake in advance and enjoy the freedom to focus on your gathering; it tastes even better after chilling overnight!
Light and Fluffy Texture: Each bite melts in your mouth, creating a delightful contrast to the crunchy graham cracker crust—sublime perfection!
For more dessert inspiration, check out my recipes for Vegan Mango Cheesecake and Sugar Cookie Cheesecake. You’ll find even more easy and delightful treats to impress your friends and family!
Marshmallow Whip Cheesecake Ingredients
For the Crust
• Graham cracker crumbs – Base structure for the crust. Substitution: Use crushed Oreo cookies for a chocolatey twist.
• Granulated sugar – Sweetens the crust. Use brown sugar for a deeper flavor.
• Unsalted butter – Binds crust ingredients together. Ensure it’s melted for easier mixing.
For the Filling
• Cream cheese – Creates the creamy filling. Make sure it’s softened for easier blending.
• Marshmallow fluff – Adds sweetness and fluffiness. Can use homemade marshmallow fluff as a fresher option.
• Vanilla extract – Enhances flavor. Consider adding lemon zest for a tangy twist.
• Whipped topping (e.g., Cool Whip) – Incorporates air for light texture. Whipped cream can be substituted for a natural option.
For Decoration (Optional)
• Fresh berries – Optional decoration and added flavor. Strawberries, blueberries, or raspberries work well.
• Mini marshmallows – Fun decorative topping. Use other candies for variation.
• Chocolate shavings or drizzle – For added flavor and decoration. Try caramel sauce as an alternative.
• Crushed graham crackers – Additional decoration for presentation. Use nuts for a crunchier texture.
Explore these ingredients and get ready to create your own delightful Marshmallow Whip Cheesecake that will leave everyone wanting seconds!
Step‑by‑Step Instructions for Marshmallow Whip Cheesecake
Step 1: Make the Crust
In a medium bowl, combine 1 ½ cups of graham cracker crumbs with ⅓ cup of granulated sugar for a sweetened base. Mix in ½ cup of melted unsalted butter until everything is fully blended. Press the mixture firmly into the bottom of a 9-inch springform pan, ensuring an even layer. Chill the crust in the refrigerator for at least 30 minutes to allow it to set.
Step 2: Prepare the Filling
In a large bowl, use an electric mixer to beat 16 ounces of softened cream cheese on medium speed until it becomes smooth and creamy, about 2-3 minutes. Gradually add in 2 cups of marshmallow fluff along with 1 teaspoon of vanilla extract, mixing until completely combined. The filling should be light and fluffy, which is key for the perfect Marshmallow Whip Cheesecake.
Step 3: Fold in Whipped Topping
Gently fold in 2 cups of thawed whipped topping into the cream cheese mixture using a spatula. Take your time with this step, making sure to incorporate the whipped topping without deflating the mixture. Once it’s fully combined, the filling should have a delightful airy texture, perfect for spreading on your chilled crust.
Step 4: Assemble the Cheesecake
Take the chilled crust out of the refrigerator and spread your fluffy filling evenly over it. Use a spatula to smooth the top, giving it a nice finished look. Cover the springform pan with plastic wrap and place it back in the refrigerator to chill for at least 4 hours or overnight for best results.
Step 5: Decorate and Serve
When you’re ready to serve your Marshmallow Whip Cheesecake, remove the springform ring carefully. Top your cheesecake with fresh berries, mini marshmallows, or chocolate drizzles as you prefer, creating a colorful presentation. Slice it into wedges, and enjoy the creamy, dreamy goodness that awaits!

What to Serve with Marshmallow Whip Cheesecake?
Delight your guests by pairing this dreamy dessert with delicious sides that elevate your gathering to the next level.
-
Fresh Fruit Salad: A colorful medley of seasonal fruits adds a refreshing contrast to the sweetness of the cheesecake, making every bite a balanced experience.
-
Sweet Berry Compote: Warm or chilled, this tangy sauce brings a burst of flavor to the rich cheesecake while enhancing its creamy texture.
-
Light Vanilla Ice Cream: A scoop alongside the cheesecake gives a classic touch, offering a creamy and cool complement to the fluffy dessert.
-
Chocolate Fondue: Dip fruits or marshmallows into a pot of warm, melted chocolate for an interactive dessert experience that keeps everyone wanting more.
-
Zesty Lemon Sorbet: This tangy, icy treat beautifully cuts through the richness of the cheesecake, refreshing the palate between bites.
-
Coffee or Espresso: A warm cup of coffee or a rich espresso pairs perfectly, balancing the sweetness of the cheesecake and enhancing its flavors.
-
Sliced Almond Biscotti: Crunchy and slightly sweet, biscotti adds a delightful texture contrast, making it a wonderful accompaniment alongside your cheesecake.
-
Whipped Cream: A dollop of freshly whipped cream not only adds a light touch but also enhances the overall fluffiness of this already airy dessert.
-
Chocolate-Covered Strawberries: These elegant bites make for a sweet pairing, their juicy refreshment perfectly complementing the cheesecake’s creamy consistency.
How to Store and Freeze Marshmallow Whip Cheesecake
Fridge: Refrigerate your cheesecake, covered, for up to 3 days. This will keep it fresh and creamy for your next sweet craving!
Freezer: For longer storage, wrap the cheesecake tightly in plastic wrap and aluminum foil before freezing. It can last up to 1 month; just thaw it overnight in the fridge before serving.
Cutting Portions: To make serving easier, consider slicing the cheesecake before freezing. This way, you can enjoy individual portions straight from the freezer.
Reheating and Serving: This no-bake dessert is best served chilled. There’s no need to reheat—simply garnish with toppings and enjoy the delightful, airy texture of your Marshmallow Whip Cheesecake!
Expert Tips for Marshmallow Whip Cheesecake
- Room Temperature Cream Cheese: Allow cream cheese to reach room temperature before mixing; this guarantees a silky smooth filling and avoids lumps in your Marshmallow Whip Cheesecake.
- Gentle Folding Technique: When incorporating the whipped topping, fold gently to maintain the airy texture; a harsh mix could deflate the lightness of your cheesecake.
- Chill for Best Flavor: For optimal taste and texture, refrigerate the cheesecake overnight. This allows flavors to meld beautifully and enhances the creamy goodness.
- Crust Consistency Check: Ensure your graham cracker crust is packed tightly; a loose crust can lead to a messy cheesecake when slicing.
- Creative Variations: Don’t hesitate to experiment with toppings and flavors; adding lemon zest or swirling in fruit preserves can elevate your Marshmallow Whip Cheesecake!
Marshmallow Whip Cheesecake Variations
Feel free to sprinkle your creativity into this cheesecake, making it uniquely yours with these delightful twists!
-
Chocolate Crust: Swap the graham cracker crumbs for crushed Oreos to add a delicious chocolatey base. Your tastebuds will thank you as this twist pairs perfectly with the filling.
-
Fruit Infusion: Add fresh fruit components by swirling through raspberry jam or using mashed strawberries in the filling for a fruity flavor explosion. The fruity notes will harmonize with the creaminess flawlessly!
-
Nutty Crunch: Fold in crushed nuts like pecans or walnuts to the filling before layering it. This will introduce a satisfying crunch that contrasts beautifully with the smooth texture of the cheesecake.
-
Minty Freshness: Add 1 teaspoon of mint extract to your filling for a refreshing mint chocolate cheesecake. Top with shaved chocolate for a beautiful finish that brings a burst of flavor.
-
Lemon Zest Sensation: For a zesty kick, incorporate the zest of one lemon into the filling. This brightens the cheesecake and adds a refreshing twist without compromising the creamy richness.
-
Individual Mini Cheesecakes: Use muffin tins and paper liners to create adorable mini cheesecakes. These bite-sized pieces are perfect for parties and allow everyone to indulge guilt-free!
-
Alternative Toppings: Switch out mini marshmallows with toasted coconut flakes for a tropical vibe. The different textures will create pleasing contrasts in every mouthful.
For more variations, consider trying my Mini Chocolate Cheesecake or a Velvet Strawberry Cheesecake; they offer even more delicious ways to savor cheesecake!
Make Ahead Options
These Marshmallow Whip Cheesecakes are perfect for meal prep enthusiasts! You can prepare the crust and the filling up to 24 hours in advance, allowing you to save precious time on busy days. To do this, follow the instructions for making the crust and filling, and then cover and refrigerate them separately. Make sure the crust is well-chilled for the best structure. When you’re ready to serve, simply spread the fluffy filling over the chilled crust, and let it set in the refrigerator for at least 4 hours or overnight for optimal flavor. This way, your Marshmallow Whip Cheesecake will be just as delicious and dreamy, freeing you up to focus on other elements of your gathering.

Marshmallow Whip Cheesecake Recipe FAQs
What type of graham cracker crumbs should I use for the crust?
Absolutely, you can use regular graham cracker crumbs for the classic taste! However, if you’re feeling adventurous, crushed Oreo cookies can be a decadent swap for a chocolatey base that perfectly complements the sweetness of the filling.
How should I store leftover cheesecake?
To keep your Marshmallow Whip Cheesecake fresh, cover it with plastic wrap and refrigerate for up to 3 days. This prevents it from absorbing any unwanted odors and maintains its deliciously creamy texture.
Can I freeze the cheesecake, and if so, how?
Yes, you can freeze your cheesecake! To do so, securely wrap it in plastic wrap and cover it with aluminum foil to prevent freezer burn. It will last for about 1 month in the freezer. When you’re ready to enjoy it, simply thaw it in the refrigerator overnight for the best texture.
What should I do if my cheesecake filling is too heavy or dense?
If you find your filling to be too heavy, it might be due to overmixing the cream cheese or whipped topping. Next time, make sure to gently fold in the whipped topping rather than mixing rigorously; this preserves the airy texture. Letting the cream cheese come to room temperature before mixing will also help achieve a smooth consistency.
Are there any allergens in this cheesecake I should be aware of?
This recipe contains dairy products (cream cheese and whipped topping) and may not be suitable for individuals with lactose intolerance or dairy allergies. For a dairy-free option, consider using vegan cream cheese and coconut whipped cream as alternatives. Always double-check labels to ensure the ingredients fit your dietary needs.
Can I use homemade marshmallow fluff instead of store-bought?
Definitely! I highly recommend using homemade marshmallow fluff for an even fresher taste. Simply whip together sugar, egg whites, and vanilla until you reach that signature fluffy consistency—it’s a delightful addition!

Creamy Marshmallow Whip Cheesecake for Effortless Indulgence
Ingredients
Equipment
Method
- In a medium bowl, combine graham cracker crumbs with granulated sugar and mix in melted unsalted butter. Press firmly into the bottom of a 9-inch springform pan. Chill for at least 30 minutes.
- In a large bowl, beat softened cream cheese until smooth. Gradually add marshmallow fluff and vanilla extract, mixing until combined.
- Gently fold in thawed whipped topping into the cream cheese mixture until fully combined.
- Spread filling evenly over the chilled crust, smoothing the top. Cover with plastic wrap and chill for at least 4 hours or overnight.
- Remove the springform ring and top with fresh berries, mini marshmallows, or chocolate drizzles before serving.

Leave a Reply