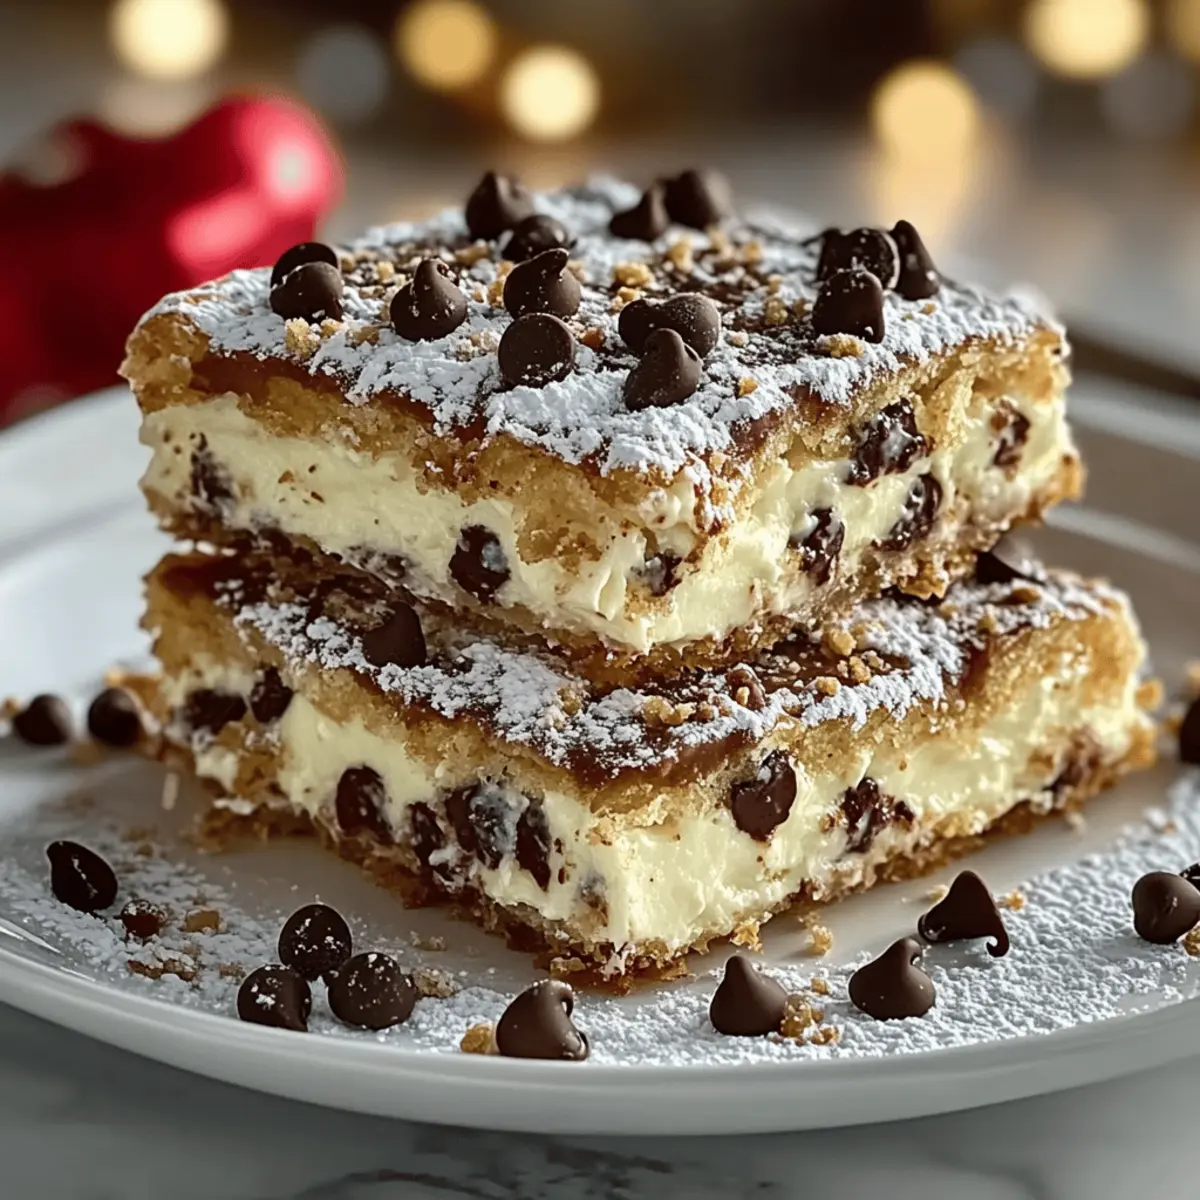
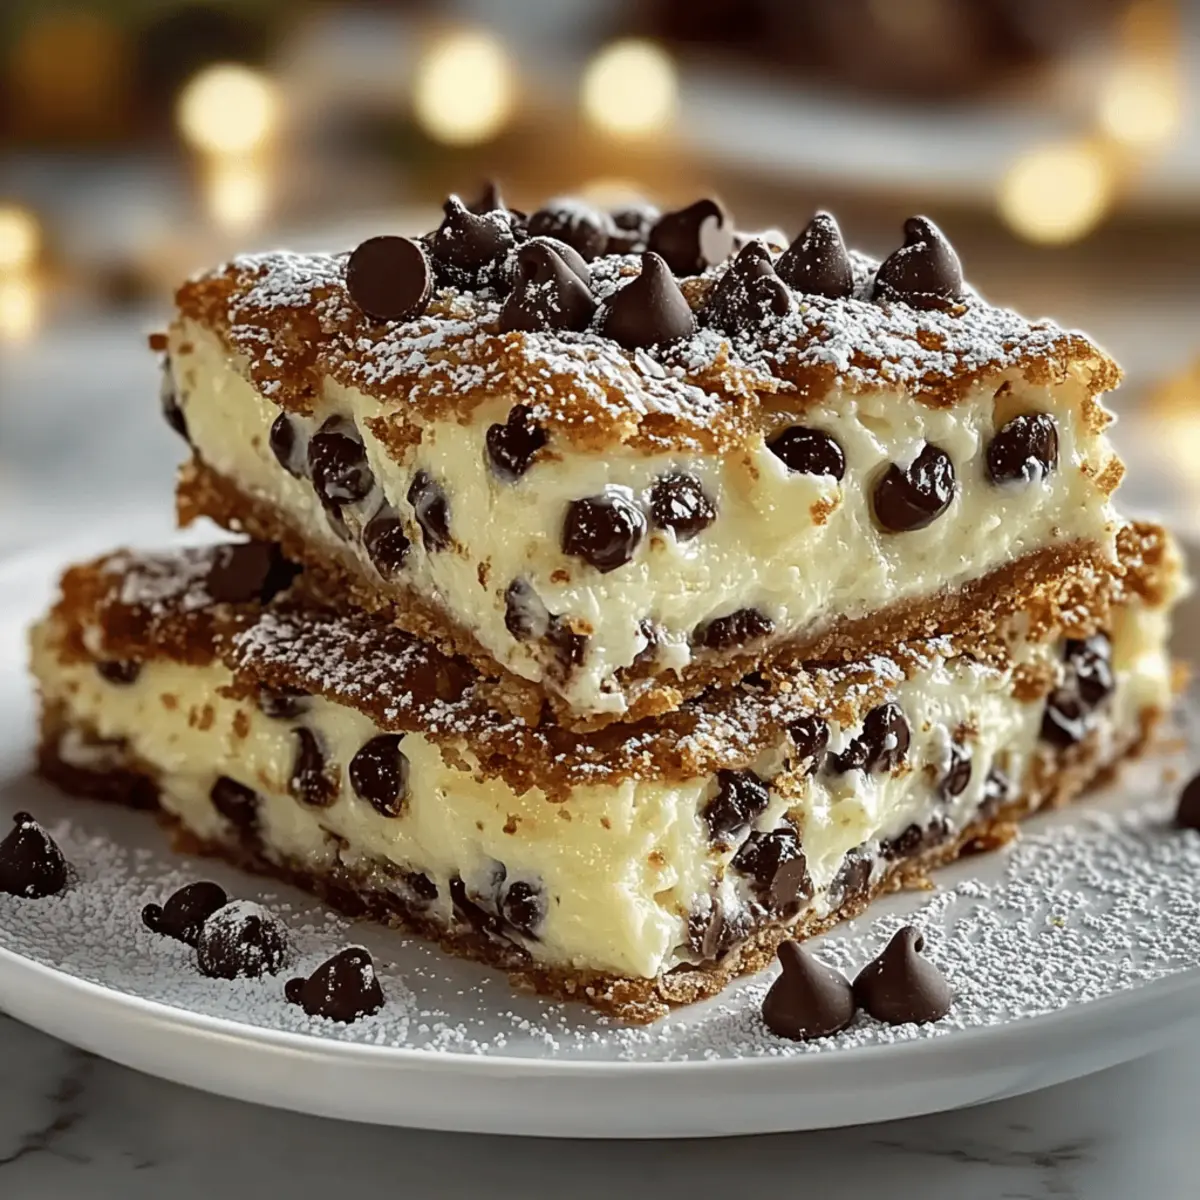
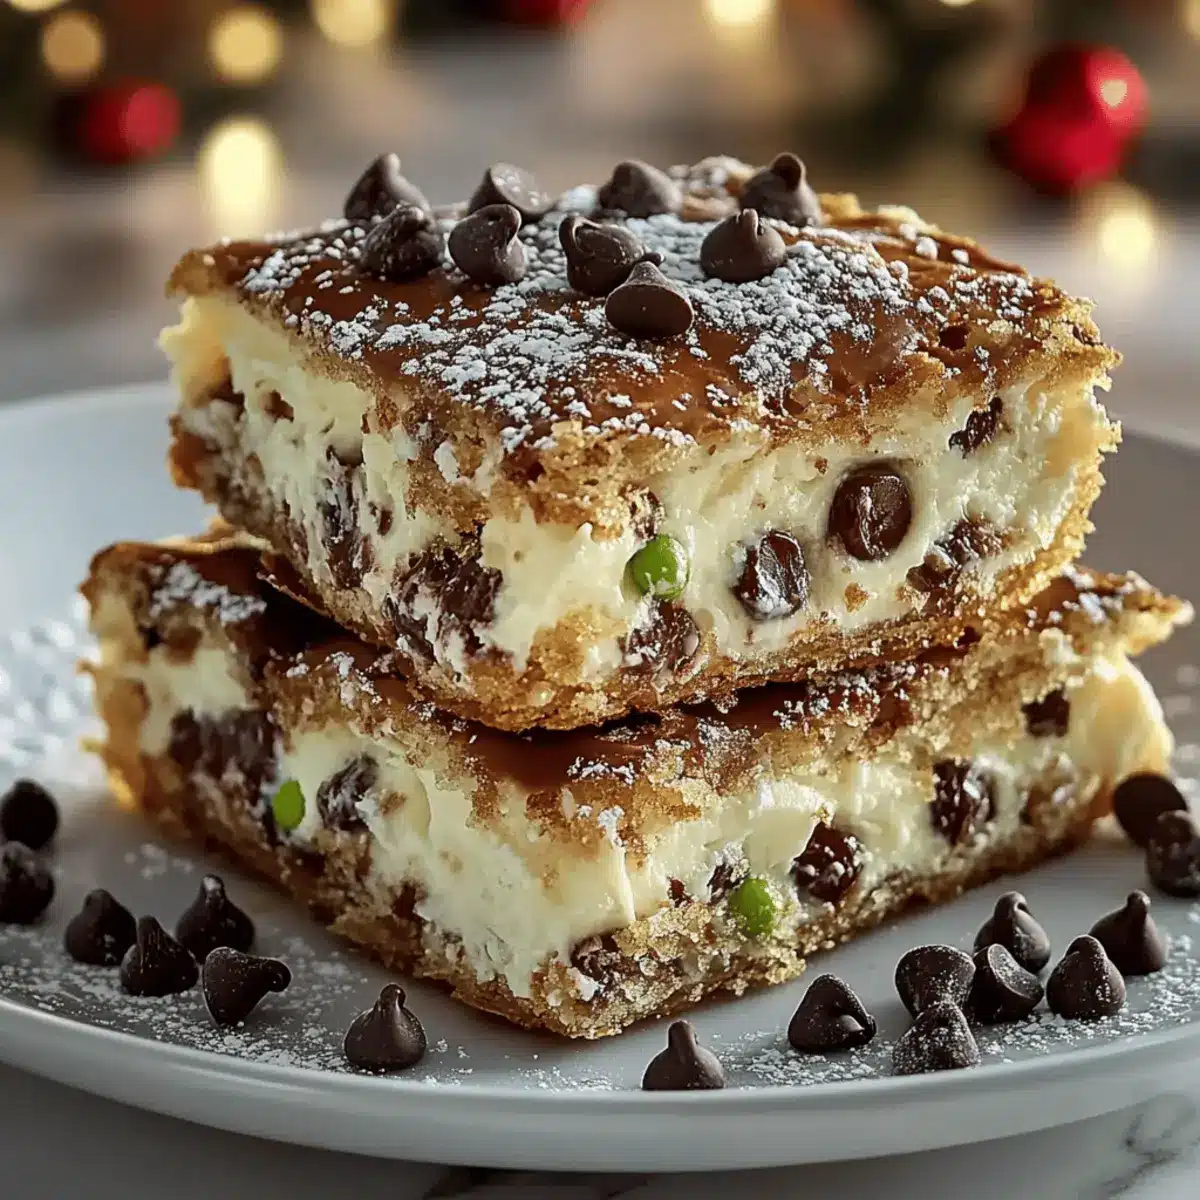
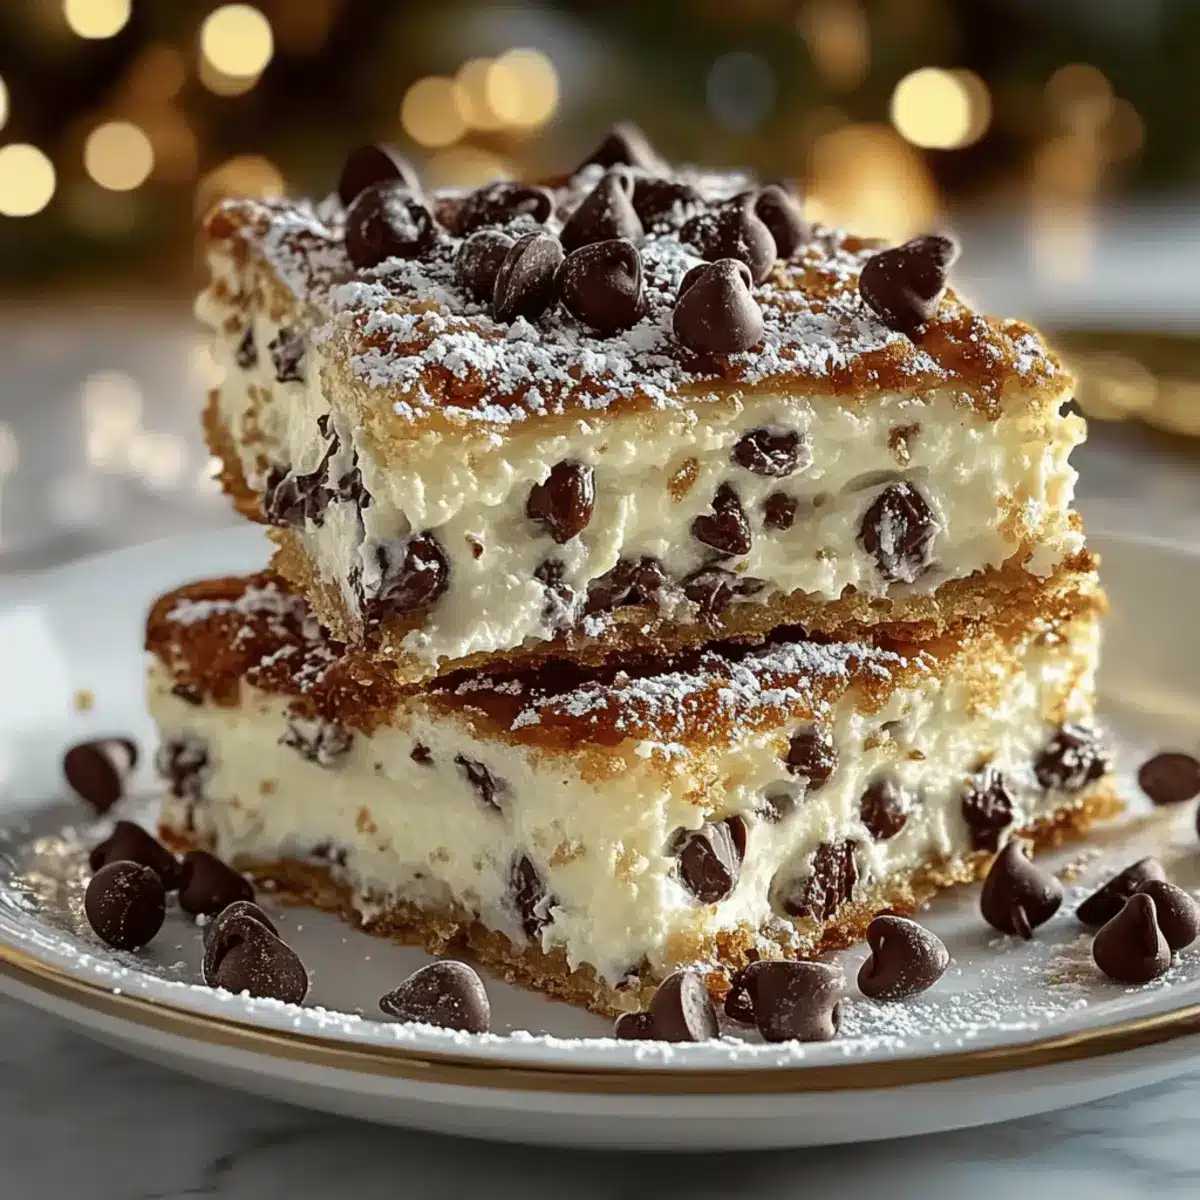
As I sift through my memories of Italy, one delightful treat stands out: the unmistakable allure of cannoli. These Classic Cannoli Squares capture that very magic, transforming the beloved traditional dessert into an easy-to-serve format without sacrificing the rich, creamy goodness. With just 30 minutes of prep time, they’re perfect for weeknight indulgences or special gatherings, inviting everyone to savor familiar flavors of vanilla and chocolate in every bite. Plus, you can customize them with whole or low-fat ricotta, making it a versatile dessert that fits any occasion. Ready to discover how simple it is to create this modern twist on an Italian classic? Let’s dive in!

Why Are Cannoli Squares So Irresistible?
Simplicity at Its Best: With a mere 30 minutes of prep, you can whip up this classic Italian dessert effortlessly, making it perfect for both busy weekdays and festive gatherings.
Creamy, Dreamy Filling: The rich blend of whole milk ricotta and mini chocolate chips creates a scrumptious filling that will remind you of traditional cannoli, but in a square format!
Crowd-Pleasing Delicacy: These squares are sure to impress your family and friends, making them a hit at any gathering—every bite is a delightful surprise!
Customizable to Your Taste: Whether you prefer a lighter option with low-fat ricotta or want to add a pop of color with garnishes like chopped pistachios, this recipe is versatile and adaptable to meet your cravings.
Easy Storage for Enjoyment Later: Leftovers? No problem! Store them in an airtight container for up to 3-4 days, ensuring you can enjoy the deliciousness long after they’re made.
These Classic Cannoli Squares are definitely a dessert you won’t want to miss!
Classic Cannoli Squares Ingredients
• Dive into the delightful world of Classic Cannoli Squares with these essential ingredients!
For the Filling
- Ricotta Cheese – Forms the creamy base; opt for whole milk for richness or low-fat for a lighter version.
- Powdered Sugar – Sweetens the filling; coconut sugar can make for a healthier alternative.
- Vanilla Extract – Enhances flavor; essential for that classic taste!
- Cinnamon – Adds warmth; optional for those who prefer a more subtle profile.
- Mini Chocolate Chips – Provide a delightful texture and chocolatey richness; dark chocolate is a great substitute.
For the Crust
- Pre-made Pie Crusts – Simplicity in layers; feel free to use homemade if you’re up for it!
- Egg (beaten) – Creates a golden finish and helps seal edges; don’t skip this step!
- Sugar (for sprinkling) – Adds sweetness and shine; a little goes a long way.
Optional Garnishes
- Chopped Pistachios – For a colorful crunch!
- Maraschino Cherries – Bring a pop of flavor and color.
- Extra Chocolate Chips – An indulgent touch to delight chocolate lovers.
With these ingredients, you’re well on your way to creating irresistibly sweet Classic Cannoli Squares!
Step‑by‑Step Instructions for Classic Cannoli Squares
Step 1: Prepare the Filling
In a mixing bowl, combine whole milk ricotta cheese, powdered sugar, vanilla extract, cinnamon, and mini chocolate chips. Blend these ingredients using a spatula or hand mixer until the mixture is smooth and creamy, approximately 3-5 minutes. For a thicker filling, consider draining excess moisture from the ricotta through a fine-mesh sieve before mixing.
Step 2: Preheat the Oven
Preheat your oven to 375°F (190°C) to ensure it reaches the ideal temperature for baking the Classic Cannoli Squares. This step is crucial for achieving a beautifully golden crust. While the oven warms, you can prepare your baking dish, making sure everything is ready for the next steps.
Step 3: Prepare the Bottom Crust
Take a 9×9-inch baking dish and gently press a layer of pre-made pie crust into the bottom. Ensure there are no cracks and that it fits snugly into the corners. This base will hold the filling, so make certain it’s even and well-formed, creating a solid foundation for your Classic Cannoli Squares.
Step 4: Add the Filling
Once your bottom crust is ready, spread the ricotta filling evenly over it, ensuring there’s a slight border around the edges to prevent overflow during baking. Use a spatula to smooth the filling out evenly, providing a consistent layer of deliciousness that captures the essence of traditional cannoli.
Step 5: Prepare the Top Crust
Roll out a second pie crust and place it over the filling, sealing the edges by crimping them with your fingers or a fork. Brush the top crust with the beaten egg to give it a shiny, golden finish. Finally, sprinkle sugar on top for added sweetness and visual appeal—this will create a delightful crust.
Step 6: Bake
Place the baking dish in the preheated oven and bake for 30-35 minutes, or until the crust is a lovely golden brown. Keep a close eye on it, as you want the crust to be perfectly cooked without any burning. The aroma of the Classic Cannoli Squares will fill your kitchen as they bake.
Step 7: Cool and Serve
After baking, remove the dish from the oven and let it cool for at least 30 minutes. This cooling time ensures the squares set properly, making slicing easier. Once cooled, cut into squares and serve them as a delightful dessert to impress your family and friends!

What to Serve with Classic Cannoli Squares
Indulge in a symphony of flavors and textures that will elevate your dessert experience to new heights.
- Rich Espresso: The bold flavor of a freshly brewed espresso perfectly counters the sweetness of the squares, creating a balanced end to your meal.
- Fresh Berries: Light and refreshing, berries add a burst of natural sweetness while complementing the creamy filling of the cannoli squares.
- Vanilla Ice Cream: Creamy and decadent, a scoop of vanilla ice cream enhances the richness of the squares, providing a delightful contrast in temperature and texture.
- Limoncello: This zesty Italian lemon liqueur offers a refreshing palate cleanser between bites, making it a lively companion for your dessert.
- Chocolate Sauce Drizzle: A simple yet luxurious addition, this enhances the chocolate chips in the cannoli squares, making each bite a sweet celebration.
- Homemade Whipped Cream: Light and airy, whipped cream brings a added layer of creaminess, making the indulgence even more delightful.
- Mini Fruit Tarts: Offering a contrast, these tarts invigorate your palate with fresh fruit and a crunchy crust, rounding out the dessert table beautifully.
- Sweet Almond Biscotti: Crunchy and flavorful, these delightful biscuits are perfect for dipping into coffee or dessert wine, creating a lovely Italian-inspired experience.
- Chocolate Mousse: An elegant option that mirrors the cannoli’s richness while adding a silky texture to the dessert selection.
Serve your Classic Cannoli Squares with these fantastic pairings to create a memorable dessert experience that charms everyone at the table!
Make Ahead Options
These Classic Cannoli Squares are perfect for meal prep enthusiasts! You can prepare the ricotta filling up to 24 hours in advance by mixing the ricotta cheese, powdered sugar, vanilla extract, cinnamon, and mini chocolate chips as instructed. Store the filling in an airtight container in the refrigerator to maintain its creamy texture. Additionally, you can line your baking dish with the bottom crust a few hours ahead; just keep it wrapped tightly to prevent drying out. When you’re ready to bake, simply spread the filling over the crust, top it with the second pie crust, and follow the baking instructions for a delicious dessert that saves you time without sacrificing flavor.
Expert Tips for Classic Cannoli Squares
-
**Drain Ricotta: ** Draining excess moisture from the ricotta ensures a firmer filling, preventing sogginess in your Classic Cannoli Squares.
-
Watch the Oven: Keep a close eye while baking; golden brown is your target. An overbaked crust can ruin the deliciousness!
-
Crimp Edges: Thoroughly crimp the edges of your top crust to prevent filling leakage during baking, ensuring a beautiful presentation.
-
Cool Properly: Allow at least 30 minutes of cooling time before slicing. This helps the squares set, making them easier to cut and serve.
-
Customization: Don’t hesitate to play with flavors—experiment with lemon zest or almond extract to truly make these Classic Cannoli Squares your own!
Classic Cannoli Squares Variations
Invite your culinary creativity to soar with these delightful adaptations, adding your own twist to the beloved Classic Cannoli Squares!
-
Dairy-Free: Use a vegan ricotta made from nuts or tofu, allowing everyone to enjoy this treat, regardless of dietary restrictions.
-
Gluten-Free: Substitute traditional pie crust with a gluten-free crust to accommodate those with gluten sensitivities without compromising flavor!
-
Flavor Boost: Blend in 1 tablespoon of lemon zest or a teaspoon of almond extract to elevate your filling with a refreshing citrusy or nutty twist and add complexity to the flavor profile.
-
Sugar Alternatives: Swap out powdered sugar for coconut sugar or erythritol for a healthier, lower-calorie option that still satisfies your sweet tooth.
-
Choco-Lover’s Delight: Incorporate dark chocolate chunks instead of mini chocolate chips for an intensified chocolatiness that pairs beautifully with the creamy filling.
-
Nutty Crunch: Fold in chopped walnuts or almonds into the filling for added texture and a nutty flavor that complements the sweetness beautifully.
-
Spicy Kick: Add a pinch of cayenne pepper to the filling for a surprising heat that transforms your cannoli squares into a unique flavor adventure.
-
Decadent Drizzle: Drizzle melted white chocolate or a homemade chocolate ganache over the top just before serving, adding an indulgent flair that nobody can resist.
Each of these variations invites you to explore and enjoy, transforming this classic into a personalized indulgence that speaks to your taste. Don’t forget to check out our tips on how to make homemade pie crust for even more delicious options!
Storage Tips for Classic Cannoli Squares
Fridge: Store your Classic Cannoli Squares in an airtight container in the refrigerator for up to 3-4 days to maintain their delicious flavor and texture.
Freezer: For long-term storage, wrap individual squares tightly in plastic wrap, then place them in a freezer-safe bag. They can last up to 2 months frozen.
Thawing: When ready to enjoy, thaw the cannoli squares overnight in the fridge for the best texture.
Reheating: If desired, warm in the oven at 350°F (175°C) for about 10 minutes to restore a bit of their original crispiness before serving.

Classic Cannoli Squares Recipe FAQs
What type of ricotta cheese should I use?
I recommend using whole milk ricotta for a rich and creamy filling, perfect for capturing those classic cannoli flavors. If you’re looking for a lighter dessert, low-fat ricotta is a fantastic alternative, providing a fulfilling taste while reducing calories.
How long can I store Classic Cannoli Squares?
You can keep your Classic Cannoli Squares in an airtight container in the refrigerator for up to 3-4 days. This preserves their flavor and texture. Just make sure to let them cool completely before storing to prevent sogginess.
Can I freeze these squares for later use?
Absolutely! To freeze, wrap each square tightly in plastic wrap and place them in a freezer-safe bag or container. They’ll stay good for up to 2 months. When you’re ready to enjoy them, just thaw overnight in the fridge and reheat in the oven for about 10 minutes at 350°F (175°C) for a delightful return to their original glory.
What should I do if the filling is too runny?
If you find your ricotta filling is too runny, don’t worry! First, drain the ricotta through a fine-mesh sieve for about 30 minutes to remove excess moisture. If it’s still not thick enough, you can stir in a bit more powdered sugar, which will help absorb some of the liquid without compromising the flavor.
Are there any dietary considerations to keep in mind?
If you’re making this recipe for someone with allergies, be aware that it contains dairy and eggs. For a dairy-free alternative, try substituting ricotta with a vegan cream cheese or nut-based cheese. You can also swap in coconut sugar or erythritol for those needing sugar alternatives, making this dish more inclusive while still delicious!

Classic Cannoli Squares That'll Sweeten Your Day
Ingredients
Equipment
Method
- In a mixing bowl, combine whole milk ricotta cheese, powdered sugar, vanilla extract, cinnamon, and mini chocolate chips. Blend until smooth and creamy, about 3-5 minutes.
- Preheat your oven to 375°F (190°C).
- Press a layer of pre-made pie crust into the bottom of a 9x9-inch baking dish.
- Spread the ricotta filling evenly over the bottom crust.
- Place a second pie crust over the filling, crimp the edges, then brush with beaten egg and sprinkle sugar on top.
- Bake for 30-35 minutes, until the crust is golden brown.
- After baking, let it cool for at least 30 minutes before cutting into squares.

Leave a Reply