As the leaves turn golden and the air carries that unmistakable crispness, I find myself in the kitchen, dreaming up ways to celebrate the season. One of my favorite creations is these Chocolate Pumpkin Butter Cups, a delightful no-bake treat that’s as easy to make as it is delicious. This recipe checks all the boxes: it’s dairy-free, gluten-free, and lower in sugar, making it a guilt-free indulgence that will satisfy your sweet tooth. Whether you’re looking to impress guests at your fall gatherings or simply want a cozy treat to enjoy at home, these little bites of joy are sure to hit the spot. Curious about how to make these irresistible cups? Let’s dive into the delicious details!
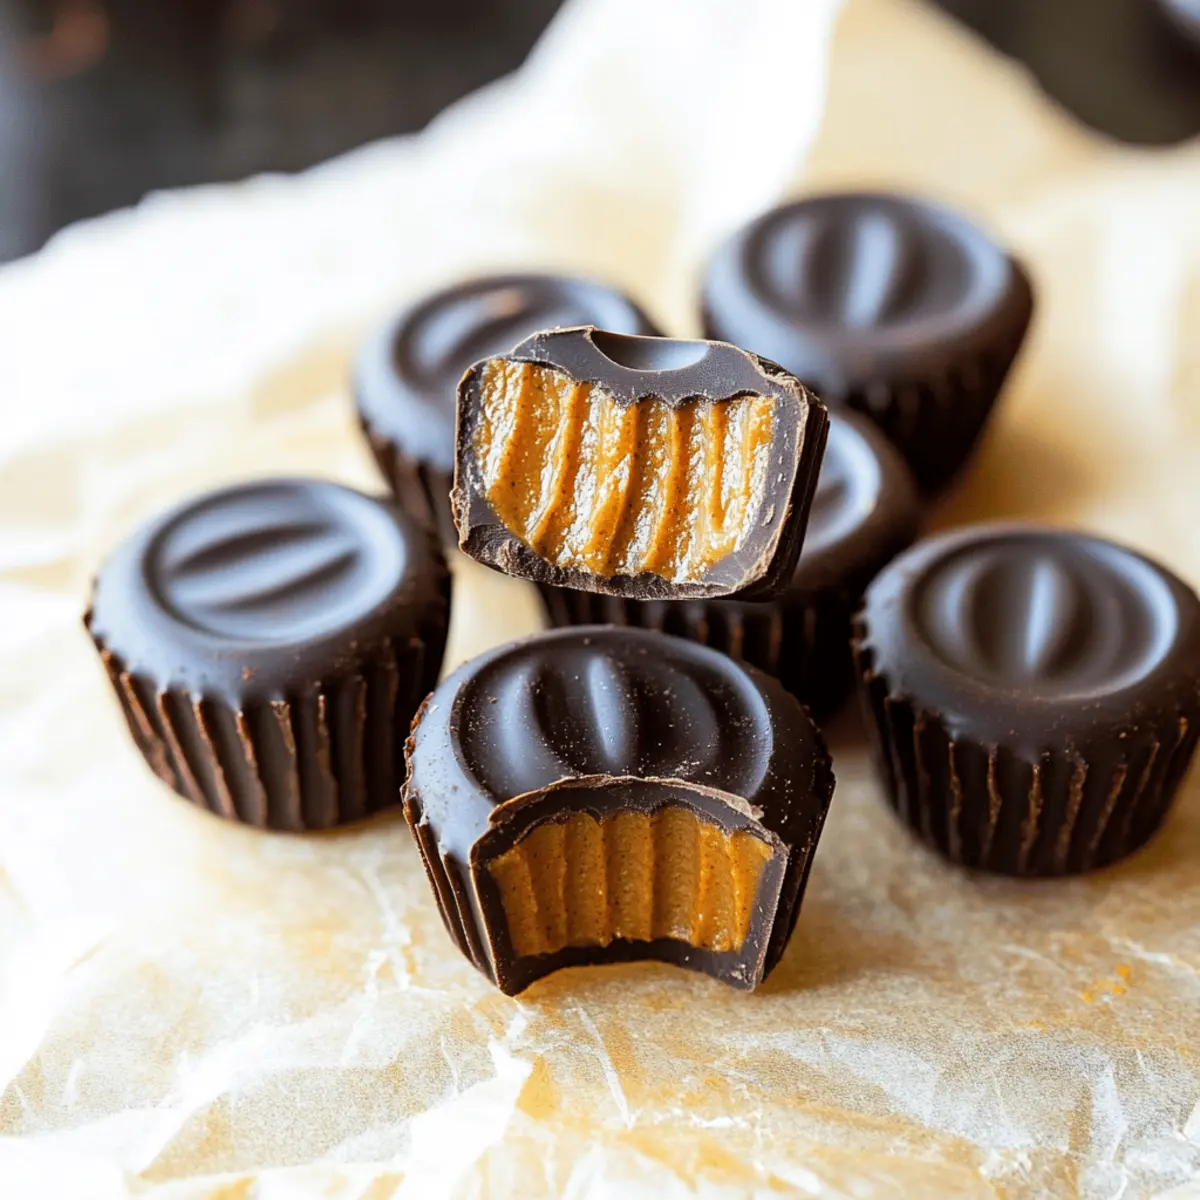
Why are Chocolate Pumpkin Butter Cups irresistible?
Indulgence without Guilt: Savor the blend of creamy pumpkin spice and rich dark chocolate—all while enjoying a dairy-free, gluten-free treat.
Quick and Easy: No-bake preparation means less time in the kitchen, leaving more time for you to enjoy these delightful bites.
Family-Friendly Delight: Each bite is a sweet escape that even kids will love, making them a perfect addition to family gatherings.
Autumn-Inspired Flavors: Infused with seasonal pumpkin spice, these cups are a celebration of fall flavor that you won’t want to miss!
Versatile Options: Feel free to swap almond butter for your favorite nut or seed butter, tailoring this recipe to fit any dietary needs.
Get ready to wow your friends with these Chocolate Pumpkin Butter Cups, a treat that pairs perfectly with a cozy evening or festive celebrations!
Chocolate Pumpkin Butter Cups Ingredients
• A delightful mix for your no-bake treats!
For the Filling
- Pumpkin Puree – Provides the base flavor and moisture; you can use fresh or canned for convenience.
- Almond Butter – Adds creaminess and a nutty flavor; substitute with any nut butter or Sunbutter for a nut-free version.
- Honey – Sweetens the filling; for a sugar-free option, replace it with Lakanto Maple Syrup.
- Pumpkin Spice – Enhances the autumn flavor profile; substitute with a mix of cinnamon, nutmeg, and ginger if needed.
For the Chocolate Layer
- Chocolate Chips – Forms the outer layer; dark chocolate is recommended for a rich taste; feel free to use dairy-free or sugar-free varieties.
- Coconut Oil – Helps melt the chocolate smoothly and adds a subtle coconut flavor to the mix.
Craft these Chocolate Pumpkin Butter Cups with these ingredients, and you’ll have a seasonal treat that everyone will adore!
Step‑by‑Step Instructions for Chocolate Pumpkin Butter Cups
Step 1: Soften the Almond Butter
Begin by microwaving the almond butter in a microwave-safe bowl for about 30 seconds. This will make it easier to mix into your filling. Stir it well until smooth and creamy, ensuring there are no lumps. The warmth will enhance its spreadability, making your Chocolate Pumpkin Butter Cups delightful.
Step 2: Prepare the Pumpkin Filling
In a mixing bowl, combine the softened almond butter with pumpkin puree, honey, and pumpkin spice. Stir the mixture vigorously until it’s completely smooth and well combined, creating a luscious filling. This should take about 2-3 minutes of blending. Set the bowl aside, allowing the flavors to meld while you work on the chocolate layer.
Step 3: Melt the Chocolate
In a microwave-safe bowl, add the chocolate chips and coconut oil. Microwave this mixture in 20-second intervals, stirring thoroughly between each session until the chocolate is fully melted and silky smooth. This will take around 1 to 2 minutes in total, depending on your microwave. Make sure not to overheat it, as scalded chocolate will change the texture of your dessert.
Step 4: Create the Chocolate Shell
Pour a thin layer of the melted chocolate into silicone molds or mini cupcake liners, filling them about one-third full. Use a spoon to gently spread the chocolate up the sides for an even coating. Freeze these molds for about 10 minutes, or until the chocolate is set and firm to the touch.
Step 5: Add the Pumpkin Mixture
Once the chocolate shell is set, take the molds out of the freezer. Using a piping bag, carefully pipe the pumpkin filling into each chocolate shell, filling them to the brim. This will create a delicious layer of creamy pumpkin goodness, pivotal to your Chocolate Pumpkin Butter Cups’ scrumptiousness.
Step 6: Freeze Again for Firmness
Place the filled molds back into the freezer and allow them to chill for an additional 5-10 minutes. This will help the pumpkin filling set nicely before you add the final chocolate layer on top. Keep an eye on them; they should be firm yet slightly soft to ensure easy removal later.
Step 7: Top with Final Chocolate Layer
After the pumpkin layer has set, pour the remaining melted chocolate over the filled cups, ensuring they are completely covered. Make sure the top is smooth and even. Return the molds to the freezer and let them cool for 1-2 hours until they are firm and ready to be removed.
Step 8: Serve and Store
Once your Chocolate Pumpkin Butter Cups are fully set, gently pop them out of the silicone molds or remove them from the liners. Store any leftovers in an airtight container in the freezer for optimal freshness. These treats are perfect for indulging at your leisure and will stay delicious for weeks!
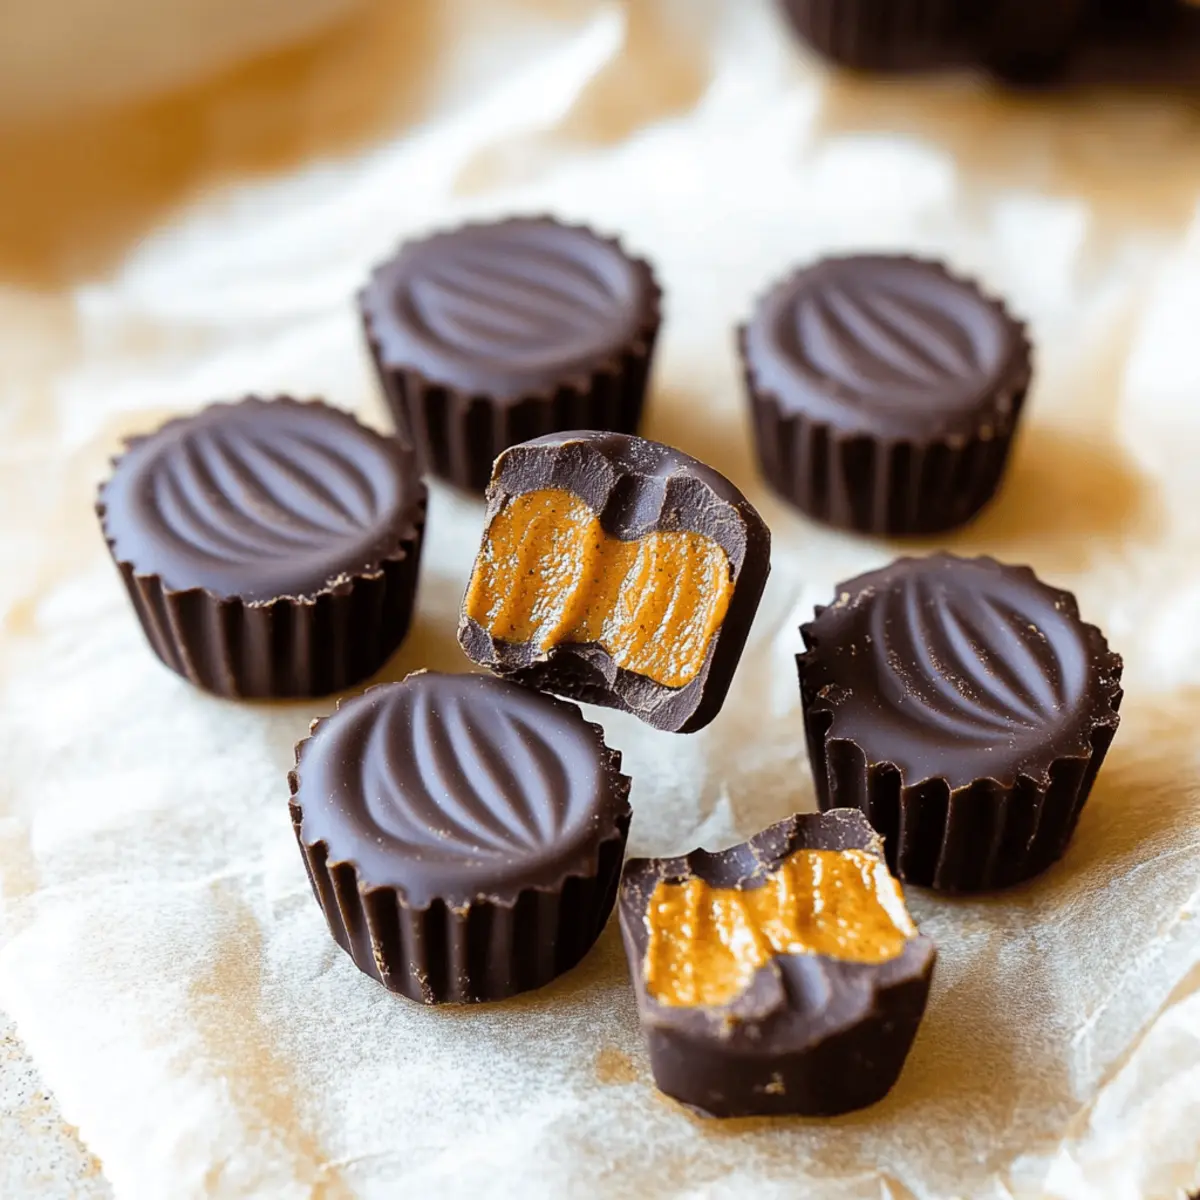
Make Ahead Options
These Chocolate Pumpkin Butter Cups are perfect for meal prep, allowing you to enjoy a delectable treat with minimal fuss on busy days! You can prepare the pumpkin filling up to 3 days in advance by mixing the pumpkin puree, almond butter, honey, and pumpkin spice. Simply refrigerate it in an airtight container until you’re ready to assemble your cups. The melted chocolate can also be made ahead; it’s best to melt and store it in a microwave-safe jar for up to 24 hours. When you’re ready to put your Chocolate Pumpkin Butter Cups together, follow the assembly steps by pouring the chocolate into molds and layering the filling—your guests will appreciate the fresh and delightful flavors, and you’ll save precious time!
How to Store and Freeze Chocolate Pumpkin Butter Cups
Fridge: Store the cups in an airtight container in the fridge for up to 3 days if you prefer a slightly softer treat, but they may lose some firmness.
Freezer: For longer storage, place them in an airtight container in the freezer for up to 3 months. Individually wrap them for easy snacking!
Reheating: When you’re ready to enjoy, simply let them sit at room temperature for a few minutes, as these Chocolate Pumpkin Butter Cups are best enjoyed slightly softened.
Separation Tips: To prevent sticking, layer parchment paper between the cups if storing in a container. This keeps them separate and easy to grab!
What to Serve with Chocolate Pumpkin Butter Cups?
These delightful cups are so good that you’ll want to round out your meals with just the right accompaniments!
-
Spiced Chai Latte: This warm, aromatic drink complements the pumpkin spice flavors, creating a cozy pairing perfect for fall evenings.
-
Cinnamon Sugar Donuts: The sweetness and spice of these fluffy treats echo the flavors in your Chocolate Pumpkin Butter Cups for a delightful indulgence.
-
Fresh Pear Slices: Juicy and crisp, pears add a refreshing contrast to the rich chocolate, making the whole experience more balanced.
-
Roasted Sweet Potatoes: Earthy and slightly sweet, these soft bites echo the pumpkin flavor while injecting some wholesome goodness into your dessert spread.
-
Nutty Granola: A crunchy topping or side on yogurt can enhance the chocolate experience while providing a satisfying textural contrast.
-
Herbal Tea: Enjoy a soothing cup of herbal tea, like chamomile or peppermint, as it cleanses the palate and rounds off the sweetness beautifully.
-
Creamy Coconut Yogurt: This dairy-free option offers a smooth, rich layer that harmonizes perfectly, especially when topped with a sprinkle of cinnamon.
-
Apple Crisp Bars: They embody the essence of autumn, contrasting textures nicely with your soft and creamy Chocolate Pumpkin Butter Cups.
These pairings will help elevate your experience and bring out the best flavors of your scrumptious creations!
Chocolate Pumpkin Butter Cups Variations
Feel free to get creative with these beloved treats and tailor them to your taste!
- Nut Butter Swap: Substitute almond butter with any favorite nut butter or Sunbutter for a nut-free version.
- Sugar-Free Sweetener: Replace honey with Lakanto Maple Syrup or agave syrup for a sugar-free treat.
- Spice it Up: Enhance the flavor by adding a dash of cayenne pepper for a spicy kick that contrasts delightfully with sweetness.
- Flavored Chocolate: Try using mint or orange-flavored chocolate chips for a refreshing twist on your pumpkin cups.
- Add a Crunch: Fold in crushed nuts or seeds into the pumpkin mixture for an exciting crunch and additional texture in every bite.
- Coconut Delight: Incorporate shredded coconut into the filling for a tropical flair that pairs beautifully with pumpkin and chocolate.
- Make it Mini: Use mini mold versions for bite-sized treats that are perfect for kids or parties where small indulgences are key.
- Pick Your Chocolate: Experiment with white chocolate or carob chips if you’re looking for a different taste sensation while keeping it allergy-friendly.
These delightful variations will ensure that your Chocolate Pumpkin Butter Cups never get boring! And if you’re hungry for more delicious creations, don’t forget to check out our Roasted Chocolate Cherry or Mini Chocolate Cheesecake recipes for extra sweetness. Enjoy your culinary adventure!
Expert Tips for Chocolate Pumpkin Butter Cups
- Mold Selection: Use silicone molds for easy release; they make removing the cups hassle-free. Mini muffin liners work great too!
- Chocolate Consistency: Ensure your chocolate is smooth and completely melted to avoid clumps. Stir thoroughly while melting for best results.
- Layering Technique: Wait until the first chocolate layer is fully set before adding the pumpkin mixture. This prevents mixing and keeps layers distinct.
- Storage Wisdom: Store your Chocolate Pumpkin Butter Cups in the freezer. They maintain their texture better than in the refrigerator, where they can soften.
- Piping Precision: If you don’t have a piping bag, use a plastic sandwich bag, cutting a small hole in one corner. It works just as well!
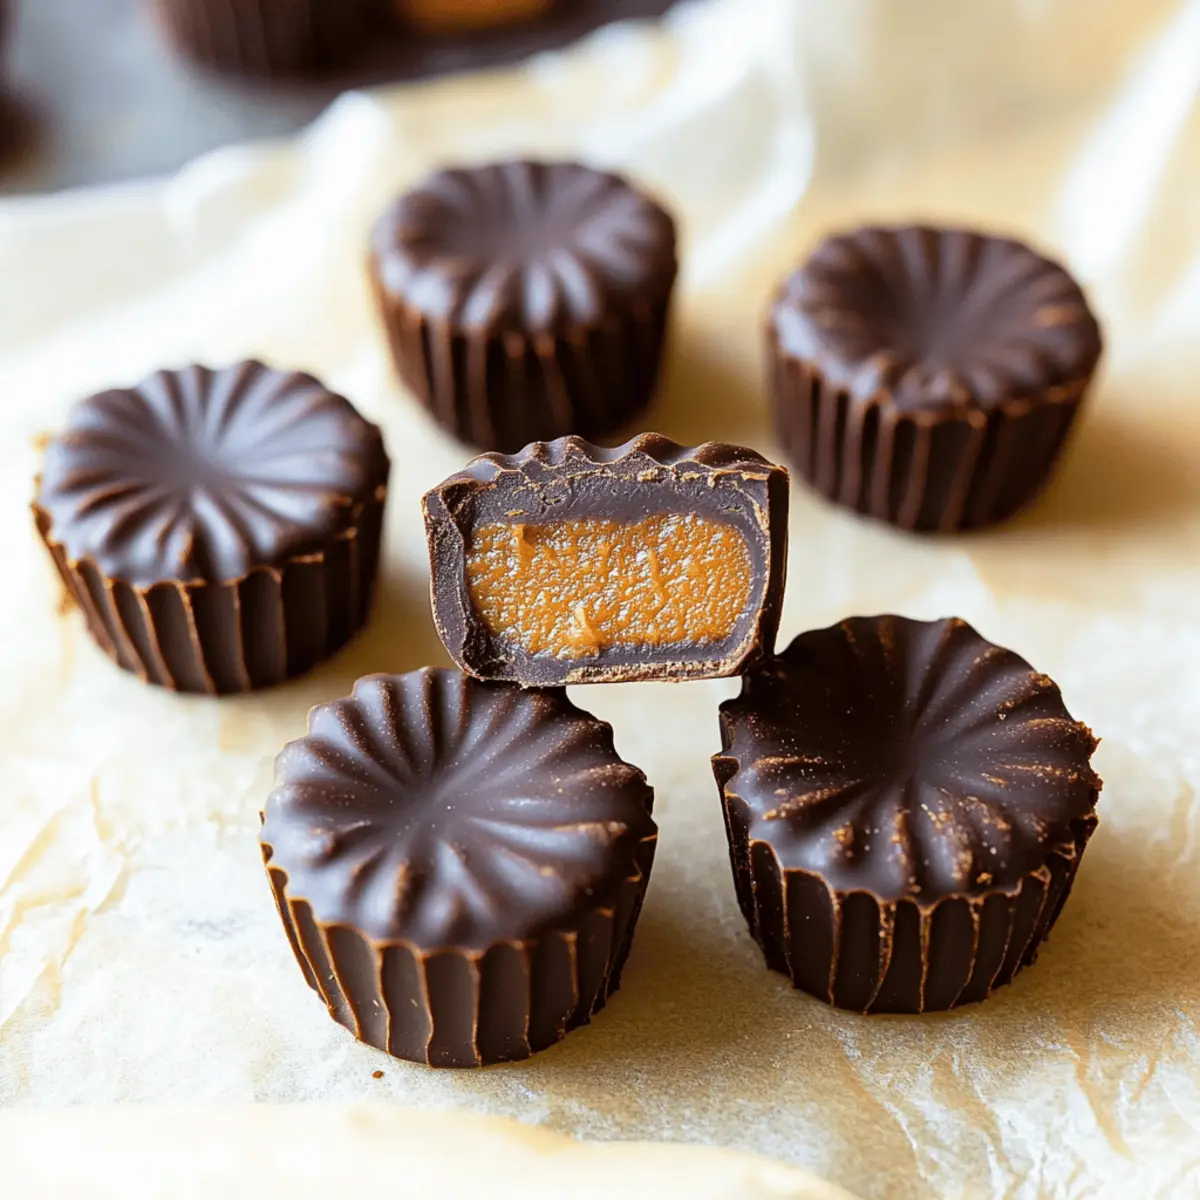
Chocolate Pumpkin Butter Cups Recipe FAQs
What type of pumpkin puree should I use?
Absolutely! You can use either fresh or canned pumpkin puree for these Chocolate Pumpkin Butter Cups. If you’re using fresh pumpkin, be sure to roast it until soft, then blend it until smooth. Canned pumpkin is a convenient option and offers a consistent flavor, ensuring a delicious filling every time!
How long can I store my Chocolate Pumpkin Butter Cups?
For optimal freshness, store your cups in an airtight container in the freezer for up to 3 months. If kept in the fridge, they can last about 3 days, but they may soften slightly, losing their delightful firmness. I recommend using the freezer for the best texture!
Can I freeze Chocolate Pumpkin Butter Cups? If so, how do I do it?
Yes, you can definitely freeze these treats! To freeze, ensure they are fully set, then place the cups in an airtight container separated by parchment paper to prevent sticking. They will be good for up to 3 months. When you’re ready to enjoy, just let them sit at room temperature for a few minutes, allowing them to soften slightly for the best taste experience.
What should I do if my chocolate seizes while melting?
Very! If your chocolate seizes and becomes grainy, don’t panic! You can rescue it by adding a teaspoon of coconut oil or vegetable shortening and stirring until smooth. This little tip can restore the chocolate’s silky texture, making it perfect for coating your Chocolate Pumpkin Butter Cups!
Are Chocolate Pumpkin Butter Cups safe for people with nut allergies?
Certainly! To make these cups nut-free, simply substitute almond butter with SunButter or another seed butter that suits your dietary needs. Always double-check ingredient labels for allergens, ensuring a safe and delicious treat for everyone to enjoy!
Can I use a different sweetener instead of honey?
Absolutely! If you’re looking for a sugar-free option, you can replace honey with Lakanto Maple Syrup or another preferred sweetener like agave syrup. Just keep in mind that the consistency may vary slightly, so adjust as necessary to get that perfect creamy filling for your Chocolate Pumpkin Butter Cups.
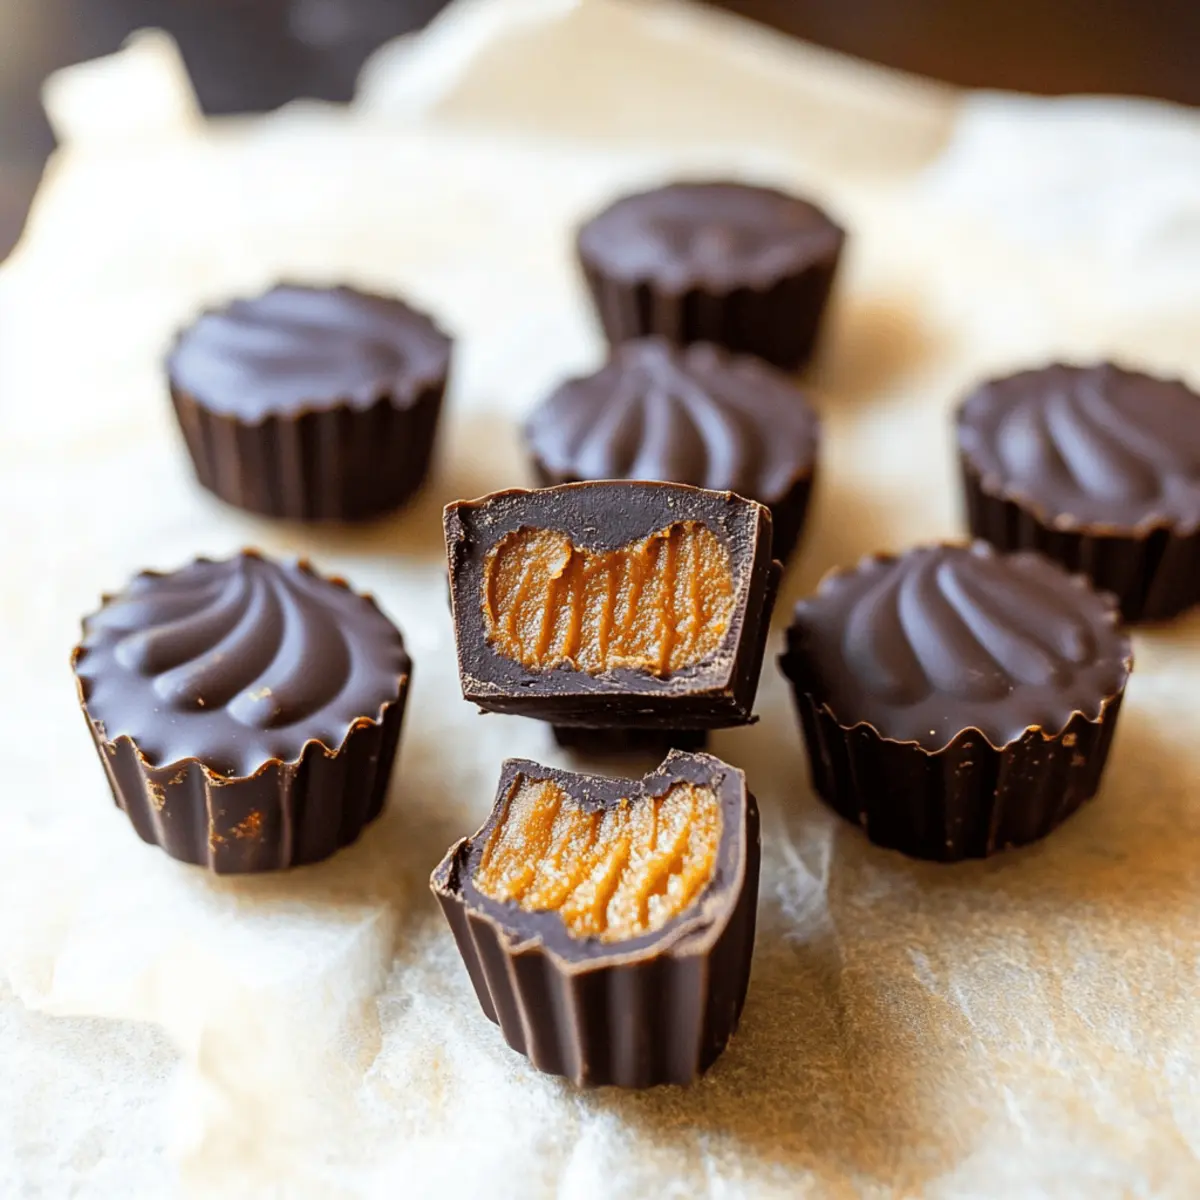
Delicious Chocolate Pumpkin Butter Cups for Fall Treats
Ingredients
Equipment
Method
- Soften the Almond Butter by microwaving it for about 30 seconds until smooth.
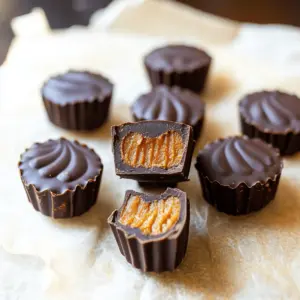
- Prepare the Pumpkin Filling by mixing the almond butter, pumpkin puree, honey, and pumpkin spice until smooth.

- Melt the Chocolate by microwaving chocolate chips and coconut oil in intervals, stirring until fully melted.

- Create the Chocolate Shell by pouring melted chocolate into molds, filling them one-third full and spreading up the sides. Freeze for 10 minutes.

- Add the Pumpkin Mixture by piping it into each shaped chocolate shell until full.

- Freeze Again for Firmness by chilling for another 5-10 minutes to set the filling.

- Top with Final Chocolate Layer by pouring the remaining melted chocolate over the pumpkin-filled cups and smooth it out.

- Serve and Store by removing from molds and storing in an airtight container in the freezer.


Leave a Reply