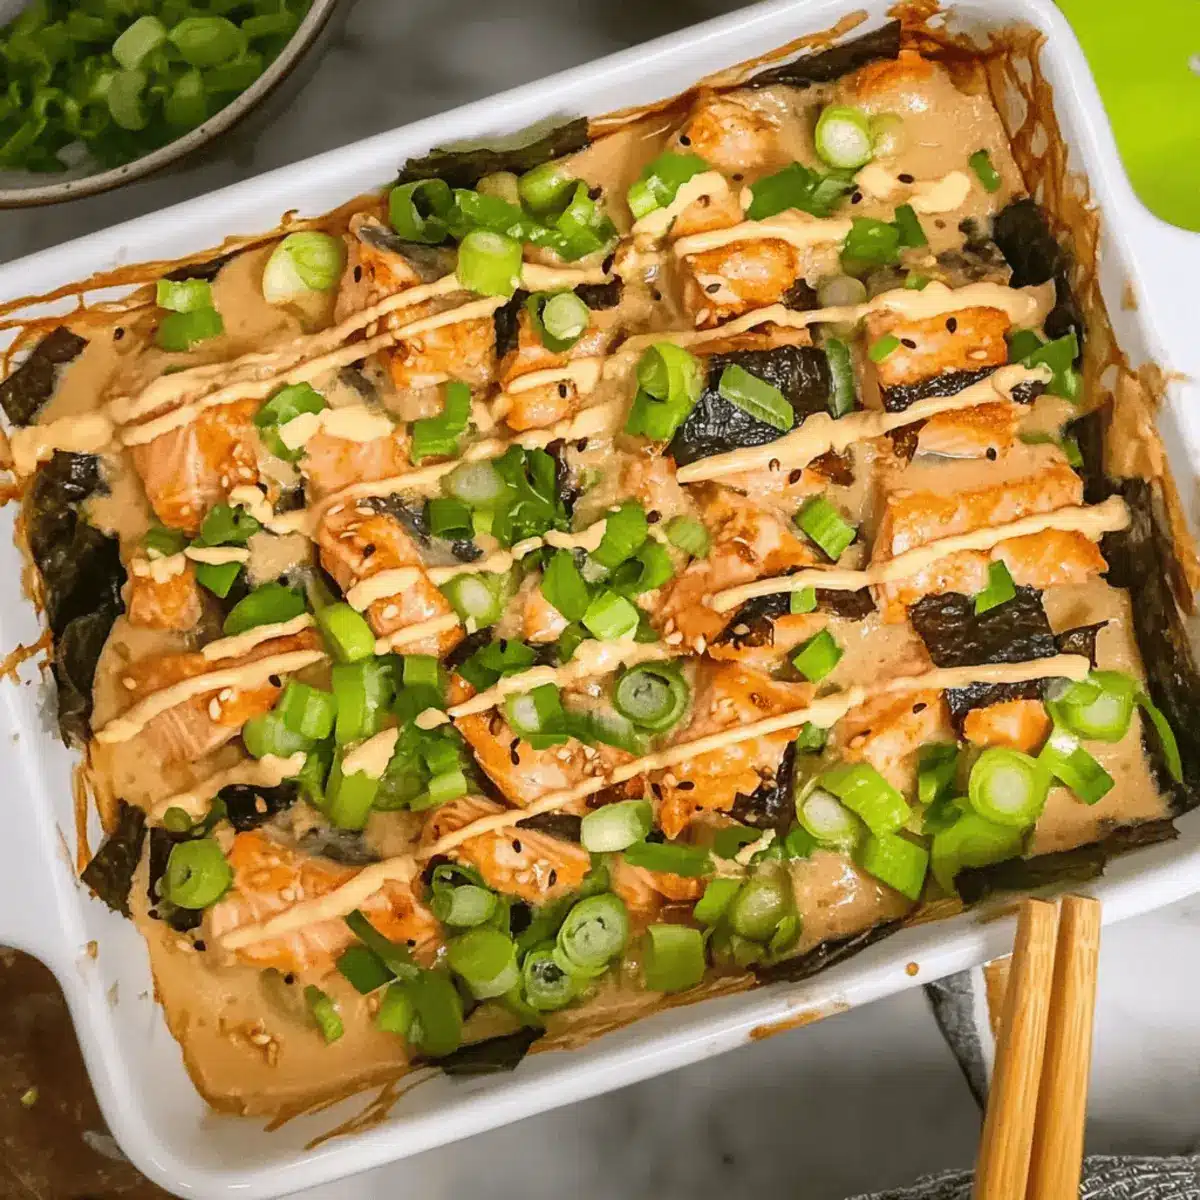
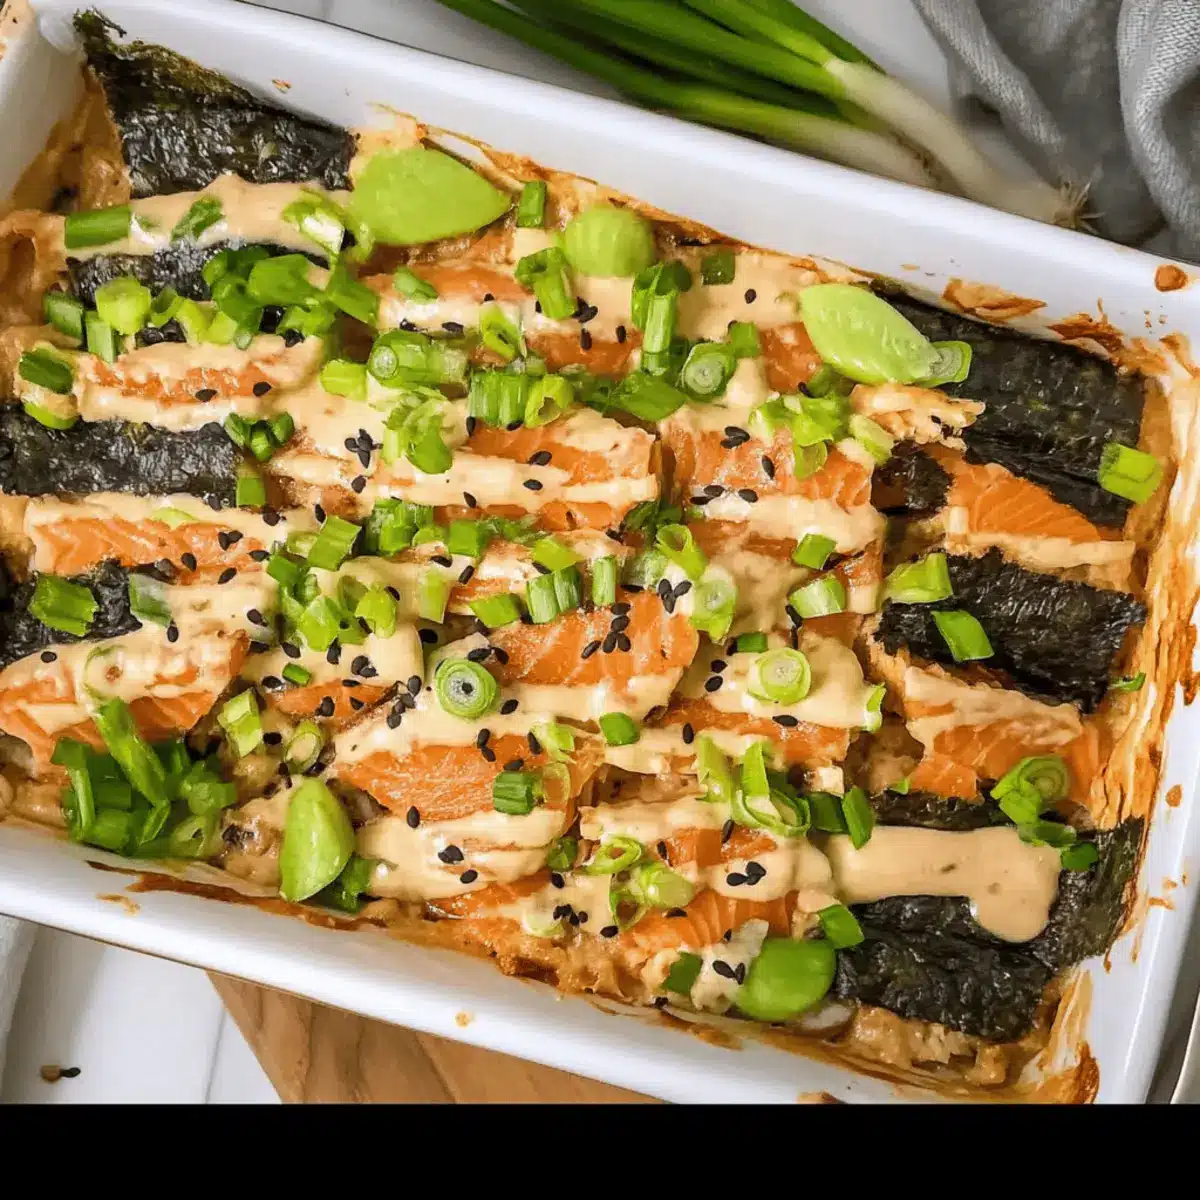
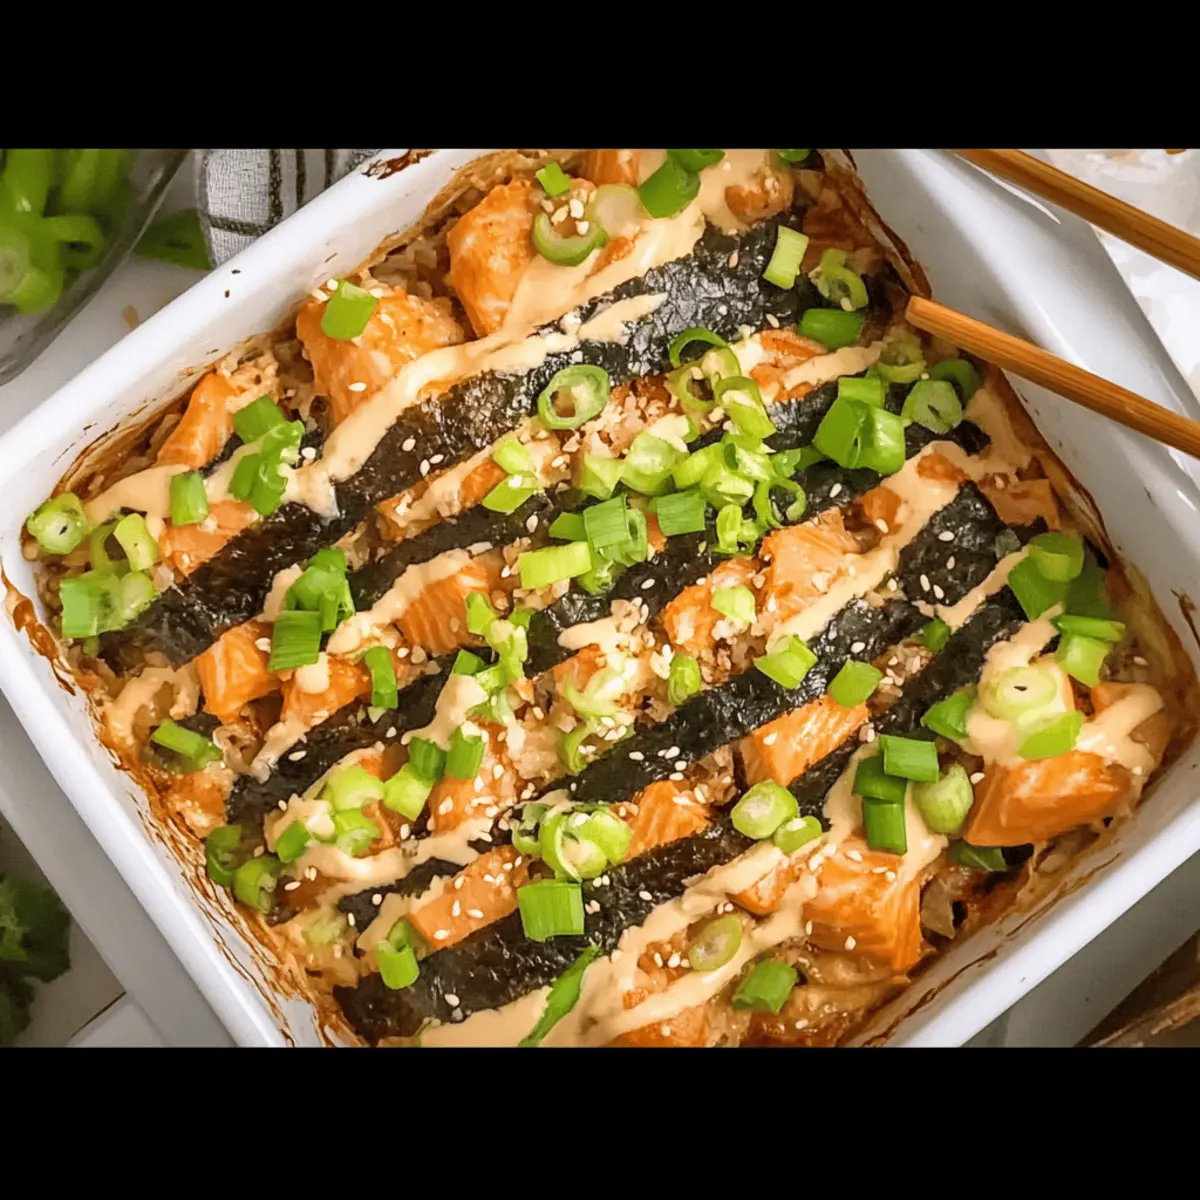
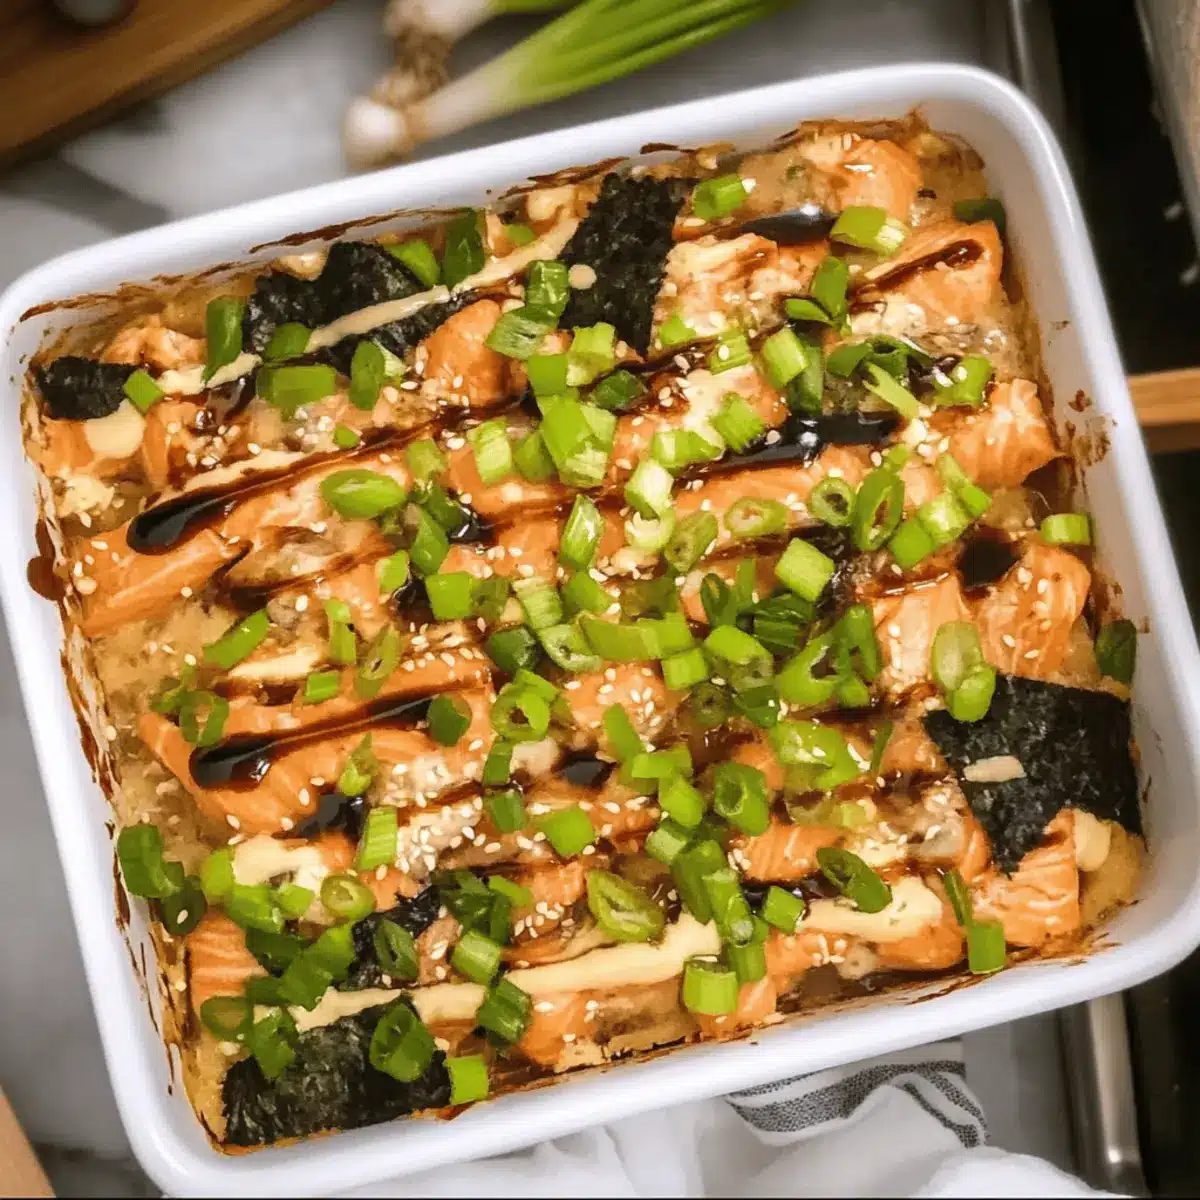
A warm, savory aroma drifted through my kitchen—there’s something magical about the smell of baked salmon, isn’t there? Enter the Creamy Salmon Sushi Bake: a delightful twist on traditional sushi that promises all the charming flavors you love without the fuss of rolling. This recipe is not only a quick and easy solution for cozy family dinners, but it’s also packed with omega-3 goodness, making it a heart-healthy comfort food option. Imagine diving into a creamy, bubbly casserole topped with crispy layers, perfect for impressing guests or simply satisfying your own cravings. Are you ready to ditch the takeout and create a homemade masterpiece that will have everyone asking for seconds? Let’s get cooking!

Why Is This Salmon Sushi Bake Special?
Comforting, This dish combines the beloved flavors of sushi into a warm casserole, perfect for those chilly nights.
Simple to Make, With no complicated rolling required, you’ll have a delightful meal ready in under 30 minutes.
Omega-3 Rich, Enjoy the health benefits of salmon while indulging in a creamy, savory delight.
Flexible Ingredients, Swap in your favorite veggies or types of fish, making it a truly personalized dish.
Crowd-Pleasing, Whether it’s family dinner or a get-together, this hearty meal will leave everyone satisfied.
Serve it warm alongside soy sauce for dipping or try it with a touch of pickled ginger—your guests will think you’re a culinary genius! For additional ideas, consider using flavors from my Spiced Salmon Potatoes or lighten it up with a refreshing Strawberry Shortcake Sushi.
Salmon Sushi Bake Ingredients
For the Base
- Salmon – A rich source of omega-3 fatty acids and the star of our Salmon Sushi Bake. Canned salmon is a convenient substitute!
- Sushi Rice – This sticky rice acts as the foundation, ensuring every bite is packed with flavor. If unavailable, short-grain rice works beautifully too!
For the Creamy Mix
- Creamy Sauce (e.g., mayonnaise, cream cheese) – It lends richness and moisture to the dish. Opt for low-fat versions if you’re looking for a lighter meal!
For the Flavor Boost
- Nori Sheets – These add delightful umami and texture; you can sprinkle them on top or serve them on the side for hand-rolling.
- Green Onions & Sesame Seeds – Perfect for enhancing flavor and providing a fresh garnish; chives make a great alternative or feel free to leave them out!
Get ready to bring this cozy and delectable Salmon Sushi Bake to your table!
Step‑by‑Step Instructions for Salmon Sushi Bake
Step 1: Preheat the Oven
Start by preheating your oven to 350°F (175°C). This will ensure that the Salmon Sushi Bake cooks evenly and develops a beautiful golden crust. While the oven heats up, you can begin preparing the rice and other ingredients, making this step a smooth transition into the cooking process.
Step 2: Prepare the Rice
Begin cooking the sushi rice according to the package directions, which usually involves rinsing and simmering it until tender. This process typically takes about 15-20 minutes. Once cooked, let it sit for a few minutes to properly steam, then fluff it with a fork—you want it to be sticky and flavorful, as it will form the base of your Salmon Sushi Bake.
Step 3: Mix the Ingredients
In a large bowl, flake the cooked salmon and mix it with your chosen creamy sauce, ensuring everything is evenly combined. You might also add any extra seasonings or ingredients, like a splash of soy sauce or sriracha for some heat. This flavorful mixture will be the heart of your Salmon Sushi Bake, providing a rich and savory filling.
Step 4: Layer the Ingredients
Take a baking dish and evenly spread the prepared sushi rice as the bottom layer. Make sure to pack it gently to create a solid base. Next, layer the salmon mixture on top, smoothing it out so every bite is deliciously creamy. If you’re using nori sheets, this is the perfect time to sprinkle them on for added umami flavor.
Step 5: Bake the Casserole
Place the baking dish in the preheated oven and bake for 25-30 minutes. Keep an eye on it, looking for a beautifully golden top that indicates it’s ready. The Salmon Sushi Bake will bubble invitingly, promising a comforting meal that is both visually appealing and aromatic.
Step 6: Serve and Garnish
Once baked to perfection, remove your Salmon Sushi Bake from the oven and allow it to cool for a few minutes. This resting time helps set the layers. Before serving, sprinkle chopped green onions and sesame seeds on top for a burst of fresh flavor and an appealing aesthetic—now it’s ready to be enjoyed!

Make Ahead Options
These Creamy Salmon Sushi Bake preparations are perfect for busy home cooks looking to save time during the week! You can prepare the sushi rice and mix the creamy salmon filling up to 24 hours in advance. Simply store them separately in airtight containers in the refrigerator to maintain their quality. When you’re ready to bake, just layer the seasoned rice and salmon mixture in your baking dish, top with nori (if using), and pop it in a preheated oven at 350°F (175°C) for 25-30 minutes until golden and bubbly. This way, you can enjoy a warm, comforting meal with minimal effort at the end of the day!
How to Store and Freeze Salmon Sushi Bake
Fridge: Store any leftover Salmon Sushi Bake in an airtight container for up to 3 days. Allow it to cool completely before sealing to maintain its delicious texture.
Freezer: If you want to save some for later, you can freeze the unbaked dish tightly wrapped for up to 2 months. When ready to enjoy, bake from frozen, adding a little extra time as needed.
Reheating: For best results, reheat in the oven at 350°F (175°C) for about 15-20 minutes until heated through. Alternatively, microwave individual portions for a quick meal.
Expert Tips for Salmon Sushi Bake
-
Rice Consistency: Ensure your sushi rice is sticky enough to hold the structure. Rinse it thoroughly before cooking to remove excess starch.
-
Flavor Experimentation: Feel free to add your favorite seasonings or veggies, such as diced bell peppers or avocado, to customize your Salmon Sushi Bake.
-
Crispy Finish: For the ultimate golden and crispy top, broil the dish for a few minutes after baking, but watch it closely to prevent burning.
-
Serving Size: Cut leftover sushi bake into portions and serve it in individual bowls; it reheats beautifully in the oven or microwave for a quick meal.
-
Storage Tips: If you plan to freeze leftovers, it’s best to do so before baking. Wrap tightly and bake from frozen to enjoy later.
Salmon Sushi Bake Variations
Feel free to get creative and make this dish your own—with just a few tweaks, you can elevate its flavors and textures!
-
Vegetable Boost: Add avocado or bell peppers for a fresh crunch and vibrant color. These veggies not only enhance the dish aesthetically but also bring a delightful flavor contrast to the creamy salmon.
-
Spice It Up: Mix in sriracha into the creamy sauce or drizzle spicy mayo on top for an unexpected kick. This simple addition will turn your comforting bake into a flavorful explosion!
-
Seafood Mix: Substitute your salmon with tuna or even a mix of different seafood like shrimp and crab to create a delicious medley. Each type of fish has its unique flavor, adding a layer of complexity to your dish.
-
Dairy-Free Delight: Swap the creamy sauce with avocado cream or dairy-free mayonnaise to cater to lactose-intolerant guests. It’ll still deliver that creamy texture without the dairy.
-
Crispy Garlic Topping: Sprinkle panko breadcrumbs mixed with garlic powder and a touch of olive oil on top before baking. This will give your Salmon Sushi Bake an extra crunchy layer that’s simply irresistible.
-
Nori-Free Option: If nori isn’t your thing, simply omit it or replace it with a sprinkle of seaweed flakes for a similar taste without the roll. This makes it more user-friendly for those less familiar with traditional sushi.
-
Herb Infusion: Stir in some fresh dill or cilantro for an herbaceous touch. These herbs not only complement the salmon but infuse the dish with a refreshing aroma and taste.
-
Egg Enrichment: For added richness, crack a couple of eggs into the salmon mixture before layering. This twist will create a frittata-like texture within your bake, making it even heartier.
Just imagine, now you can enjoy a warm, cheesy Salmon Sushi Bake on a cozy evening with delightful variations that cater to every palate. For additional ideas, consider flavors from my Spiced Salmon Potatoes or bring a sweet twist to dinner with Strawberry Shortcake Sushi. Happy cooking!
What to Serve with Salmon Sushi Bake
Create a delightful meal with vibrant flavors and textures that perfectly complement your comforting casserole creation.
- Crispy Green Salad: Fresh greens tossed with a tangy vinaigrette enhance the richness of the bake, offering a refreshing crunch.
- Miso Soup: The umami character of warm miso soup pairs beautifully with the flavors of salmon, bringing warmth to your table.
- Edamame: Steamed edamame sprinkled with sea salt offers a satisfying, protein-rich side that adds a fun bite to your meal.
- Pickled Ginger: This classic sushi accompaniment cuts through the richness, refreshing the palate between bites of the creamy salmon bake.
For a twist, consider serving with Roasted Vegetables: Colorful seasonal veggies caramelized just right add natural sweetness, balancing the savory notes of the dish while contributing additional nutrients.
Don’t forget to finish the meal with a light Green Tea Sorbet: The subtle sweetness and coolness offer a refreshing way to end your dining experience after the comfort of the salmon sushi bake.

Salmon Sushi Bake Recipe FAQs
How do I select the best salmon for this recipe?
Absolutely! For the best flavor, look for salmon that is vibrant and has no dark spots or discoloration. Fresh salmon should have a mild ocean scent and moist flesh. If using canned salmon, choose a brand that uses wild-caught fish for better quality.
What is the best way to store leftovers?
To keep your Salmon Sushi Bake fresh, store any leftovers in an airtight container in the refrigerator for up to 3 days. Make sure to let it cool completely before sealing. This will help maintain its creamy texture!
Can I freeze the Salmon Sushi Bake?
Yes, you can freeze the unbaked Salmon Sushi Bake! Wrap it tightly in plastic wrap or aluminum foil and store it in the freezer for up to 2 months. When you’re ready to enjoy, simply bake it straight from frozen at 350°F (175°C) for about 40-45 minutes, and watch for that glorious golden crust!
What if my salmon sushi bake is too dry?
If your Salmon Sushi Bake comes out dry, it could be due to overcooking or not enough sauce. The next time, try adding an extra tablespoon of creamy sauce before baking, or reduce the baking time by a few minutes. Ensuring that your rice is cooked to the right sticky consistency also helps retain moisture in the dish.
Can pets eat this dish?
I wouldn’t recommend it! While salmon is safe for dogs (and even beneficial in moderation), the other ingredients like sauce and seasonings may not be suitable for pets. Always consult your veterinarian before sharing any human food with your furry friends.
Are there any allergy considerations for this recipe?
Absolutely! This recipe contains fish and dairy, which are common allergens. If you’re serving guests with allergies, consider making a dairy-free creamy sauce using cashew cream or a vegan mayo substitute. Always check product labels to ensure they’re allergy-friendly.

Savory Salmon Sushi Bake: Cozy Comfort Food Delight
Ingredients
Equipment
Method
- Preheat your oven to 350°F (175°C).
- Cook the sushi rice according to package directions.
- Flake the cooked salmon and mix it with the creamy sauce.
- Spread the cooked sushi rice in a baking dish.
- Layer the salmon mixture on top of the sushi rice.
- Bake for 25-30 minutes until golden brown.
- Garnish with green onions and sesame seeds before serving.

Leave a Reply