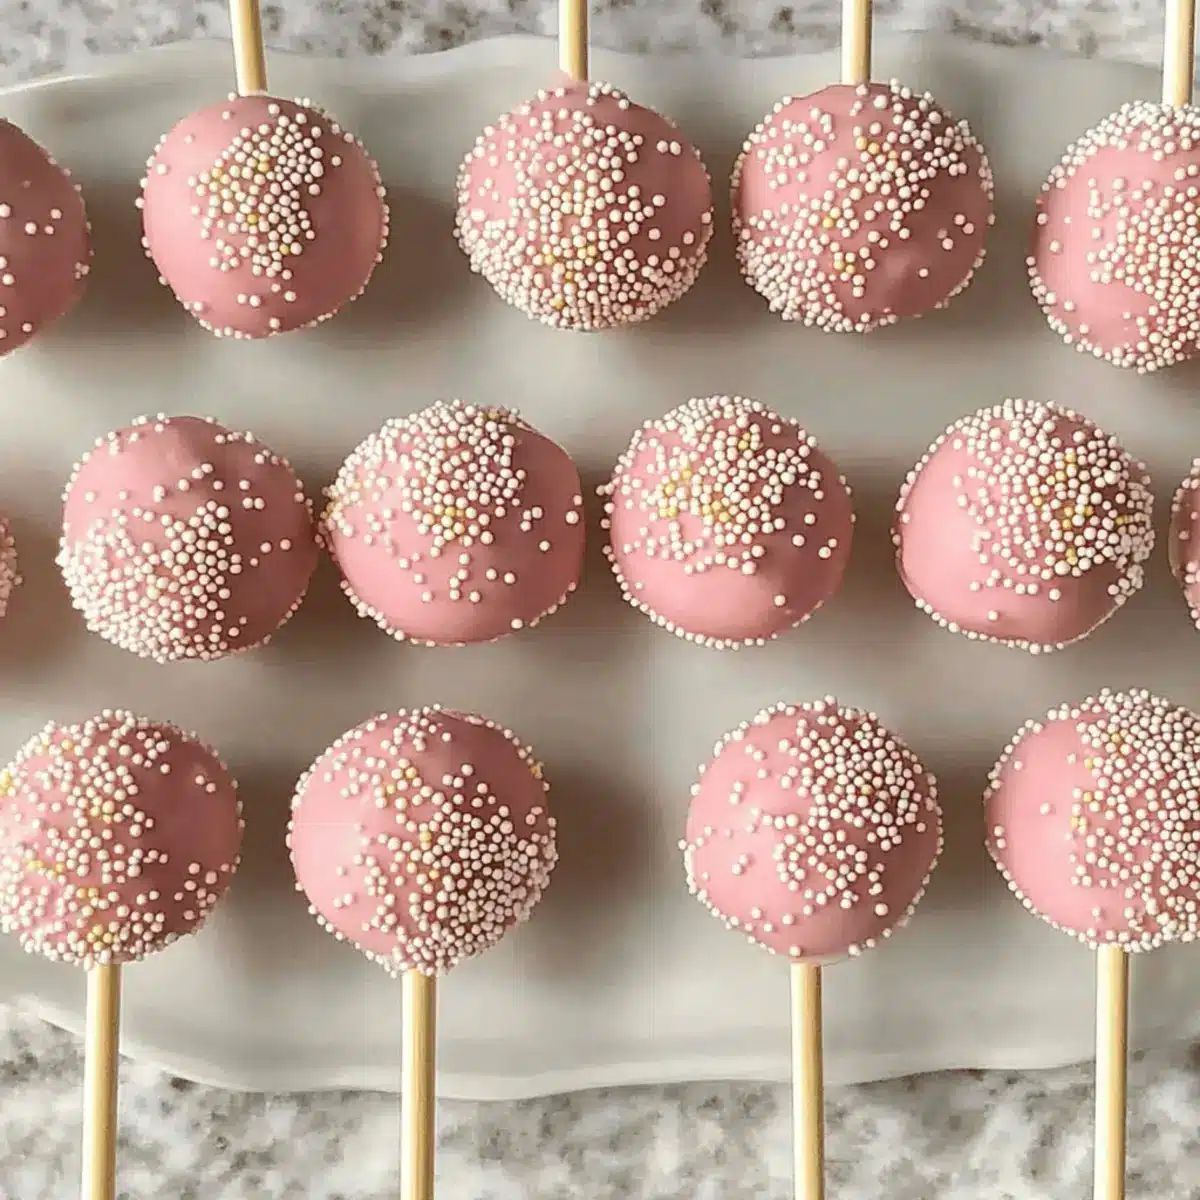
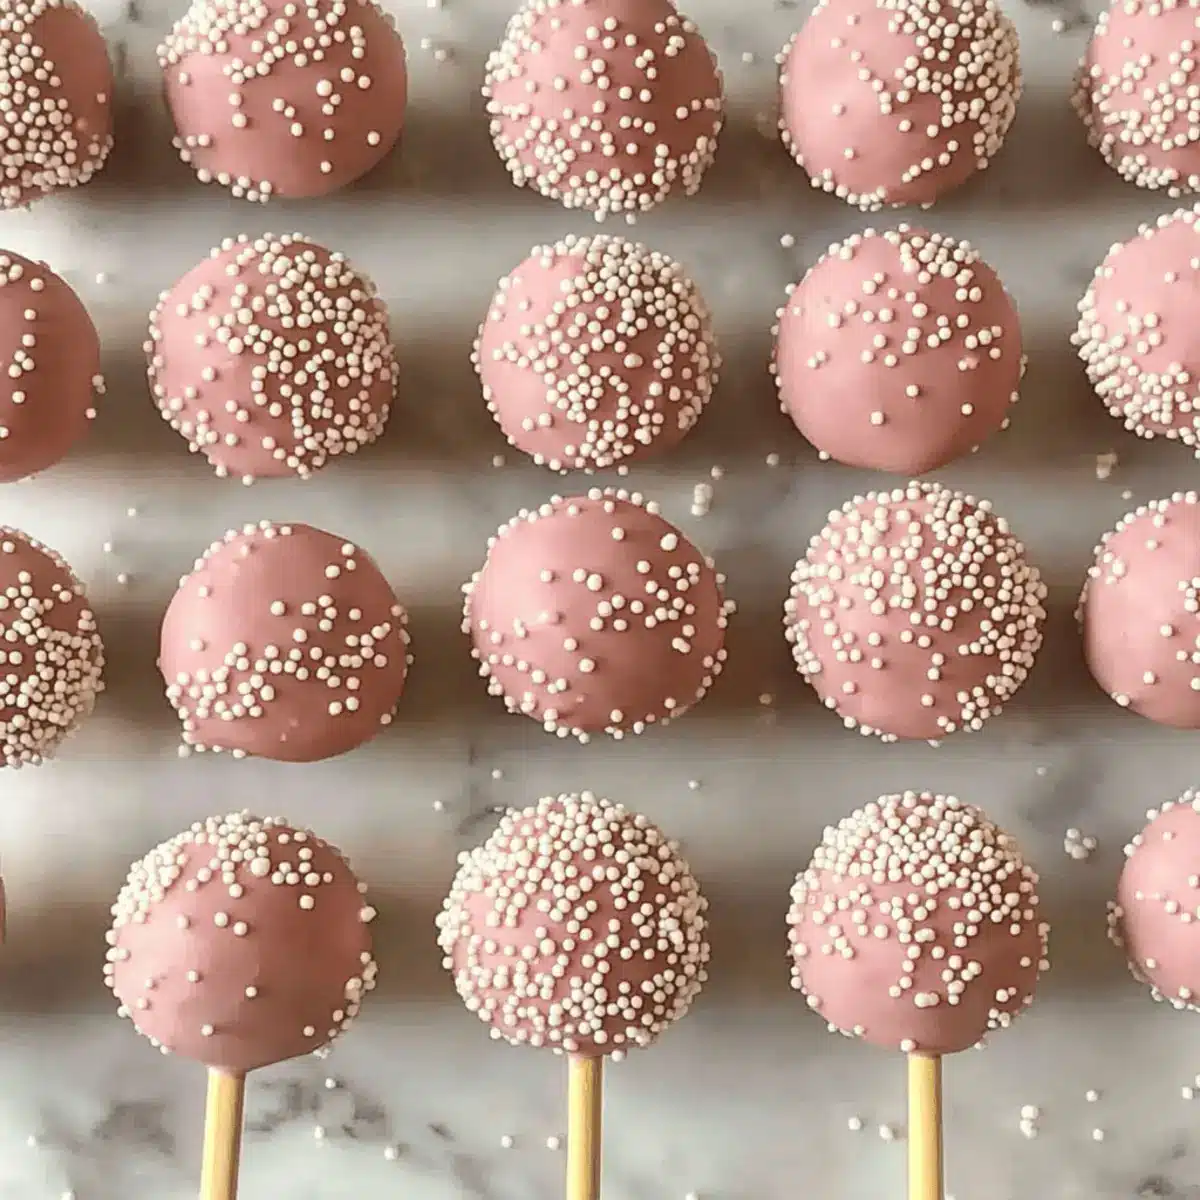
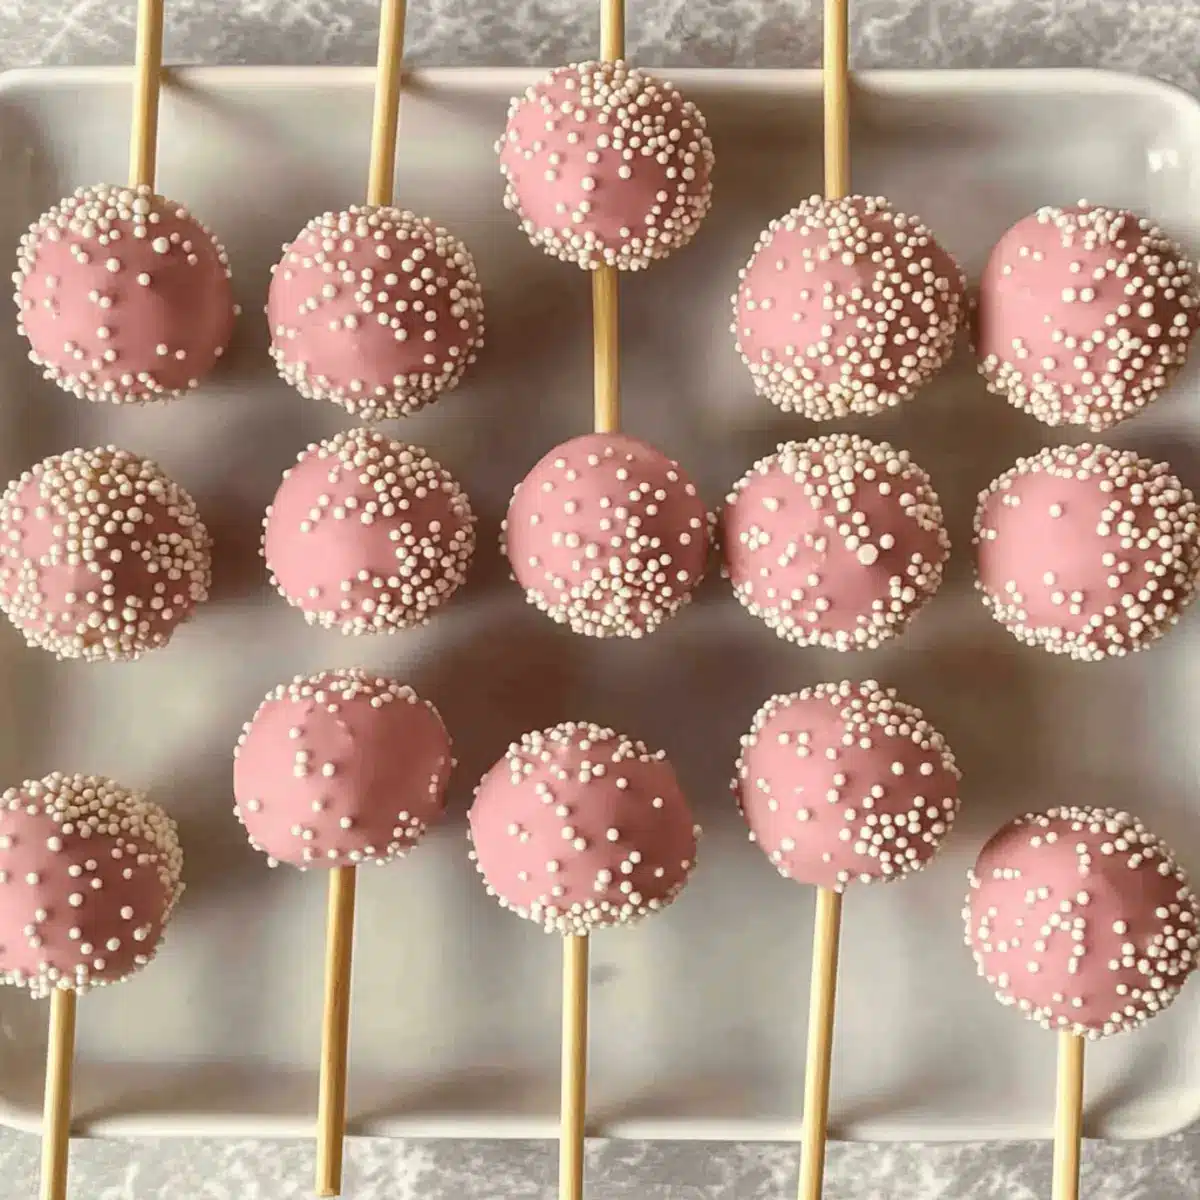
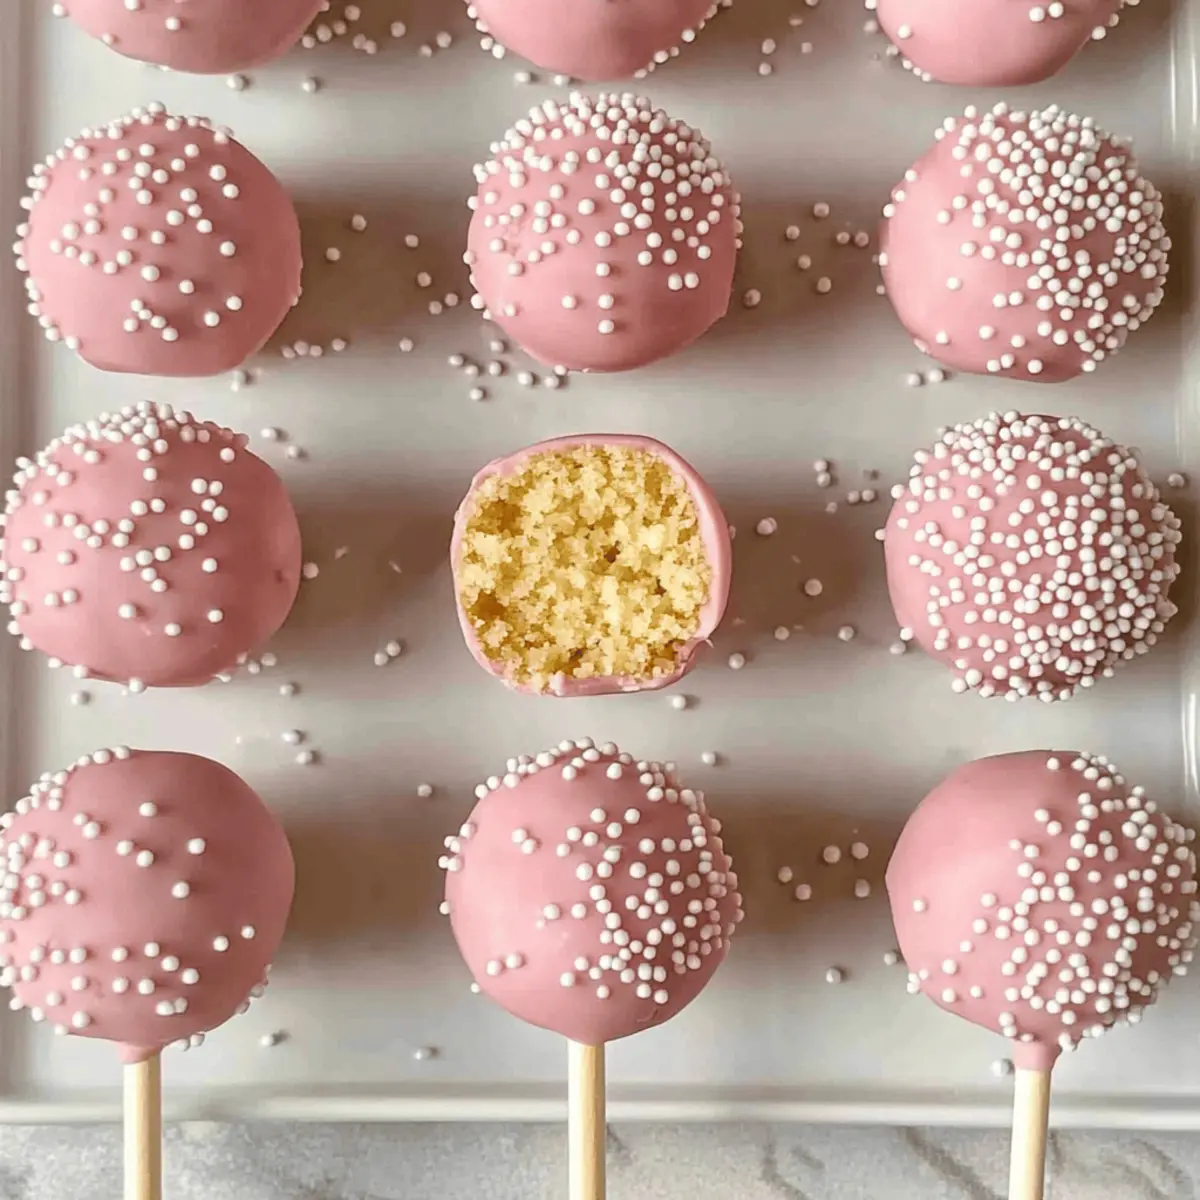
“Is there anything better than a homemade dessert that takes you right back to your favorite coffee shop?” I found myself wondering as I created these delightful Starbucks Copycat Birthday Cake Pops. They’re not just a treat; they’re a joyful reminder of celebrations past. This recipe marries the joy of baking with a fun twist that’s perfect for any occasion! Not only are these cake pops budget-friendly and simple to whip up, but they also offer a wonderful way to elevate your dessert game—no drive-thru necessary. With a moist, flavorful cake and a silky candy coating, they’re sure to be a hit with kids and adults alike. So grab your mixing bowl and let’s make some sweet memories together—are you ready for a cake pop adventure?

Why Make Starbucks Copycat Cake Pops?
Irresistible Flavor: Each bite of these cake pops bursts with the familiar taste of your favorite coffee shop treat, perfected with a homemade touch.
Kid-Friendly Fun: They’re not just delicious; these cake pops are a great project to involve the kids in—watch their faces light up as they decorate!
Budget-Friendly: Ditch the overpriced cake pops from the store; you can recreate this indulgent snack affordably right at home.
Simple Steps: With easy-to-follow instructions, you’ll feel like a pro baker in no time, perfect for both seasoned chefs and beginners.
Endless Variations: Experiment with flavors by swapping the vanilla cake mix or trying different coatings for a personal touch—think chocolate or even lemon! Once you’ve mastered the basics, you’ll want to check out my Lemon Cake Die for another delightful dessert adventure.
Starbucks Copycat Birthday Cake Pops Ingredients
Get ready to whip up these delightful treats!
For the Cake
• Vanilla Cake Mix – This is the foundation of your cake pops; any store-bought variety will do!
• Neutral Oil – Keeps the cake moist; vegetable or avocado oil works perfectly.
• Milk – Make your cake richer by substituting milk for water.
• Eggs – Four large eggs help bind the ingredients and add moisture.
For the Buttercream
• Unsalted Butter – Softened for easy mixing; it’s crucial for smooth buttercream.
• Powdered Sugar – Sweetness and structure; avoid granulated sugar for a gritty texture.
• Vanilla Extract – Pure vanilla enhances flavor; it’s the secret to delicious buttercream!
• Salt – Balances the sweetness of the buttercream.
For the Coating
• Candy Melts – These create that smooth, glossy coating; colored melts are great for festive flair!
• Nonpareils or Sprinkles – Perfect for decoration, adding a fun visual touch to your cake pops.
Relish the joy of making Starbucks Copycat Birthday Cake Pops that are as sweet as they are fun!
Step‑by‑Step Instructions for Starbucks Copycat Birthday Cake Pops
Step 1: Preheat Oven and Prepare Batter
Begin by preheating your oven to 325°F (163°C). In a large mixing bowl, prepare the vanilla cake mix according to the box instructions, substituting water with milk for a richer flavor and adding an extra egg. Use a whisk or electric mixer to combine until the batter is smooth and free of lumps, about 2 minutes.
Step 2: Bake the Cake
Pour the prepared cake batter into a greased 9×13 inch baking pan. Bake in the preheated oven for 25-30 minutes, or until a toothpick inserted in the center comes out clean. Allow the cake to cool in the pan for about 10 minutes before transferring it to a wire rack to cool completely.
Step 3: Prepare Cake Crumbs
Once the cake is completely cool, crumble it into a large mixing bowl. Use your hands or a stand mixer on low speed to break the cake into fine crumbs. Aim for a texture that resembles small granules rather than large chunks—this will help with binding later when you mix in the buttercream.
Step 4: Mix the Buttercream
In a separate bowl, beat together the softened unsalted butter, powdered sugar, vanilla extract, and a pinch of salt. Gradually add a few tablespoons of milk, mixing until the buttercream is smooth and creamy. You should have a luscious, spreadable consistency that clings to a spatula without being too runny.
Step 5: Combine Cake and Buttercream
Add the buttercream to the crumbled cake mixture a little at a time, stirring until everything is well combined. The mixture should hold together when squeezed in your hand. If it feels too dry, add a bit more buttercream. Aim for a uniform dough that is moist yet not overly sticky—this is crucial for forming the pops.
Step 6: Form Balls
Using your hands, scoop out about 30 grams (or 1¼ inch diameter) of the combined mixture and roll it into a tight ball. Place each ball on a baking sheet lined with parchment paper. Once shaped, chill the cake balls in the freezer for 15 minutes to firm them up, which will make them easier to dip later.
Step 7: Prepare for Coating
While the cake balls chill, melt the candy melts according to the package instructions. Use a microwave-safe bowl, heating in 30-second intervals, stirring in between until smooth. Ensure the consistency is thin enough for dipping, but not too hot to burn the cake pops later; a warm, glossy finish is ideal.
Step 8: Insert Sticks
Remove the cake balls from the freezer. Dip the tip of each lollipop stick into the melted candy before gently inserting it halfway into the center of each cake ball. This helps the stick adhere better as the chocolate sets. Once inserted, place the cake pops back in the fridge for another 15 minutes to firm up.
Step 9: Dip Cake Pops
Retrieve the chilled cake pops and dip each one into the melted candy coating, fully submerging it. Swirl to ensure even coverage, then allow excess candy to drip back into the bowl. Aim for a smooth coating with no gaps or visible cake showing—this will create an appealing finish, reminiscent of store-bought Starbucks Copycat Birthday Cake Pops.
Step 10: Decorate
Before the coating hardens, sprinkle nonpareils or colorful sprinkles on top of each cake pop for a festive touch. Allow the coated cake pops to dry upright in a foam block or a tall glass until completely set, which usually takes about 30 minutes. Enjoy the sight of your wonderfully decorated treats as they harden!

Make Ahead Options
These Starbucks Copycat Birthday Cake Pops are perfect for meal prep enthusiasts looking to save time during busy weeks! You can prepare the cake pops up to 24 hours in advance by baking the cake, crumbling it, and mixing it with the buttercream. Simply store the formed cake balls in an airtight container in the fridge until you’re ready to dip them. To maintain quality, ensure they are well-chilled, as this helps prevent cracks in the candy coating. When you’re ready to serve, just melt your candy melts, dip the chilled cake pops, and add your favorite sprinkles for a delightful finish. You’ll have delicious treats with minimal effort when you’re ready to celebrate!
What to Serve with Starbucks Copycat Birthday Cake Pops?
Imagine a delightful celebration, where every sweet treat shines brightly beside your Starbucks Copycat Birthday Cake Pops, enhancing the joy in every bite.
-
Creamy Vanilla Ice Cream: The cool, creamy texture of vanilla ice cream pairs wonderfully with the sweet richness of cake pops, making each bite a blissful experience. A perfect indulgence for a summertime treat!
-
Fresh Fruit Salad: Bright, colorful fruits like strawberries and blueberries add a refreshing contrast, balancing the sweetness of the cake pops. Their natural tartness offers a delightful combination that’s both healthy and tasty.
-
Chocolate Dipping Sauce: A warm, velvety chocolate sauce transforms your cake pops into a decadent experience, elevating the sweetness to another level. Guests can get creative dipping their cake pops in this luscious sauce!
-
Milkshakes: A thick and creamy milkshake complements the texture of the cake pops, providing a luscious, dreamy combination that feels like a party all on its own. Chocolate or vanilla flavors would be a fantastic match!
-
Homemade Lemonade: The tangy zest of fresh lemonade cuts through the sweetness of the cake pops, creating a perfectly balanced refreshing drink. Ideal for summer gatherings or any joyful occasion!
-
Mini Cupcakes: Offering little bites of flavor that can mirror the cake pop experience, mini cupcakes provide variety and a chance for guests to savor more than one sweet delight.
-
Chocolate-Covered Pretzels: The salty crunch of chocolate-covered pretzels pairs intriguingly with the sweet cake pops, making for a fun flavor contrast that leaves everyone craving more. A surprising twist to elevate dessert time!
How to Store and Freeze Starbucks Copycat Birthday Cake Pops
Room Temperature: Store cake pops in a cool, dry place for up to 2–3 days. Use an airtight container to prevent them from drying out.
Fridge: Keep your cake pops in the refrigerator for up to 2 weeks. Place them in a single layer in an airtight container, separated by parchment paper to avoid sticking.
Freezer: For longer storage, freeze cake pops for up to 3 months. Wrap each individual cake pop in plastic wrap, then place them in a freezer-safe bag or container.
Reheating: When ready to enjoy, remove from the freezer and let them thaw in the fridge for a few hours before serving. This helps maintain their texture and flavor for delightful treats!
Expert Tips for Starbucks Copycat Birthday Cake Pops
Chill Before Dipping: Always chill the cake balls before dipping into the candy coating to prevent cracking and maintain their shape.
Perfect Consistency: Ensure that melted candy melts are warm but not too hot to avoid cooking the cake pops. A smooth, thin consistency works best.
Measure for Balance: Weigh your cake pop mixture around 30 grams each to ensure they’re not too heavy, preventing them from falling off the sticks.
Store Correctly: Keep leftover Starbucks Copycat Birthday Cake Pops in a cool, dry place for up to 2–3 days or in the fridge for up to 2 weeks. For longer storage, freeze them.
Experiment with Coatings: Feel free to try different colored candy melts or sprinkles to match the theme of your event for a personal touch!
Starbucks Copycat Birthday Cake Pops: Creative Twists
Invite your inner chef to play with these delightful pops and discover how easy it is to transform flavors and textures!
-
Chocolate Cake: Swap out the vanilla cake mix for a rich chocolate cake mix, bringing a new depth of flavor to your pops. Chocolate lovers will rejoice at this delicious twist!
-
Almond Extract: Replace vanilla extract with almond extract in the buttercream for a fragrant nutty flavor that’s sure to impress. Just a little change can take these pops to new heights!
-
Fruit-Infused Pops: Mix a bit of fruit puree, like strawberry or raspberry, into the cake for a fruity burst. The bright colors and flavors are perfect for a springtime celebration!
-
Coconut Cream: Add shredded coconut to the buttercream for a chewy texture, giving your pops a tropical flair. These will remind you of sunny beach days with every bite!
-
Spicy Cinnamon: For a fun kicking element, add ground cinnamon or a pinch of cayenne to the cake mix for a warm flavor. It’s a surprising twist that can leave taste buds dancing!
-
Gluten-Free Option: Use a gluten-free cake mix to keep these treats accessible for everyone. These pops will be just as delicious without gluten!
-
Coating Variations: Try white chocolate or yogurt melts for a unique flavor twist that’s also a fun change in appearance. The creamy finish adds a delightful contrast to the cake inside.
-
Sprinkle Flavors: Instead of traditional sprinkles, experiment with crushed candy bars or crushed nuts for a crunchy texture that’s irresistible. Mixing in diverse toppings makes it a delightful surprise!
Feeling inspired? Don’t miss out on making a delightful Vegan Mango Cheesecake for another amazing treat that everyone will love. The possibilities are endless when you let your creativity shine!

Starbucks Copycat Birthday Cake Pops Recipe FAQs
How do I choose the best cake mix for these cake pops?
Absolutely! Opt for a high-quality vanilla cake mix for the best flavor. If you prefer a specific brand, look for one that has a moist texture when baked. Also, keep an eye on the expiration date to ensure freshness!
What’s the best way to store leftover cake pops?
For optimal freshness, store your Starbucks Copycat Birthday Cake Pops in a cool, dry place for 2–3 days. If you want them to last longer, refrigerate them in an airtight container for up to 2 weeks. Just remember to check for any signs of moisture or sticking to ensure they stay delicious!
Can I freeze cake pops, and how should I do that?
Yes, you can definitely freeze these cake pops! To freeze, first wrap each pop in plastic wrap to protect them from freezer burn. Then, place them in a freezer-safe bag or container for up to 3 months. When you’re ready to enjoy, just move them to the fridge for a few hours to thaw. They’ll taste just as delightful as when you first made them!
What if my candy coating is too thick or too runny?
Very good question! If your candy coating is too thick, add a small amount of shortening or coconut oil to thin it out and improve the dipping consistency. Heat it gently in the microwave if needed. Conversely, if it’s too runny, let it sit for a few minutes to thicken, or add more melted candy melts until you reach the desired consistency.
Are there any dietary considerations I should keep in mind?
Definitely! These cake pops are generally safe for most diets, but be cautious of allergies. The recipe includes gluten (from the cake mix), dairy (from the butter and milk), and eggs. For an egg-free version, you can replace the eggs with unsweetened applesauce or a commercial egg replacer. Always check labels for allergy information if serving to others!
How can I personalize my cake pops for special occasions?
The more the merrier! Experiment by substituting vanilla cake mix with flavors like chocolate or lemon for fun twists. You can also use themed sprinkles or colored candy melts to match specific party themes. For a unique touch, consider adding flavor extracts like almond or mint to the buttercream!

Starbucks Copycat Birthday Cake Pops: Sweet Fun Made Easy
Ingredients
Equipment
Method
- Preheat oven to 325°F (163°C). Prepare vanilla cake mix as per package, using milk instead of water and adding an extra egg. Whisk until smooth.
- Pour prepared batter into a greased 9x13 inch baking pan. Bake for 25-30 minutes until a toothpick comes out clean. Cool in the pan for 10 minutes.
- Crumble the cooled cake into a large mixing bowl until it resembles fine crumbs.
- In a separate bowl, beat together softened butter, powdered sugar, vanilla extract, and salt. Add milk gradually until the buttercream is smooth.
- Combine the buttercream with the crumbled cake mixture, stirring until everything is well combined and holds together.
- Scoop about 30 grams of the mixture and roll into a tight ball. Place on a parchment-lined baking sheet and chill in the freezer for 15 minutes.
- Melt the candy melts according to package instructions. Ensure the consistency is thin enough for dipping.
- Dip the tip of each lollipop stick into the melted candy, and insert halfway into each cake ball. Chill for another 15 minutes.
- Dip each cake pop into the melted candy coating, ensuring even coverage. Allow excess candy to drip off.
- Before the coating hardens, sprinkle nonpareils or colorful sprinkles on top. Allow to dry in foam or upright in a glass for 30 minutes.

Leave a Reply