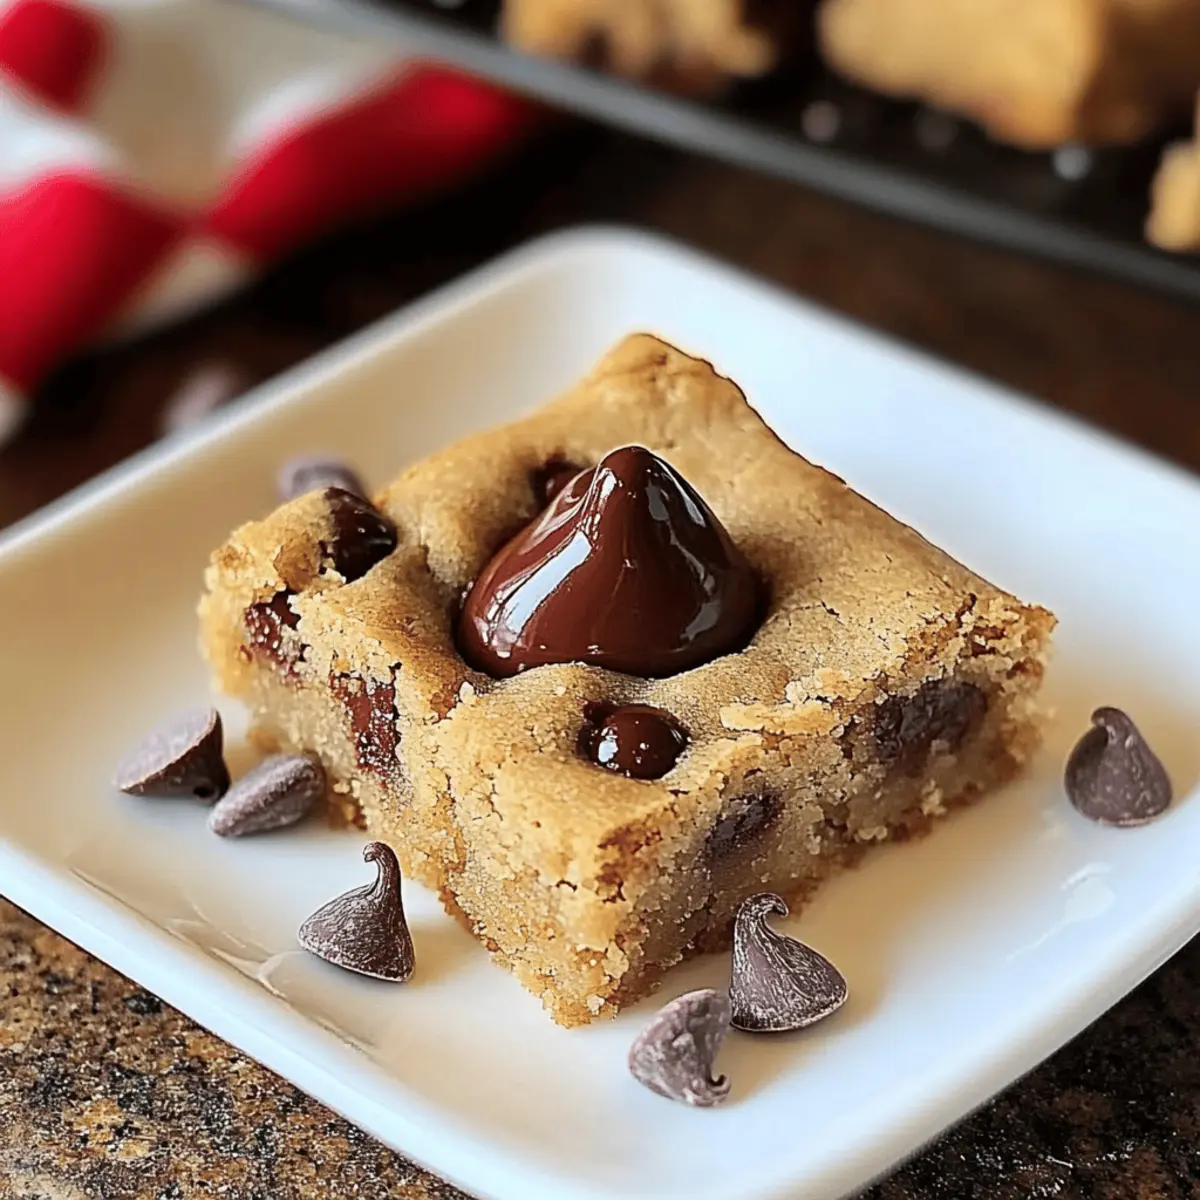
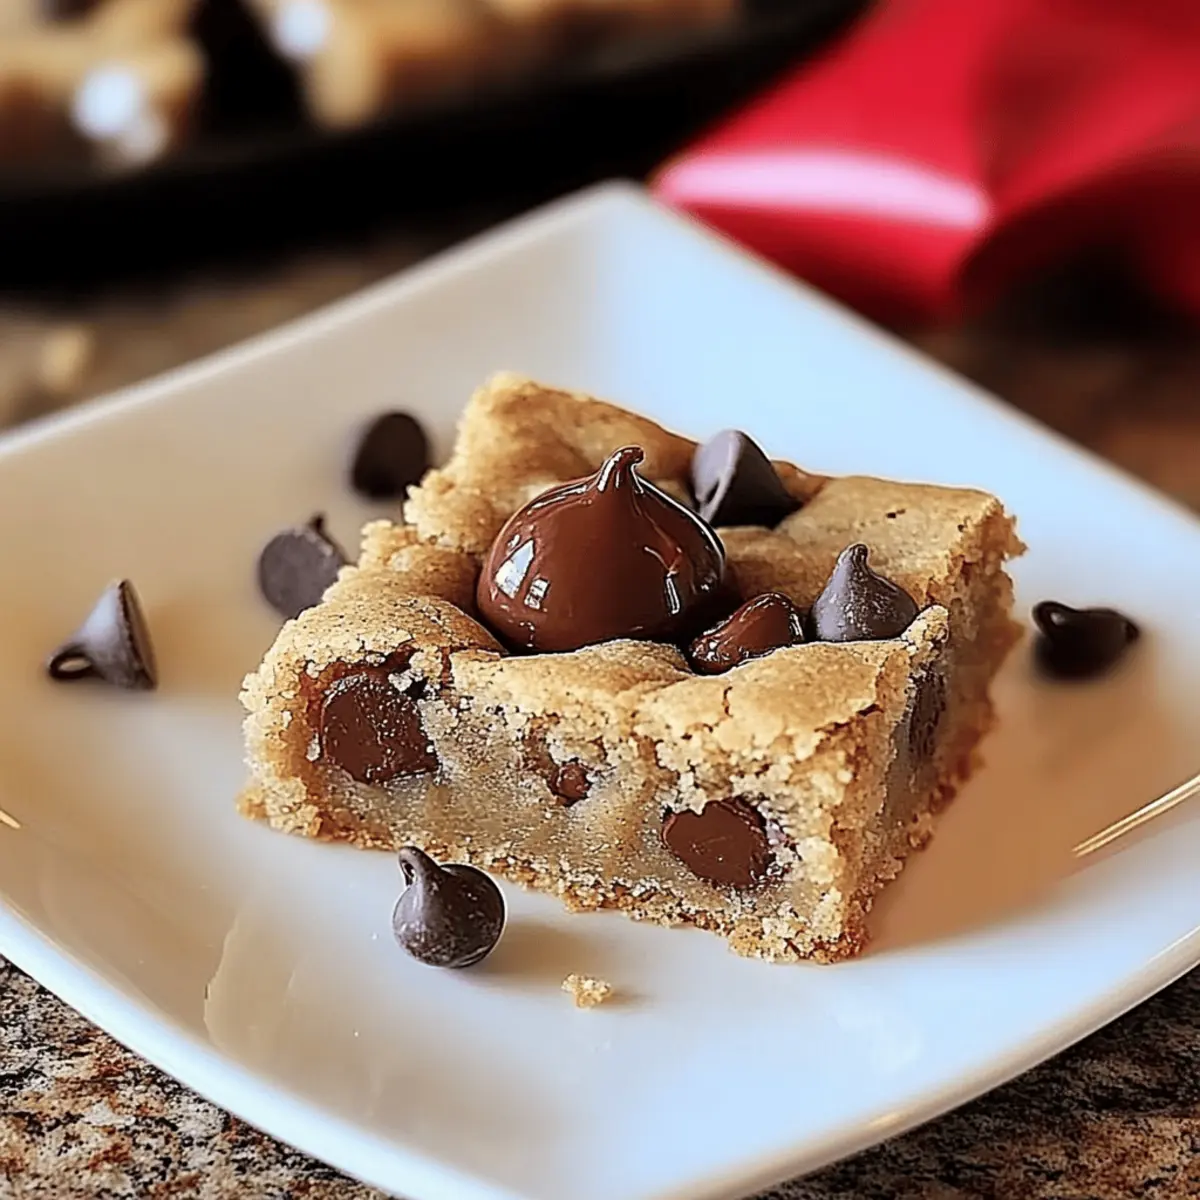
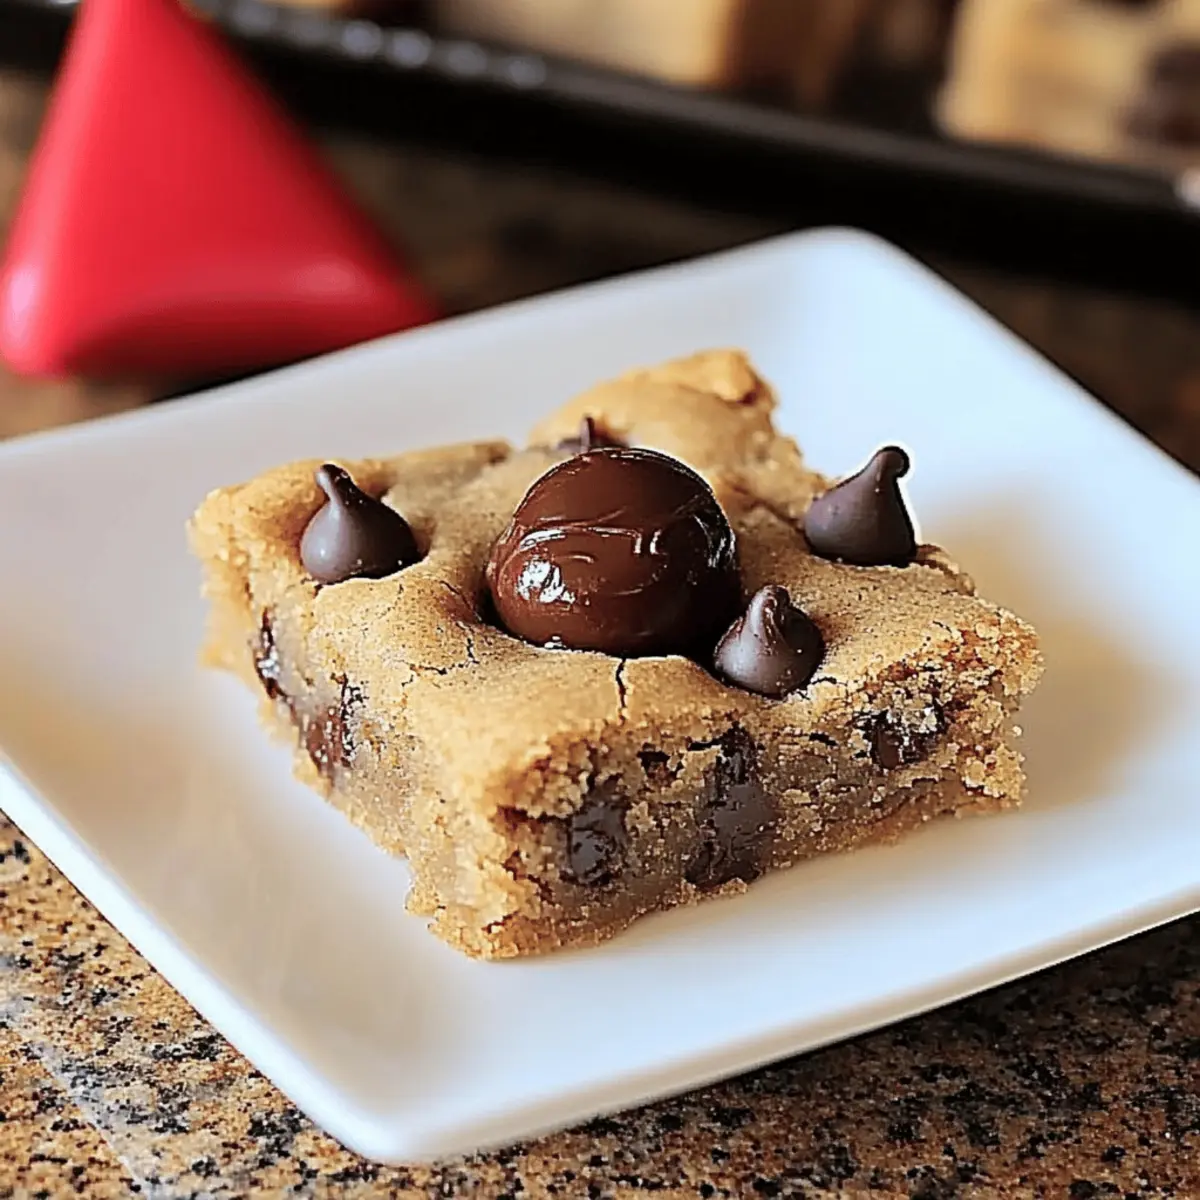
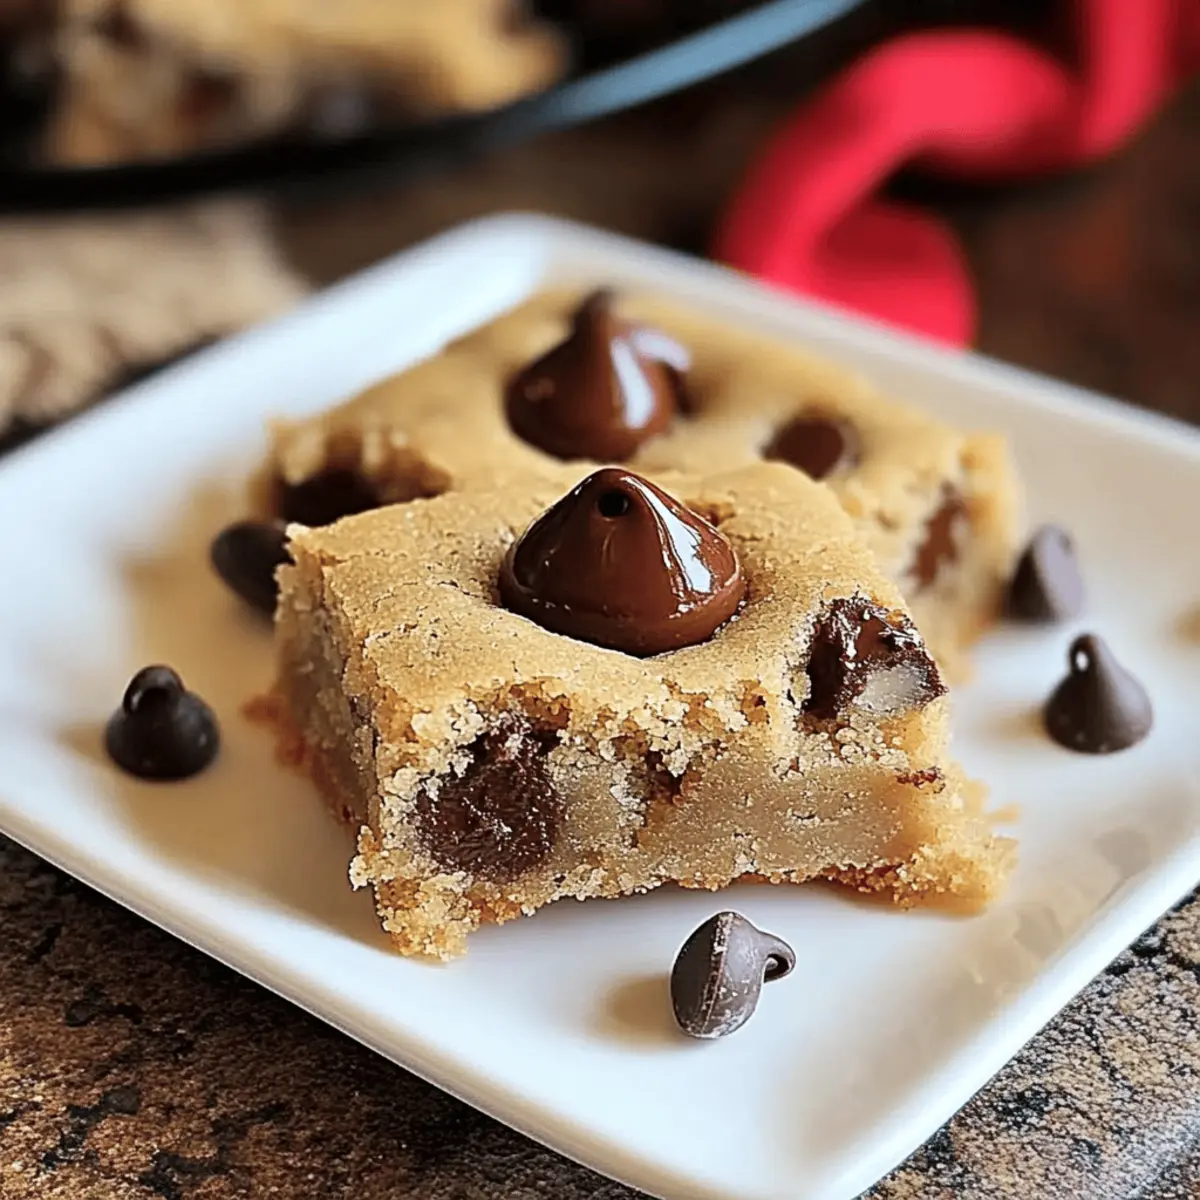
As I sifted through my kitchen, the alluring aroma of peanut butter wafted into the air, beckoning me to create something extra special. Enter the Peanut Butter Blossom Bars—a heavenly delight that combines the rich, nutty essence of peanut butter with the sweet allure of melting Hershey’s Kisses on top. These easy-to-make bars are perfect for any occasion, be it a cozy dessert night at home or a festive cookie swap with friends. Not only do they come together in a snap, but they’re also incredibly shareable—making them a true crowd-pleaser. Ready to indulge in a tasty treat that will have everyone asking for the recipe? Let’s dive into making these delightful bars together!

Why are Peanut Butter Blossom Bars a must-try?
Decadent Flavor: These bars boast a deliciously rich peanut butter base complemented by ooey-gooey melted Hershey’s Kisses, creating an irresistible treat that satisfies both chocolate and peanut butter lovers.
Quick and Easy: With just a few simple steps, you can whip these up in no time—perfect for those busy days when you crave something sweet without the fuss.
Crowd Pleaser: Ideal for sharing at family gatherings or parties, these bars will quickly disappear from the dessert table, leaving your friends and family begging for more!
Versatile Treats: Feel free to get creative by swapping peanut butter with almond butter or opting for dark chocolate Kisses for a richer flavor. The options are as endless as your imagination!
Make Ahead: Want to save time? You can prepare the dough a day in advance and simply bake when you’re ready—making these bars a fantastic last-minute dessert option.
Check out my other tempting treats like Oatmeal Crumble Bars or Mango Cheesecake Bars that are just as easy and delicious!
Peanut Butter Blossom Bars Ingredients
• Get ready for a deliciously sweet experience!
For the Batter
- Peanut Butter – Use regular JIF peanut butter for the best creamy texture and flavor; natural versions may lead to drier bars.
- Granulated Sugar – Essential for sweetness; helps achieve that delightful chewy texture.
- Brown Sugar – Adds a touch of moisture and a subtle caramel flavor that enhances the taste.
- Egg – Acts as a binding agent to hold all the ingredients together and improve overall texture.
- All-Purpose Flour – Provides structure; you might need to adjust this if you’re adding liquids, like flavored whiskey.
- Baking Powder – Serves as a leavening agent to give the bars a little rise.
- Salt – Enhances the overall flavors, making everything pop!
For the Toppings
- Milk Chocolate Chips – Brings additional sweetness and a delightful texture to the bars.
- Hershey’s Kisses – The star of the show! Adds a gorgeous chocolate finish and rich creaminess when melted atop the bars.
These Peanut Butter Blossom Bars come together so beautifully, making them a favorite for cookie swaps and holiday gatherings!
Step‑by‑Step Instructions for Peanut Butter Blossom Bars
Step 1: Preheat the Oven
Begin by preheating your oven to 350°F (175°C). This ensures that your Peanut Butter Blossom Bars bake evenly and thoroughly. While the oven heats up, gather the rest of your ingredients and have a 9×13 inch baking dish ready for greasing.
Step 2: Prepare Your Baking Dish
Next, grease your 9×13 inch baking dish generously with non-stick spray or butter. Proper greasing is essential to ensure that your delicious bars release easily after baking. Set the dish aside while you move on to mixing the batter.
Step 3: Mix the Batter
In a large mixing bowl, combine the peanut butter, granulated sugar, brown sugar, egg, flour, baking powder, and salt. Using a hand mixer or a sturdy wooden spoon, blend the ingredients until smooth and well combined, about 2-3 minutes. The mixture should be thick and creamy—perfect for creating those chewy Peanut Butter Blossom Bars.
Step 4: Spread the Batter
Pour the batter into the prepared baking dish and use a spatula to spread it evenly across the bottom. Make sure to smooth out the edges so that it bakes evenly. Bake in the preheated oven for 20-22 minutes, until the top is lightly puffed and golden brown. Keep an eye on the bars to prevent overbaking.
Step 5: Add the Hershey’s Kisses
Once baked, remove the dish from the oven and let it sit for just a moment. Unwrap your Hershey’s Kisses and press them gently into the warm bars in a 4×6 pattern, making sure they are evenly spaced. This step adds a delightful chocolate touch that takes the Peanut Butter Blossom Bars to the next level.
Step 6: Cool and Cut the Bars
Allow the bars to cool completely in the baking dish before cutting them into squares. This is crucial for maintaining the beautiful shape of the melted Kisses on top. Once cooled, slice into equal pieces and serve your sweet creations, relishing the joy they’ve brought to your kitchen!

Peanut Butter Blossom Bars Variations
Feel free to get creative and customize these bars to suit your taste or dietary needs!
- Nut-Free: Swap peanut butter for sunflower seed butter for a nut-free alternative while still enjoying that creamy texture.
- Vegan: Substitute the egg with a flax egg (1 tablespoon ground flaxseed mixed with 2.5 tablespoons water) and use maple syrup instead of granulated sugar for a plant-based twist.
- Add Crunch: Mix in chopped nuts like pecans or walnuts into the batter for added texture and crunch—perfect for nut lovers!
- Flavor Infusion: Add a teaspoon of vanilla extract or a sprinkle of cinnamon to the batter for an extra layer of flavor that will delight the senses.
- Chocolate Twist: For chocolate lovers, incorporate chocolate chunks into the batter along with the milk chocolate chips to amplify that chocolatey goodness.
- Fruity Surprise: Fold in chopped dried fruits like cranberries or apricots for a sweet surprise in every bite—this adds a fun chewy texture!
- Decadent Layer: Drizzle melted chocolate over the top once cooled for an extra sweet treat that will impress your guests at gatherings.
- Spicy Kick: For a little heat, sprinkle some cayenne pepper into the batter. It’ll create a delightful contrast with the sweetness of the bars.
These variations allow you to explore a range of flavors while enjoying your delicious Peanut Butter Blossom Bars. If you like easy treats, you might also want to try my Oatmeal Crumble Bars or my delightful Mango Cheesecake Bars!
Make Ahead Options
These Peanut Butter Blossom Bars are perfect for meal prep enthusiasts! You can prepare the dough up to 24 hours in advance, keeping it stored in an airtight container in the refrigerator. Just remember to bring it to room temperature for about 30 minutes before spreading it into the baking dish for the best results. You can also unwrap the Hershey’s Kisses ahead of time and store them in a cool, dry place. When you’re ready to bake, simply spread the chilled dough in the prepared pan, bake as directed, and add the melted Kisses on top as they come out of the oven. This way, you’ll enjoy fresh, chewy bars with minimal effort, right when you need them!
What to Serve with Peanut Butter Blossom Bars?
These delightful bars pair perfectly with comforting sides and drinks, creating an unforgettable feast for all occasions.
-
Creamy Vanilla Ice Cream: A scoop of vanilla ice cream enhances the bars’ rich flavors, offering a delightful contrast that’s simply irresistible.
-
Fresh Fruit Salad: Bright, juicy fruits like strawberries and kiwi provide a refreshing counterpart to the sweet, indulgent bars, making every bite an adventure.
-
Milkshake Madness: Try a classic chocolate or peanut butter milkshake—its creamy, cold texture pairs beautifully with the warm, gooey bars for a nostalgic treat.
-
Whipped Cream Topping: Add a dollop of homemade whipped cream to elevate the decadence, adding a light and airy touch to each slice.
-
Coffee: A warm cup of coffee complements the rich peanut butter flavor, enhancing the overall indulgence with its robust aroma and smooth finish.
-
Chocolate Drizzle: For those who crave extra sweetness, drizzle melted chocolate over the bars before serving for an elegant, delicious twist.
-
Caramel Sauce: A drizzle of warm caramel sauce adds a buttery sweetness that makes each bite feel like a special occasion.
-
Peanut Butter Hot Chocolate: Serve with a mug of peanut butter hot chocolate for a fun, comforting pairing that amps up the nutty delight of the bars.
How to Store and Freeze Peanut Butter Blossom Bars
Room Temperature: Keep these bars in an airtight container at room temperature for up to 1 week to maintain their chewy texture and flavor.
Fridge: For extended freshness, store in the fridge for up to 2 weeks. Just make sure to wrap them tightly to prevent drying out.
Freezer: Freeze the bars for up to 3 months. Cut them into squares, wrap individually in plastic wrap, and place in a freezer-safe container.
Reheating: To enjoy a soft texture after freezing, thaw in the refrigerator overnight, then warm briefly in the microwave before serving.
Expert Tips for Peanut Butter Blossom Bars
- Mind the Timing: Keep a close eye on the baking time; aim for 20-22 minutes. Overbaking can lead to dry Peanut Butter Blossom Bars.
- Kiss Placement: Avoid touching the Kisses immediately after pressing them in. Let them cool to maintain their shape and meltiness.
- Adjusting Flour: If you’re adding any liquids, like flavored whiskey, increase the flour slightly to prevent the bars from becoming too wet.
- Mixing Method: For the best texture, mix until smooth but not overbeat. Overmixing can create dense bars.
- Chilling Dough: If you prefer a thicker bar, chill the dough for about 30 minutes before spreading in the pan; it helps with the structure.

Peanut Butter Blossom Bars Recipe FAQs
How do I choose the right peanut butter for these bars?
Absolutely! For these Peanut Butter Blossom Bars, I recommend using regular JIF peanut butter. It provides the best creamy texture and rich flavor. Natural or low-sugar alternatives can lead to dry results, so stick to the classic for the best chewy outcome.
What’s the best way to store Peanut Butter Blossom Bars?
You can keep these delicious bars in an airtight container at room temperature for up to 1 week. For even longer freshness, you can refrigerate them for up to 2 weeks—just make sure they’re wrapped tightly to prevent them from drying out.
Can I freeze Peanut Butter Blossom Bars?
Yes, you can freeze these bars for up to 3 months! Here’s how: First, cut the bars into squares. Then, wrap each piece individually in plastic wrap, and place them in a freezer-safe container. When you’re ready to enjoy, just thaw them overnight in the refrigerator, and you can warm them up in the microwave for a soft texture.
What should I do if my bars are dry?
To avoid dry bars, watch the baking time closely; aim for 20-22 minutes. If you find that they turn out dry, you might have overbaked them. Additionally, incorporating a bit more brown sugar or peanut butter in future batches can help retain moisture.
Are there any dietary considerations I should be aware of?
While these Peanut Butter Blossom Bars are not made with specific dietary restrictions, it’s essential to consider allergies. They contain peanuts, eggs, and gluten (from the all-purpose flour), so be cautious if you’re sharing with anyone who has these allergies.
Can I substitute ingredients in this recipe?
Absolutely! You can substitute almond butter for a different nutty flavor or opt for dark chocolate Kisses if you prefer a richer chocolate taste. Just remember to maintain the same ratios for the best results in texture and flavor.

Peanut Butter Blossom Bars: Irresistibly Chewy Delights
Ingredients
Equipment
Method
- Preheat your oven to 350°F (175°C).
- Grease your 9x13 inch baking dish with non-stick spray or butter.
- Combine peanut butter, granulated sugar, brown sugar, egg, flour, baking powder, and salt in a large mixing bowl. Mix until smooth.
- Spread the batter evenly in the prepared baking dish. Bake for 20-22 minutes.
- Remove from the oven and press Hershey's Kisses into the warm bars.
- Allow to cool completely before cutting into squares.

Leave a Reply