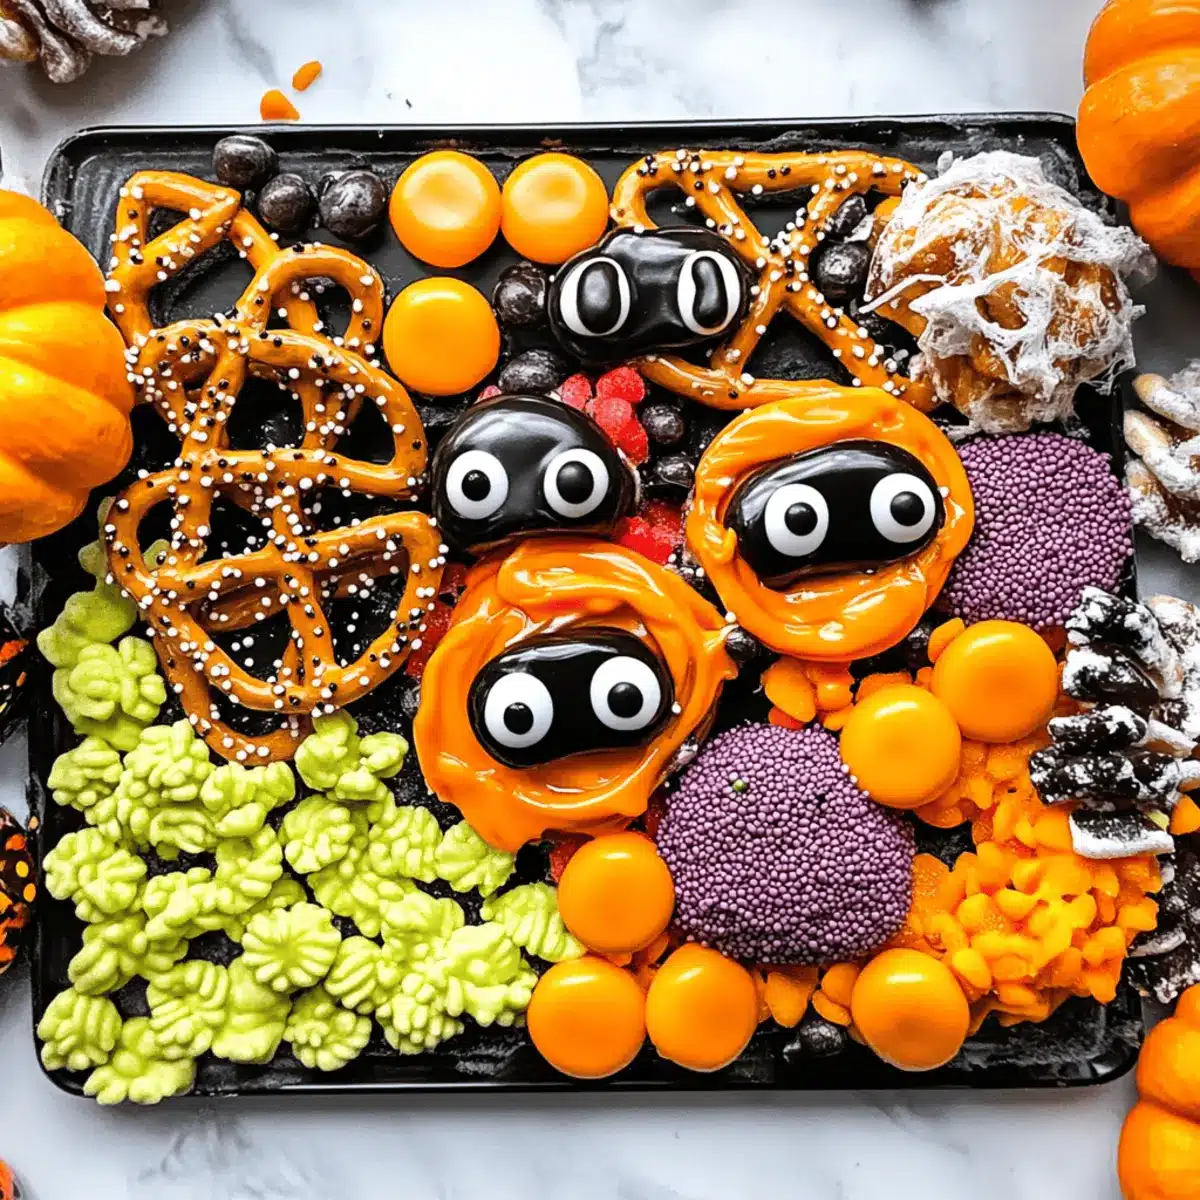
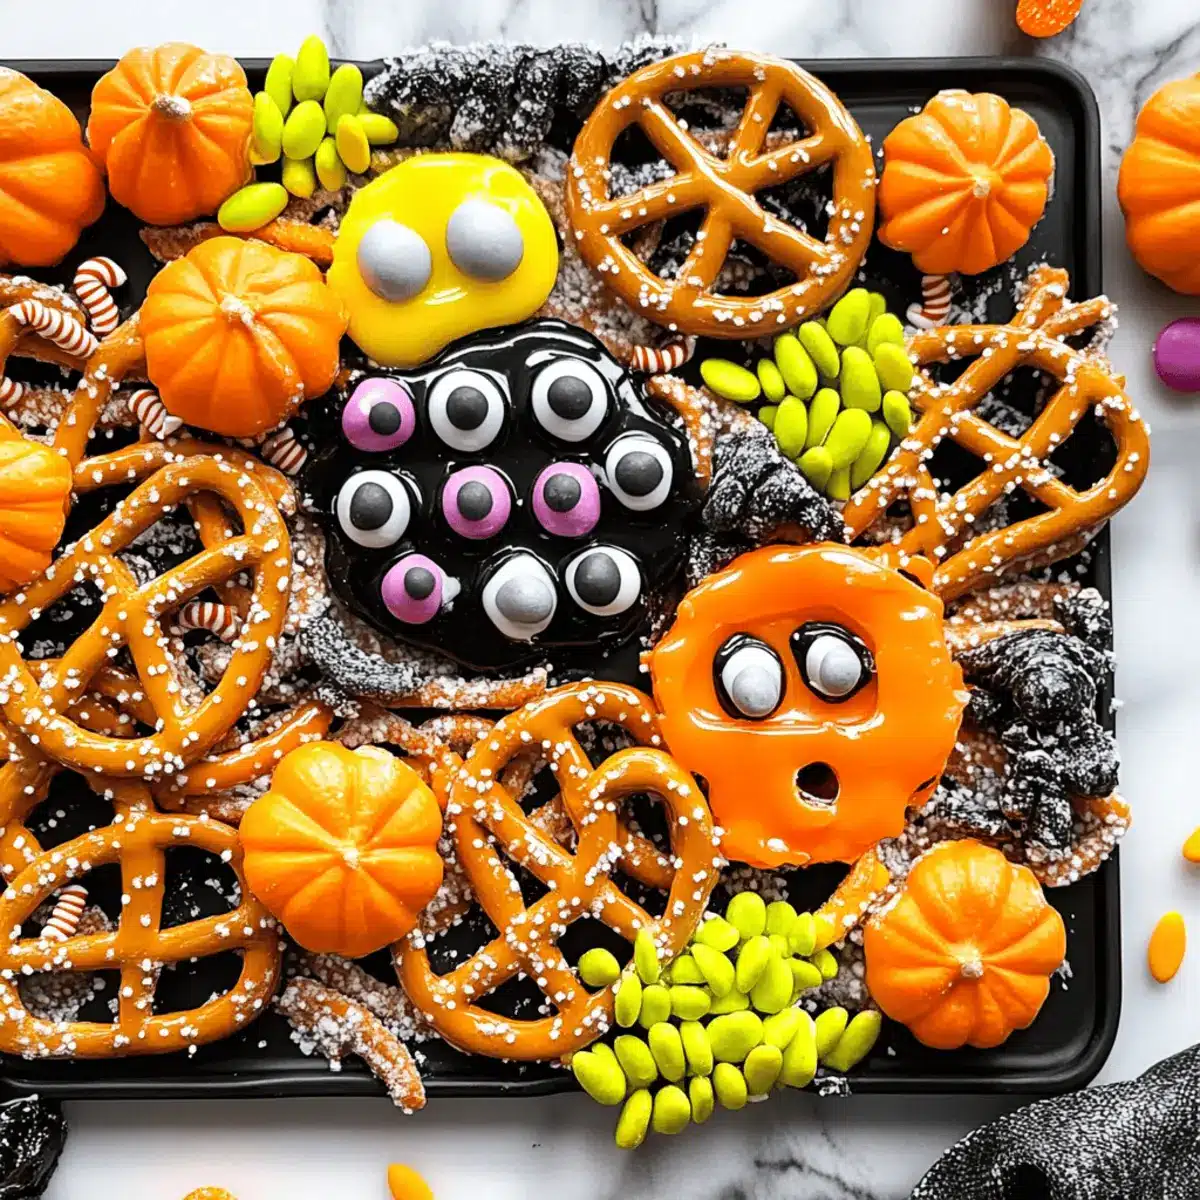
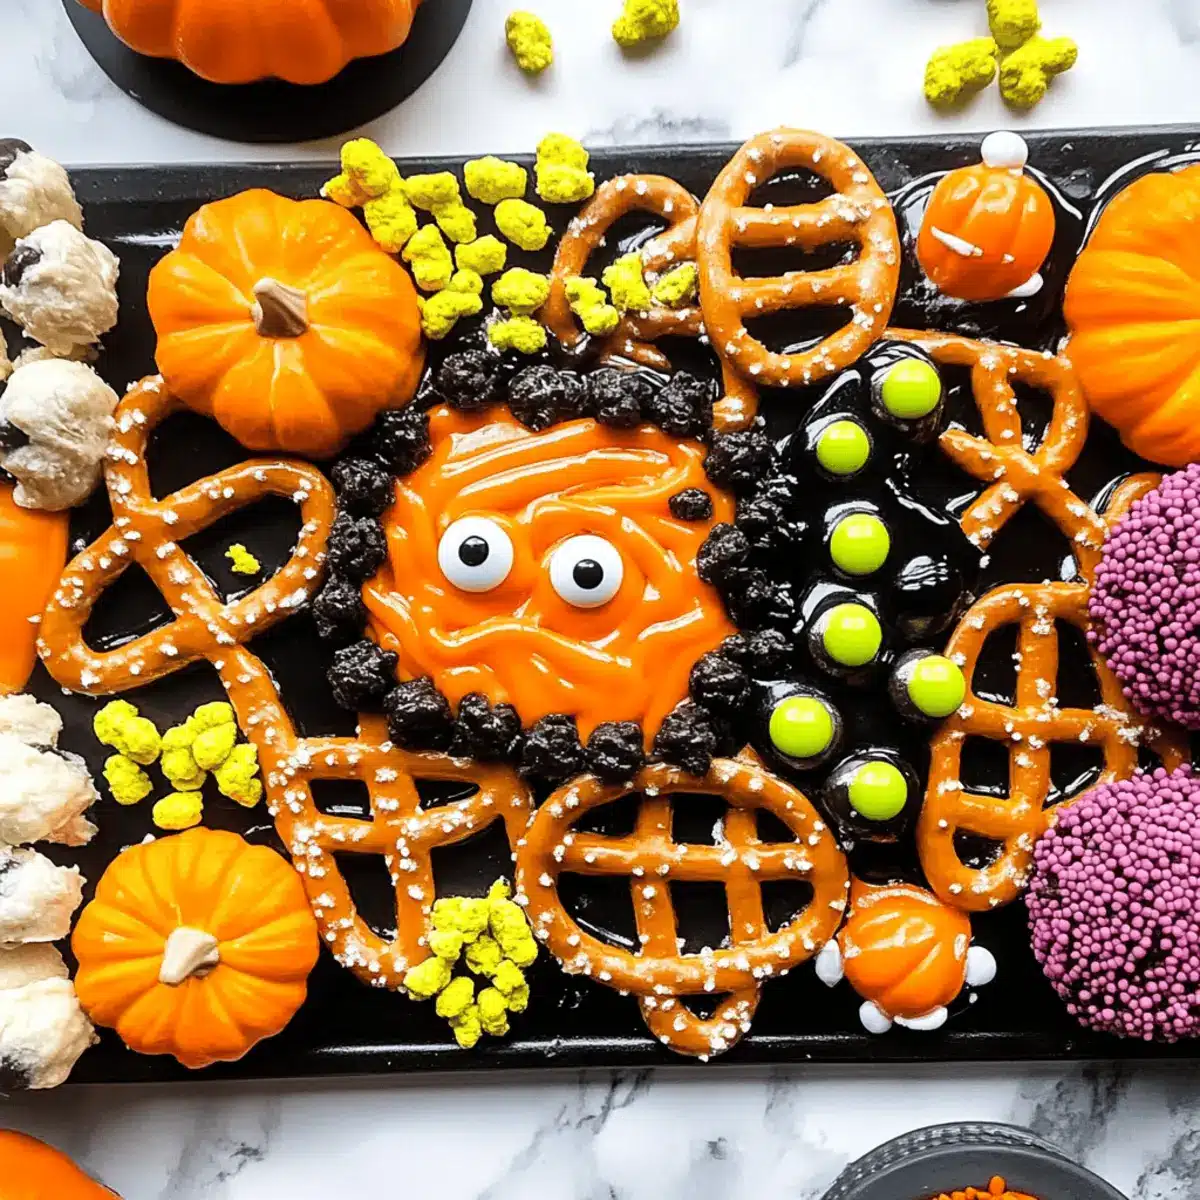
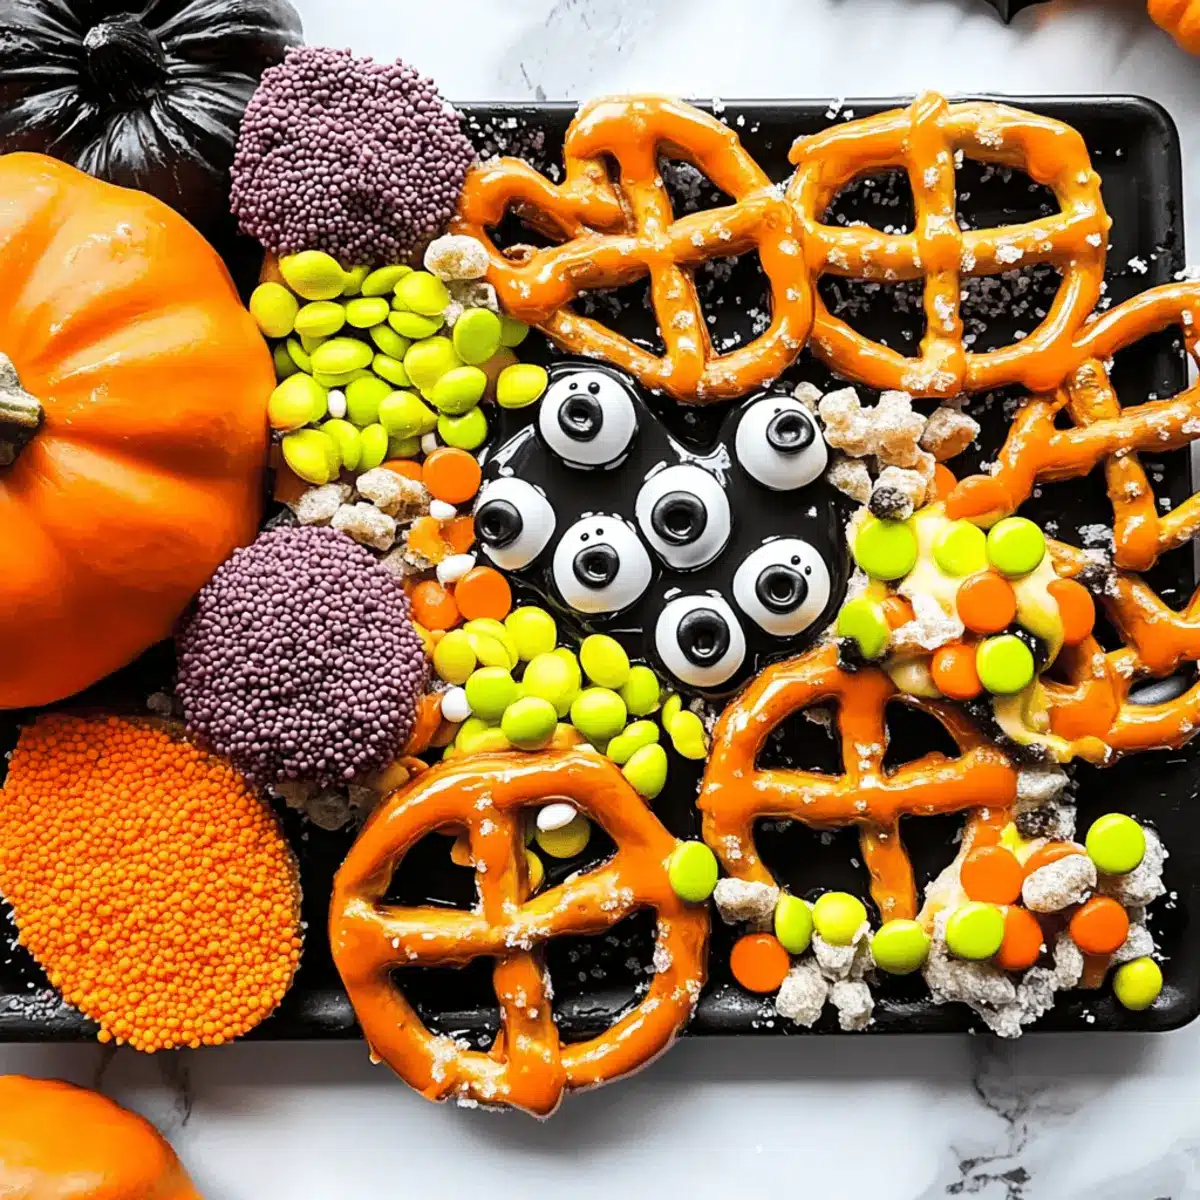
As the leaves turn and the air grows crisp, I can’t help but feel the excitement of Halloween creeping in. This year, I’m whipping up a batch of Easy No-Bake Halloween Pretzels, and let me tell you, they are a game-changer! With their delightful balance of sweet candy melts and salty pretzels, these treats offer a quick, 20-minute adventure in the kitchen that’s perfect for me and the kids. What I love most is how customizable they are—let your imagination run wild with sprinkles, candy eyes, and all sorts of fun toppings. Not only are these Halloween Pretzels a hit at parties, but they also make for a great family bonding activity. Ready to enchant your Halloween celebration with these spooktacular snacks? Let’s dive into the fun!

Why are Halloween Pretzels a must-try?
Deliciously Addictive: The irresistible combination of salty pretzels and sweet candy melts creates a snack that keeps you reaching for more.
Kid-Friendly Fun: Involve the little ones in the decorating process—it’s a delightful way to bond while creating spooky treats!
Quick and Easy: Ready in just 20 minutes, these no-bake Halloween Pretzels are perfect for last-minute gatherings or festive celebrations.
Endless Customization: Choose your favorite colors, sprinkles, and toppings, allowing for a unique creation every time. Don’t miss out on more exciting ideas with our guide to customization techniques.
Perfect for Any Occasion: From school events to Halloween parties, these treats are sure to impress kids and adults alike. Enjoy your spooky snack adventure!
Halloween Pretzel Ingredients
For the Pretzels
• Mini Pretzels – They provide a satisfying crunch and salty flavor, forming the perfect base for your Halloween Pretzels. Gluten-free options are available!
For the Coating
• Candy Melts (white, orange, black) – These create a sweet and festive coating; melted chocolate chips mixed with coconut oil can be a great substitute for shine.
For Decoration
• Halloween Sprinkles – Vibrant sprinkles add a fun, visual flair that enhances the spooky theme of your treats.
• Candy Eyes – These whimsical additions give your Halloween Pretzels character and make them extra fun for kids!
• Crushed Oreos (optional) – Use them for added texture and a delicious cookies-and-cream flavor twist.
For Preparing
• Parchment Paper – A must-have for lining your baking sheet, ensuring your pretzels don’t stick and clean-up remains easy.
Step‑by‑Step Instructions for Halloween Pretzels
Step 1: Prepare Your Workspace
Begin by lining a baking sheet with parchment paper. This simple step will prevent your sweet and salty Halloween Pretzels from sticking, making cleanup a breeze. Ensure your workspace is free of distractions and within easy reach of all your ingredients.
Step 2: Melt the Candy Melts
In a microwave-safe bowl, melt the candy melts of your choice according to package instructions, heating in 30-second intervals. Stir after each interval until the melts are completely smooth and glossy. This should take about 1-2 minutes total, and be careful not to overheat, as they can seize up quickly.
Step 3: Dip the Pretzels
Once the candy melts are melted and smooth, it’s time to dip the pretzels! Take each mini pretzel and either fully immerse it into the melted candy or use a spoon to drizzle the candy over the top. Make sure all pretzels are evenly coated for that perfect sweet-salty bite.
Step 4: Add Decorations
Immediately sprinkle your choice of Halloween sprinkles or place candy eyes on the dipped pretzels before the candy coating sets. This step is where your creativity shines! Feel free to experiment with different toppings, including crushed Oreos for extra texture.
Step 5: Let Them Set
Place the decorated pretzels on the lined baking sheet and let them sit at room temperature for about 15 minutes, or until the candy coating has completely hardened. You’ll know they are ready when the coating feels firm and no longer tacky to the touch.
Step 6: Store Your Treats
Once the Halloween Pretzels are fully set, transfer them to an airtight container. Store them at room temperature for up to 7 days, maintaining that delightful crunch and festive flair. Enjoy your treat anytime during the Halloween season or share them during gatherings!

Expert Tips for Halloween Pretzels
• Involve the Kids: Let children help with dipping and decorating; it’s a fantastic way to create lasting memories while enjoying the Halloween pretzels.
• Watch the Heat: Be careful not to overheat candy melts. If they start to seize, add a teaspoon of coconut oil to smooth them out.
• Perfect Coating: For a shiny finish, mix in a small amount of coconut oil when melting chocolate chips, especially if candy melts aren’t used.
• Create Variety: Experiment with different candy melts flavors and colors to create unique Halloween pretzels that stand out at any party.
• Avoid Sticking: Always use parchment paper when setting your pretzels to prevent sticking and make clean-up quick and easy.
• Mix Textures: Consider adding nuts or pretzel sticks for a delightful crunch alongside the Halloween pretzels, boosting that sweet and salty experience.
What to Serve with Easy No-Bake Halloween Pretzels
As you prepare for your Halloween festivities, consider these delightful accompaniments that will elevate your snack table to spooktacular heights.
-
Crispy Apple Slices: Juicy and sweet, they provide a refreshing contrast to the salty sweetness of the pretzels. Perfect for a light touch!
-
Pumpkin Spice Hot Chocolate: Warm up your guests with a spicy drink that complements the sweet and salty flavors beautifully. It’s a cozy pairing for chilly evenings.
-
Cheese Platter: A variety of cheeses adds a rich, savory balance to the sweetness of the Halloween Pretzels, making for a well-rounded snack experience.
-
Gummy Worms: These creepy-crawly gummies bring out the Halloween theme while adding an extra layer of fun for kids and adults alike.
-
Gingerbread Cookies: The spicy aroma of gingerbread cookies pairs perfectly with the candy-coated pretzels, creating a festive harmony that’s hard to resist.
-
Candy Corn: This classic Halloween treat adds a sweet crunch that complements the texture of the pretzels while enhancing your festive snack spread.
-
Sparkling Apple Cider: Serve this bubbly drink to capture the festive spirit, pairing wonderfully with the sweet and salty notes of your Halloween Pretzels.
-
Chocolate Dip: Offer a bowl of melted chocolate for an extra touch of indulgence—guests can dip their pretzels for a decadent experience!
All these pairings create a vibrant celebration of flavors, making your Halloween gathering enjoyable for all.
How to Store and Freeze Halloween Pretzels
Room Temperature: Store your Halloween Pretzels in an airtight container at room temperature for up to 7 days to maintain freshness and crunchiness.
Fridge: If you prefer, you can refrigerate the pretzels, but be aware that this may impact their texture, making them a bit chewier.
Freezer: For longer storage, Halloween Pretzels can be frozen for up to 2 months. Place them in a freezer-safe container, separating layers with parchment paper to prevent sticking.
Reheating: When ready to enjoy, thaw the frozen Halloween Pretzels in the fridge overnight. Serve at room temperature for the best texture!
Halloween Pretzels: Customization Ideas
Feel free to make these Halloween Pretzels truly your own with these creative twists and substitutions!
- Gluten-Free Options: Use gluten-free mini pretzels to accommodate dietary restrictions without sacrificing taste.
- Dairy-Free Delight: Swap the candy melts for dairy-free chocolate chips mixed with coconut oil for a rich, indulgent coating.
- Colorful Candy Melts: Pick from a rainbow of candy melts—think purple or green—to match your Halloween theme or your favorite color palette.
- Crunchy Texture Twist: Add crushed nuts or mini candy bars sprinkled on top for an exciting crunch to these sweet-and-salty bites.
- Fun Kitty: Swap out regular sprinkles for themed ones like ghosts, pumpkins, or monsters to enhance the festivities and delight kids.
- Extra Sweetness: Incorporate a drizzle of caramel sauce over the finished pretzels for an irresistible sweet topping that rounds out the flavor.
- Spicy Kick: Mix in a dash of chili powder to your melted candy melts for a fun, spicy version—perfect for adventurous taste buds!
- Creative Shapes: Use cookie cutters on large pretzels before dipping to create seasonal shapes, adding an extra layer of festivity to your treat.
With all these fun options, you’ll never run out of ways to excite your family and friends this Halloween! For more decoration ideas, check out our guide on creative snack variations – it’s a treasure trove of inspiration!
Make Ahead Options
These Easy No-Bake Halloween Pretzels are perfect for meal prep enthusiasts looking to save time during the busy Halloween season! You can prepare the pretzels and dip them in melted candy melts up to 24 hours in advance. Simply follow the initial steps of the recipe and allow the coated pretzels to set completely before storing them in an airtight container. To maintain their delightful crunch and festive flair, keep them at room temperature. When you’re ready to serve, just add any sprinkles or candy eyes just before presentation for a fresh touch—this way, they’ll be just as delicious and enchanting as if you made them the same day!

Halloween Pretzels Recipe FAQs
What kind of pretzels should I use for Halloween Pretzels?
I recommend using mini pretzels as they provide the perfect crunchy base for your sweet and salty Halloween Pretzels. If gluten is a concern, gluten-free pretzels are readily available and work just as well!
How should I store Halloween Pretzels?
Store your Halloween Pretzels in an airtight container at room temperature for up to 7 days. This keeps them fresh and crunchy. If there are humid conditions, you might consider refrigerating them, but do note that this can alter their delightful texture.
Can I freeze Halloween Pretzels?
Absolutely! You can freeze your Halloween Pretzels for up to 2 months. Just place them in a freezer-safe container, making sure to separate each layer with parchment paper to prevent sticking. When you’re ready to enjoy, simply thaw them in the fridge overnight and serve at room temperature.
What if my candy melts seize while melting?
If your candy melts become lumpy or seize, fear not! Simply add a teaspoon of coconut oil to the mix and reheat gently in the microwave in 10-second intervals, stirring until smooth again. This will revive those candy melts and bring back their glossy finish!
Are these Halloween Pretzels suitable for kids with allergies?
You can definitely make Halloween Pretzels suitable for various dietary needs! Use gluten-free pretzels for those with gluten sensitivities and opt for dairy-free chocolate melts to accommodate lactose intolerant kids. Always check labels for allergens, and you can easily swap out toppings to fit any particular allergies.
How long do Halloween Pretzels last after decorating?
After decorating, your Halloween Pretzels can stay fresh for up to 7 days when stored properly. Just ensure they’re in an airtight container to maintain that delightful crunch, making them perfect for snacking throughout the Halloween season!

Sweet and Salty Halloween Pretzels Perfect for Kids
Ingredients
Equipment
Method
- Prepare Your Workspace - Line a baking sheet with parchment paper.
- Melt the Candy Melts - Melt candy melts in 30-second intervals until smooth and glossy.
- Dip the Pretzels - Fully immerse or drizzle melted candy over pretzels.
- Add Decorations - Sprinkle with Halloween sprinkles or place candy eyes before the coating sets.
- Let Them Set - Allow decorated pretzels to sit at room temperature for about 15 minutes.
- Store Your Treats - Transfer to an airtight container and store at room temperature for up to 7 days.

Leave a Reply