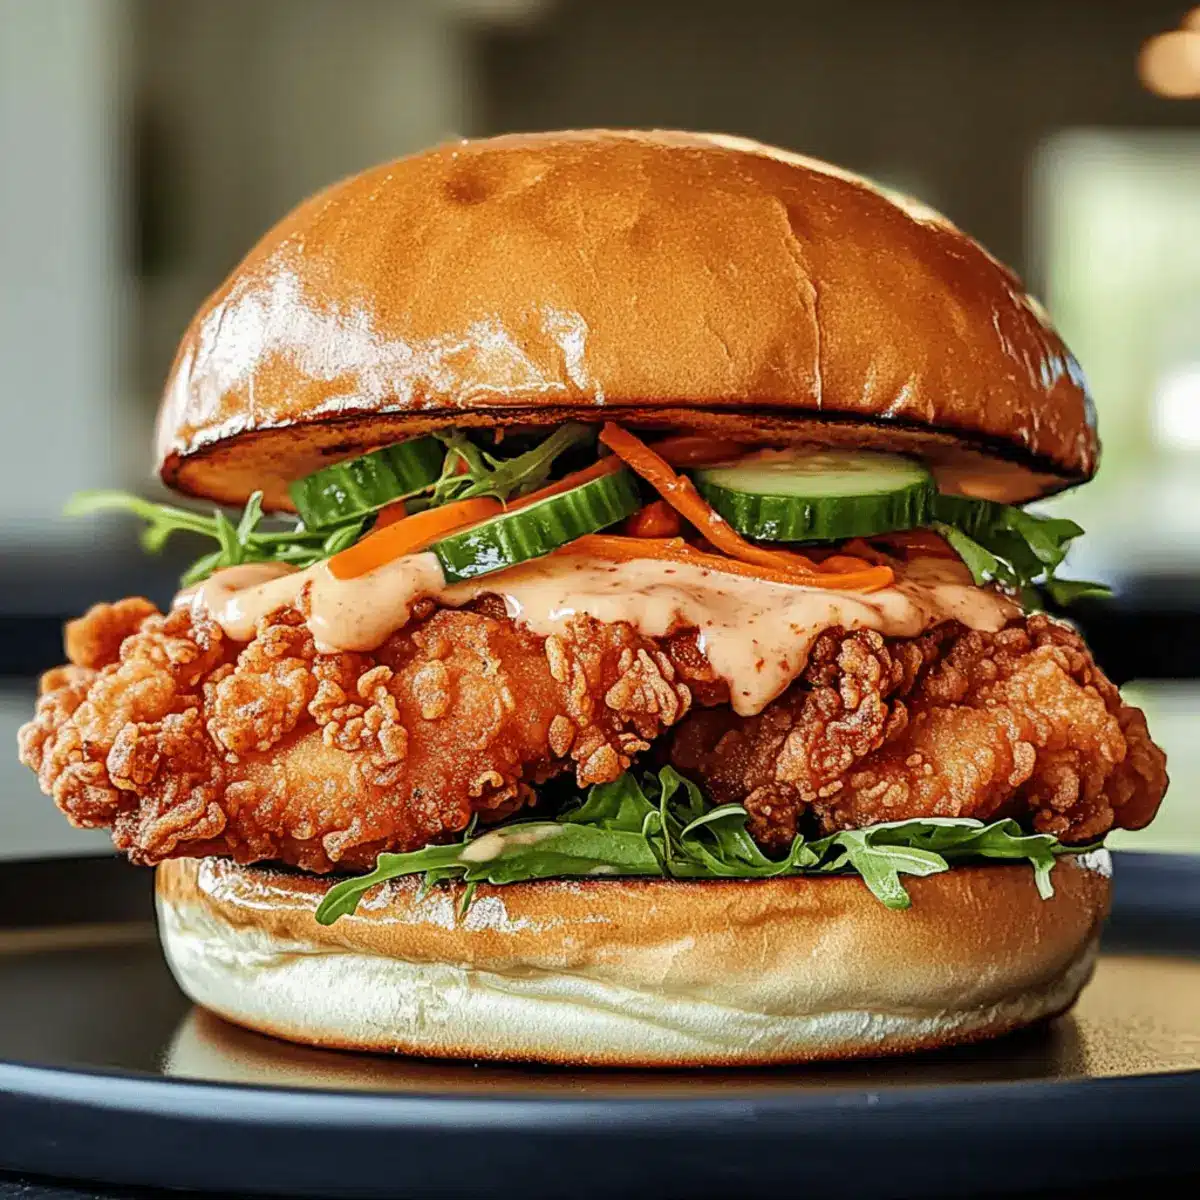
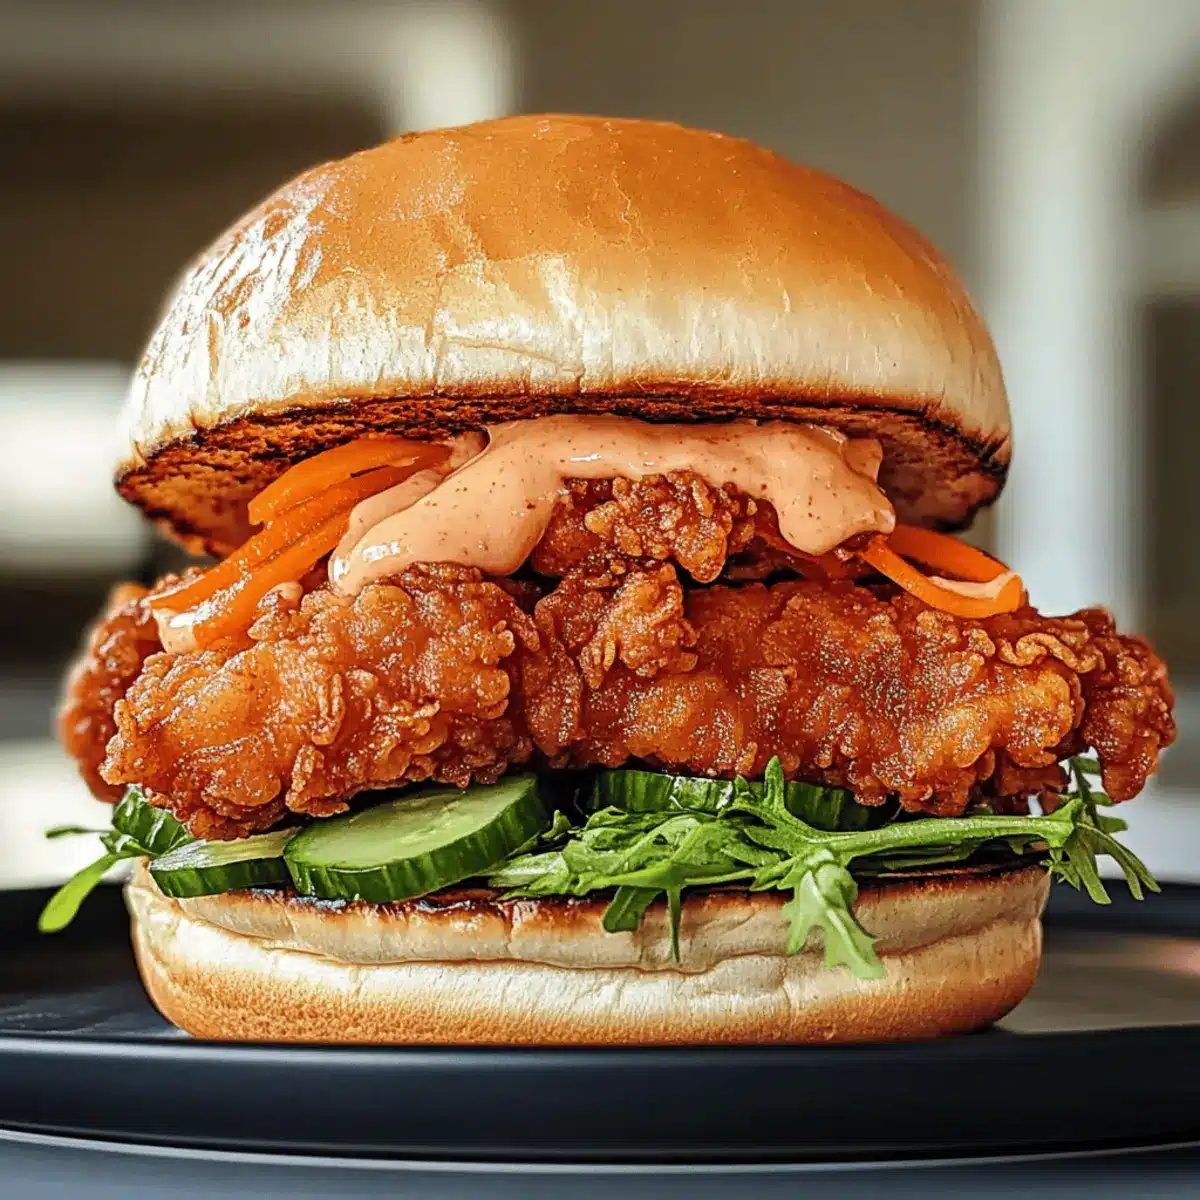
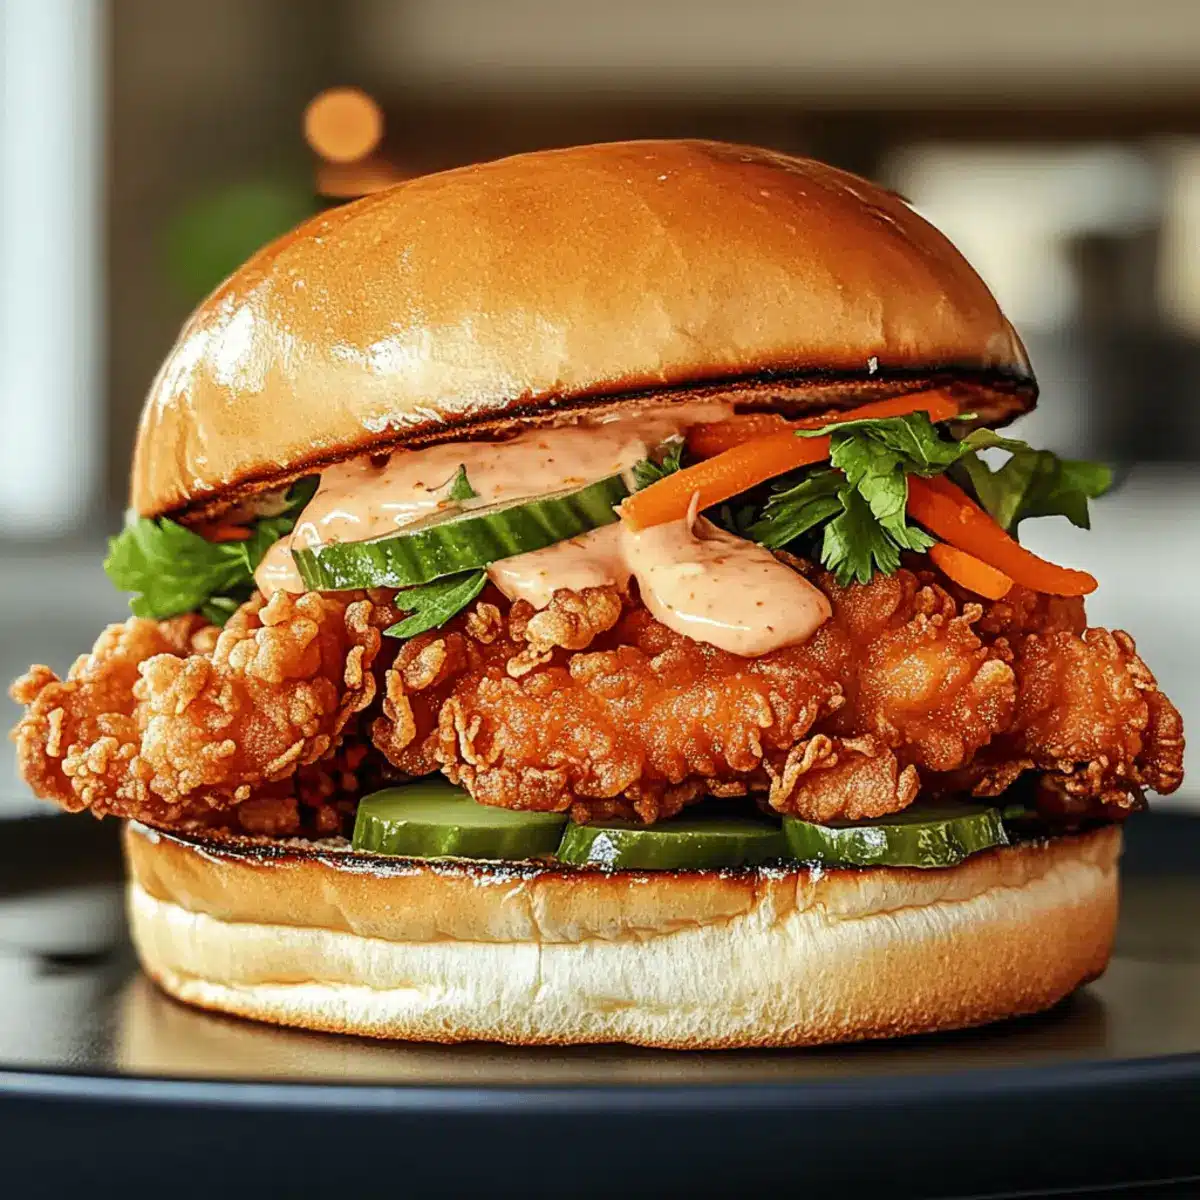
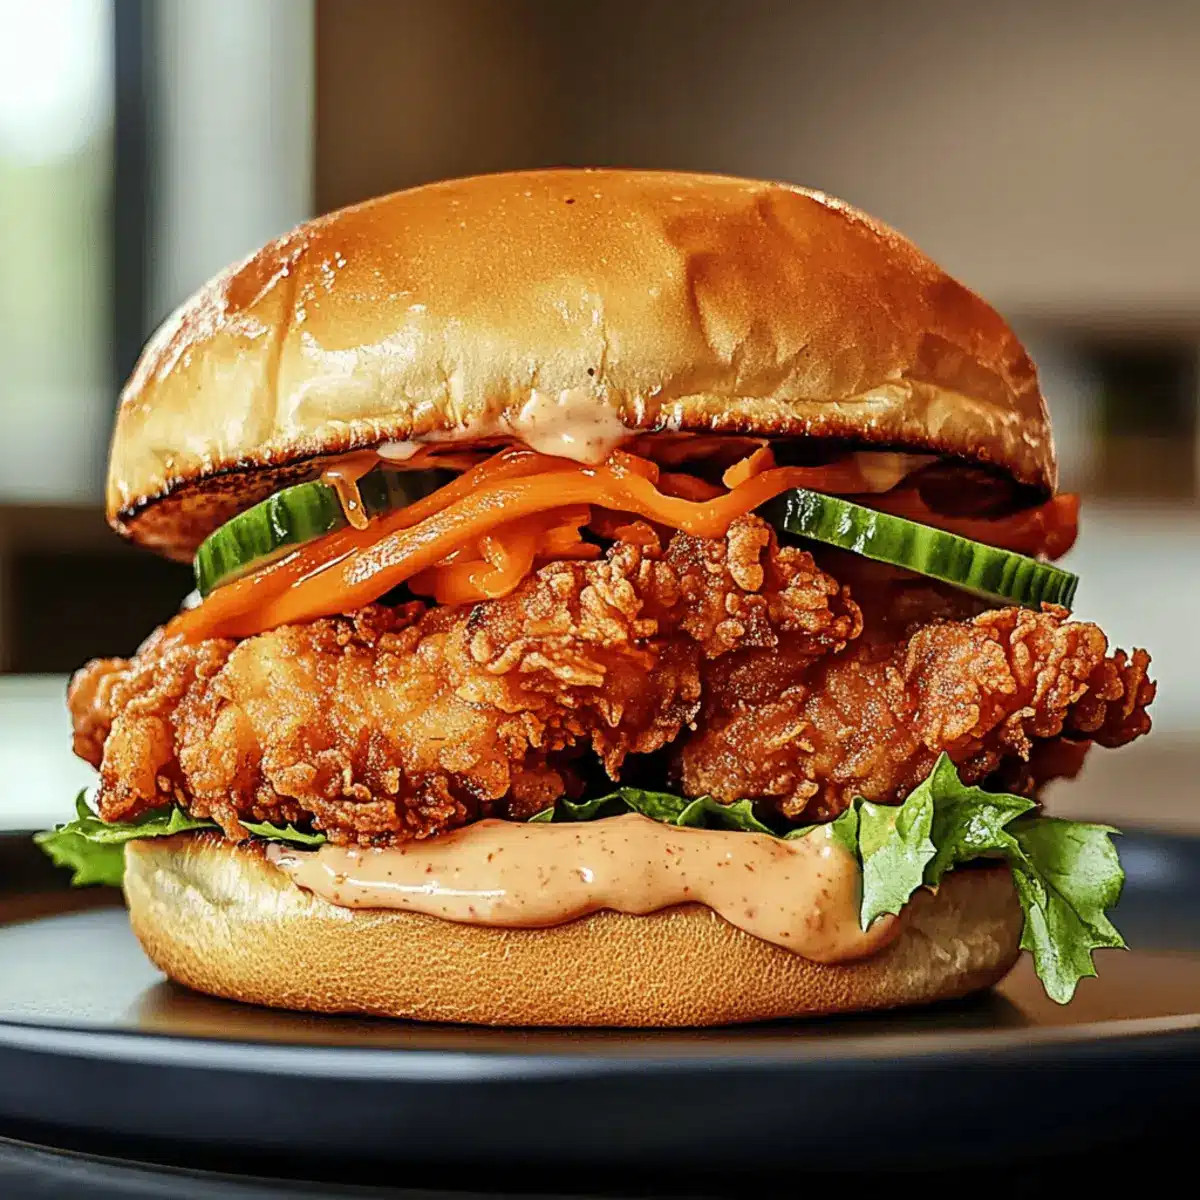
Just last week, I stumbled upon a local food truck serving a sensational Thai Fried Chicken Sandwich that transported my taste buds straight to the bustling streets of Bangkok. This recipe is my homemade tribute to that joyful discovery, bringing together crispy chicken infused with vibrant Thai flavors and topped with refreshing veggies. The best part? This Thai Fried Chicken Sandwich is not only quick to whip up but is also easily customizable to suit your taste—whether you prefer a milder kick or want to crank up the heat! It’s the perfect balance of spice and crunch, making it a mouthwatering option for anyone looking to ditch fast food for something extraordinary. Are you ready to create this flavor-packed masterpiece in your own kitchen?

Why Make a Thai Fried Chicken Sandwich?
Bold, Flavorful Taste: This sandwich offers a delicious blend of crispy chicken and bright Thai spices that make every bite exciting.
Customizable Delight: Easily adapt the recipe by swapping proteins or adding your favorite crunchy veggies for a personal touch.
Quick and Easy: Ready in no time, it’s perfect for busy days when you crave something special without spending hours in the kitchen.
Crowd-Pleasing: Whether serving friends or family, this sandwich is a guaranteed hit at any gathering; pair it with sweet potato fries or a refreshing cucumber salad for a complete meal!
Dive into the flavor journey with this Flavor-Packed Thai Fried Chicken Sandwich and savor the unique twist on a classic favorite.
Thai Fried Chicken Sandwich Ingredients
• Get ready to spice things up with this delicious Thai Fried Chicken Sandwich!
For the Marinade
- Coconut Milk – Provides moisture and richness to the marinade; substitute with dairy-free milk for a vegan version.
- Curry Powder – Adds warmth and complexity to the chicken’s flavor; consider using a personal blend or garam masala for a twist.
- Minced Garlic – Enhances flavor; fresh garlic is best for maximum potency.
- Grated Ginger – Offers a zesty kick; ground ginger can work in a pinch if fresh isn’t available.
- Salt – Essential for enhancing overall flavor; don’t skimp!
- Sugar – Balances out the flavors in the marinade; reduce or swap for a sugar substitute if desired.
For the Chicken
- Chicken Thighs – Juicy and flavorful base of the sandwich; you can opt for chicken breasts, but they may require more careful cooking to avoid dryness.
- Rice Flour – Creates a light and crispy coating when frying; cornstarch is a great gluten-free substitute.
For the Spicy Mayo
- Thai Chili Sauce – Adds that spicy and sweet punch; adjust the amount according to your heat preference.
- Plain Yogurt – Makes the chili mayo spread bolder; feel free to use vegan yogurt as an alternative.
For the Toppings
- Cucumbers – Provide fresh crunch and moisture; you can substitute with other crunchy veggies if you prefer.
- Pickled Carrots – Add a tangy flavor; fresh carrots can be used for a different taste experience.
- Fresh Herbs (Cilantro/Basil) – Introduces aromatic freshness; any combination of your favorite herbs works well.
For the Sandwich
- Buns (Brioche or Sandwich) – Their soft texture absorbs sauces beautifully; crusty bread or rolls are excellent alternatives based on your preference.
With this ingredient list at your fingertips, you’re all set to create a mouthwatering Thai Fried Chicken Sandwich that will bring joy to your table!
Step‑by‑Step Instructions for Thai Fried Chicken Sandwich
Step 1: Marinate Chicken
In a large bowl, combine coconut milk, curry powder, minced garlic, grated ginger, salt, and sugar to create a flavorful marinade for the Thai Fried Chicken Sandwich. Coat the chicken thighs evenly in the mixture, ensuring they’re well-covered. Cover the bowl with plastic wrap and refrigerate for at least 1 hour, or ideally, overnight to infuse the flavors deeply.
Step 2: Prepare Coating
While the chicken marinates, prepare the crispy coating. On a large plate, mix rice flour with a pinch of salt and pepper. Once the chicken has marinated, take each piece and dredge it thoroughly in the rice flour mixture, ensuring a nice and even coating that will fry up beautifully crispy.
Step 3: Fry Chicken
In a deep pan or frying pot, heat oil to 350°F (175°C). Carefully add the coated chicken thighs, frying them for about 5-7 minutes on each side until they are golden brown and reach an internal temperature of 165°F (74°C). Use a slotted spoon to remove them from the oil and drain on paper towels, ensuring excess oil is removed.
Step 4: Make Spread
For a delicious chili mayo spread, whisk together the Thai chili sauce and yogurt in a small bowl until smooth and well combined. Adjust the spiciness to your liking by adding more chili sauce. This creamy spread will elevate your Thai Fried Chicken Sandwich with a kick of flavor.
Step 5: Assemble Sandwich
Toast the buns lightly until golden brown. Spread a generous layer of the chili mayo on each side, then layer the crispy fried chicken thighs onto the buns. Top with crunchy cucumbers, pickled carrots, and a handful of fresh herbs like cilantro or basil for a vibrant finish. Enjoy your homemade Thai Fried Chicken Sandwich!

Make Ahead Options
These Flavor-Packed Thai Fried Chicken Sandwiches are perfect for busy weeknights or meal prep enthusiasts! You can marinate the chicken thighs in the coconut milk mixture up to 24 hours in advance for maximum flavor infusion. Additionally, you can prepare the spicy mayo spread and refrigerate it for up to 3 days, which not only saves time but enhances the flavor as it sits. When you’re ready to serve, simply dredge and fry the chicken for a crispy finish, and assemble your sandwiches with fresh toppings. This way, you’ll have a mouthwatering homemade meal ready to go with minimal effort—just as delicious and satisfying as if you had made it all from scratch on the spot!
Expert Tips for Thai Fried Chicken Sandwich
- Marinate Longer: For the best flavor, let the chicken marinate overnight. This deepens the taste and ensures juiciness in your Thai Fried Chicken Sandwich.
- Oil Temperature Matters: Maintain oil temperature by frying in batches. Overcrowding can lower the oil’s temperature, resulting in soggy chicken.
- Crispy Coating: Ensure the rice flour mixture is evenly distributed over the chicken; it helps achieve that desired crispy coating when frying.
- Spice Adjustment: If you’re unsure about heat levels, start with a smaller amount of Thai chili sauce in the mayo and adjust to your taste preference.
- Leftover Storage: Cool the fried chicken completely before storing. It keeps for up to 3 days in the refrigerator, but reheat in the oven to maintain crispiness.
Thai Fried Chicken Sandwich Variations
Feel free to get creative with this recipe, tailoring it to your tastes and dietary needs for an even more delightful experience!
- Vegetarian Option: Substitute chicken with tofu or cauliflower for a delicious vegetarian twist that still packs a flavorful punch.
- Gluten-Free: Use cornstarch instead of rice flour for a gluten-free crunch that everyone can enjoy.
- Spicy Kick: For those who crave heat, add sliced jalapeños or a sprinkle of chili flakes to your chicken marinade or mayo.
- Extra Creaminess: Swap out yogurt for avocado crema for a rich and creamy spread that complements the crispy chicken beautifully.
- Crunchy Veggie Delight: Switch cucumbers for crunchy bell peppers or radishes for a different texture and flavor.
- Bold Topping: Try adding crushed peanuts or chopped cashews as a topping; this will not only enhance crunch but also add a nutty flavor.
- Flavorful Twist: Use a blend of fresh herbs like mint and Thai basil instead of just cilantro or basil for a more aromatic and vibrant sandwich.
- Pineapple Salsa: Top the sandwich with a fresh pineapple salsa for a sweet and tangy flavor bomb that beautifully complements the spicy chicken.
Once you’ve tried this Flavor-Packed Thai Fried Chicken Sandwich, consider pairing it with some refreshing sides like a spicy Asian slaw or sweet potato fries for a comprehensive meal you and your loved ones will adore!
How to Store and Freeze Thai Fried Chicken Sandwich
Fridge: Store leftover fried chicken and sandwich components separately in airtight containers. The fried chicken stays fresh for up to 3 days.
Freezer: Wrap the cooked chicken tightly in plastic wrap and aluminum foil, then place in a freezer bag. It can be frozen for up to 2 months.
Reheating: For the crispiest results, reheat the chicken in the oven at 375°F (190°C) until heated through, about 10-15 minutes. Avoid microwaving to prevent sogginess.
Assembly Tip: When ready to enjoy, assemble the Thai Fried Chicken Sandwich fresh with your favorite toppings after reheating!
What to Serve with Thai Fried Chicken Sandwich
Elevate your culinary experience by pairing your Thai Fried Chicken Sandwich with delightful sides that bring balance and harmony to the meal.
-
Crispy Sweet Potato Fries: Their natural sweetness contrasts beautifully with the spicy chicken, adding crunch and heartiness to your plate.
-
Asian Slaw: This fresh, tangy slaw made with cabbage and carrots provides a refreshing crunch that complements the sandwich’s flavors.
-
Cucumber Salad: Light, with a delightful crispness, this salad contrasts the sandwich’s richness and adds a cool, refreshing element.
-
Mango Sticky Rice: A traditional Thai dessert, sweet and creamy, offers a heavenly finish that rounds out your meal in a sweet way.
-
Thai Iced Tea: The sweet, milky flavors of this beverage balance the spiciness of the sandwich, providing a soothing respite with every sip.
-
Pickled Radishes: Their tangy crunch not only enhances flavor but also serves as a palate cleanser between bites.
Enjoy mixing and matching these options to create your perfect meal around the unforgettable Thai Fried Chicken Sandwich!

Thai Fried Chicken Sandwich Recipe FAQs
How do I choose the best chicken for my sandwich?
For the juiciest results, I recommend using chicken thighs. Their rich flavor and moisture make them perfect for frying. If you prefer chicken breasts, be mindful to cook them carefully as they can dry out more easily.
How should I store leftovers from the Thai Fried Chicken Sandwich?
Store the leftover fried chicken and sandwich components in separate airtight containers in the fridge. The fried chicken will stay fresh for up to 3 days when stored properly.
Can I freeze the fried chicken?
Absolutely! To freeze, wrap the cooked chicken tightly in plastic wrap, then in aluminum foil, and place it in a freezer bag. This keeps it fresh for up to 2 months. When you’re ready to enjoy it, simply reheat in the oven for maximum crispiness.
What should I do if my fried chicken coating isn’t crispy?
If your coating isn’t as crispy as you’d like, it could be due to wet chicken or overcrowding the frying pan. Ensure to dredge the chicken well in the rice flour and fry in small batches. This allows the oil temperature to stay high, achieving that perfect crisp.
Can I make this recipe nut-free?
Certainly! The ingredients in the Thai Fried Chicken Sandwich are already nut-free. Just be sure to check any sauces or condiments you choose to use, like the Thai chili sauce, for hidden nut additives. Enjoy worry-free!
How can I adapt this recipe for dietary restrictions?
This sandwich is quite adaptive! For a vegetarian version, substitute the chicken with tofu or crispy cauliflower. You can also tweak the bread for gluten-free options and adjust the spiciness to accommodate your dietary preferences. The more, the merrier!

Irresistible Thai Fried Chicken Sandwich for Flavor Lovers
Ingredients
Equipment
Method
- In a large bowl, combine coconut milk, curry powder, minced garlic, grated ginger, salt, and sugar to create a marinade. Coat the chicken thighs evenly, cover, and refrigerate for at least 1 hour or overnight.
- Mix rice flour with a pinch of salt and pepper on a large plate. Dredge marinated chicken in the rice flour mixture until well coated.
- Heat oil to 350°F (175°C). Fry the coated chicken thighs for 5-7 minutes on each side until golden brown and internal temperature reaches 165°F (74°C). Drain on paper towels.
- Whisk together Thai chili sauce and yogurt in a small bowl. Adjust spice level by adding more chili sauce.
- Toast the buns lightly. Spread chili mayo on each side, layer fried chicken thighs, and top with cucumbers, pickled carrots, and fresh herbs. Enjoy!

Leave a Reply