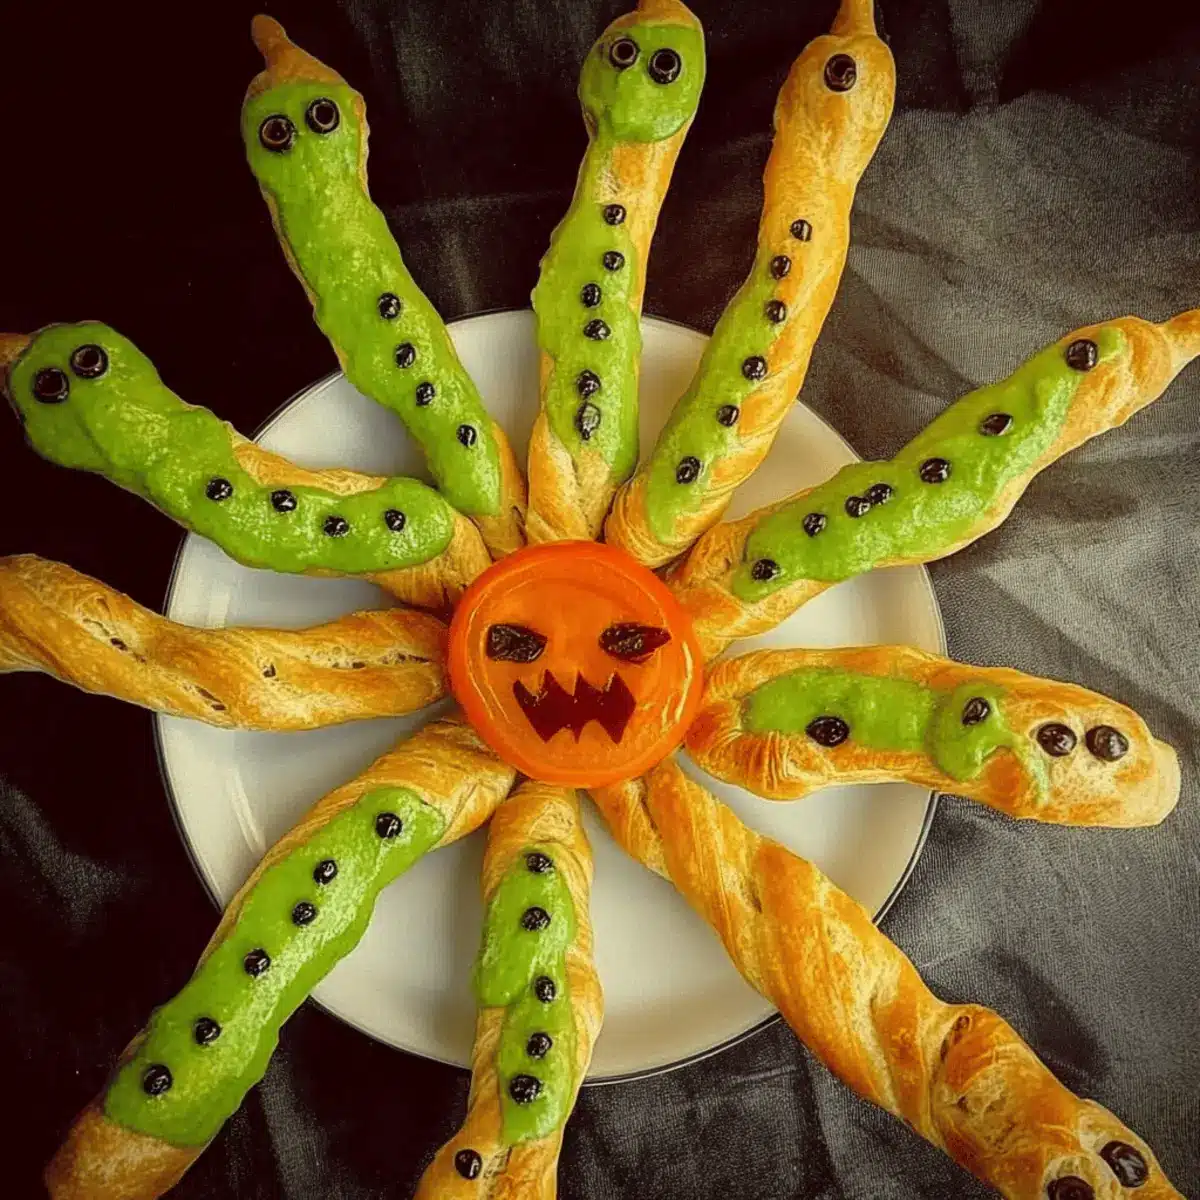
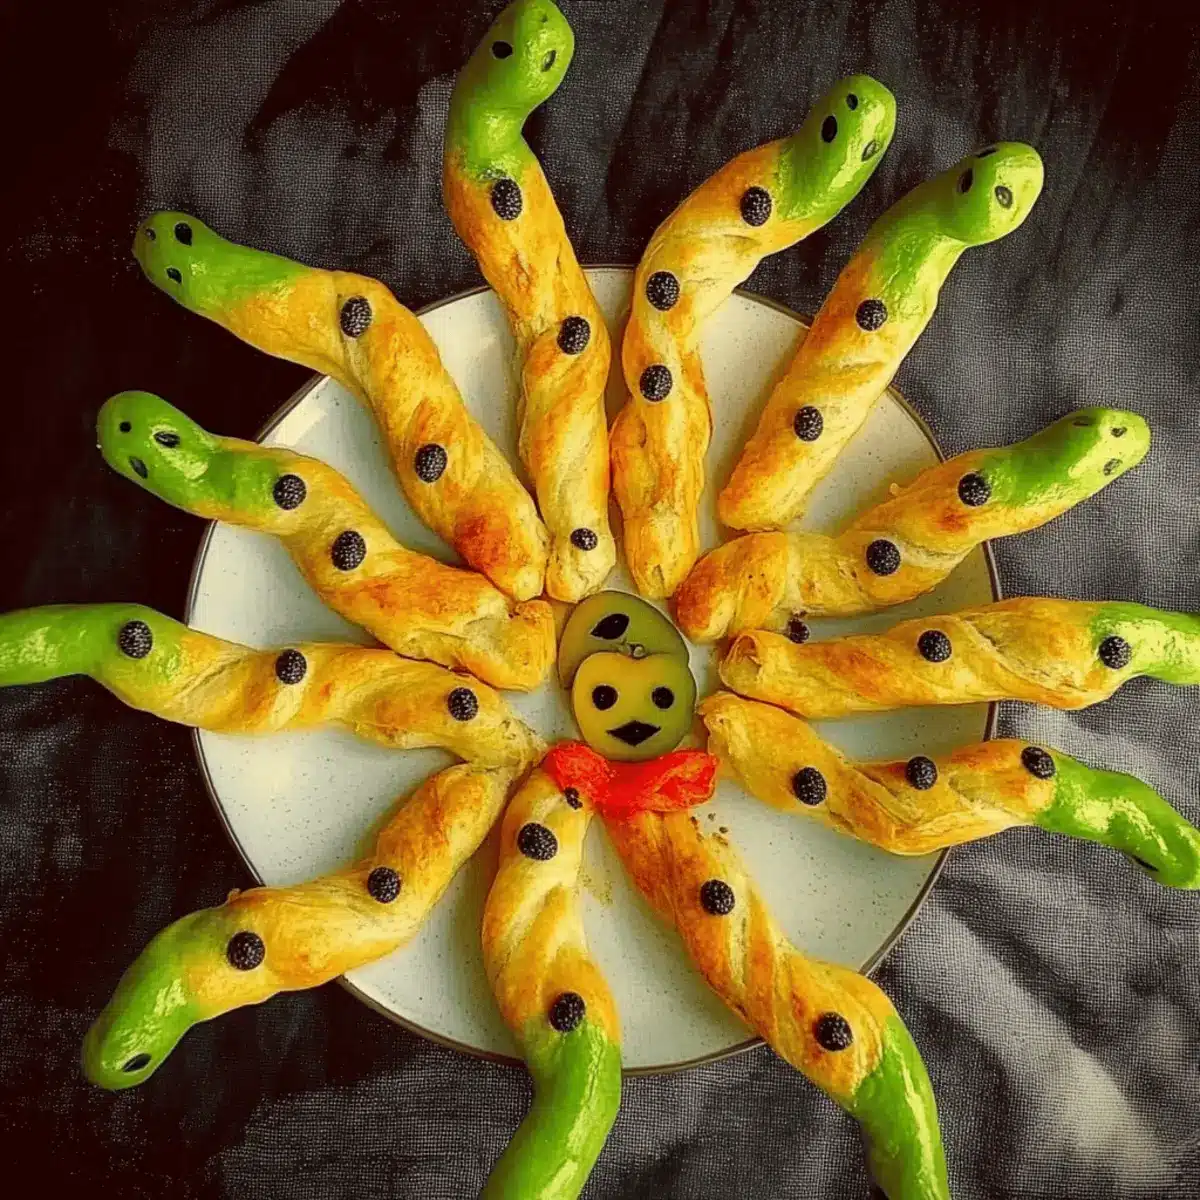
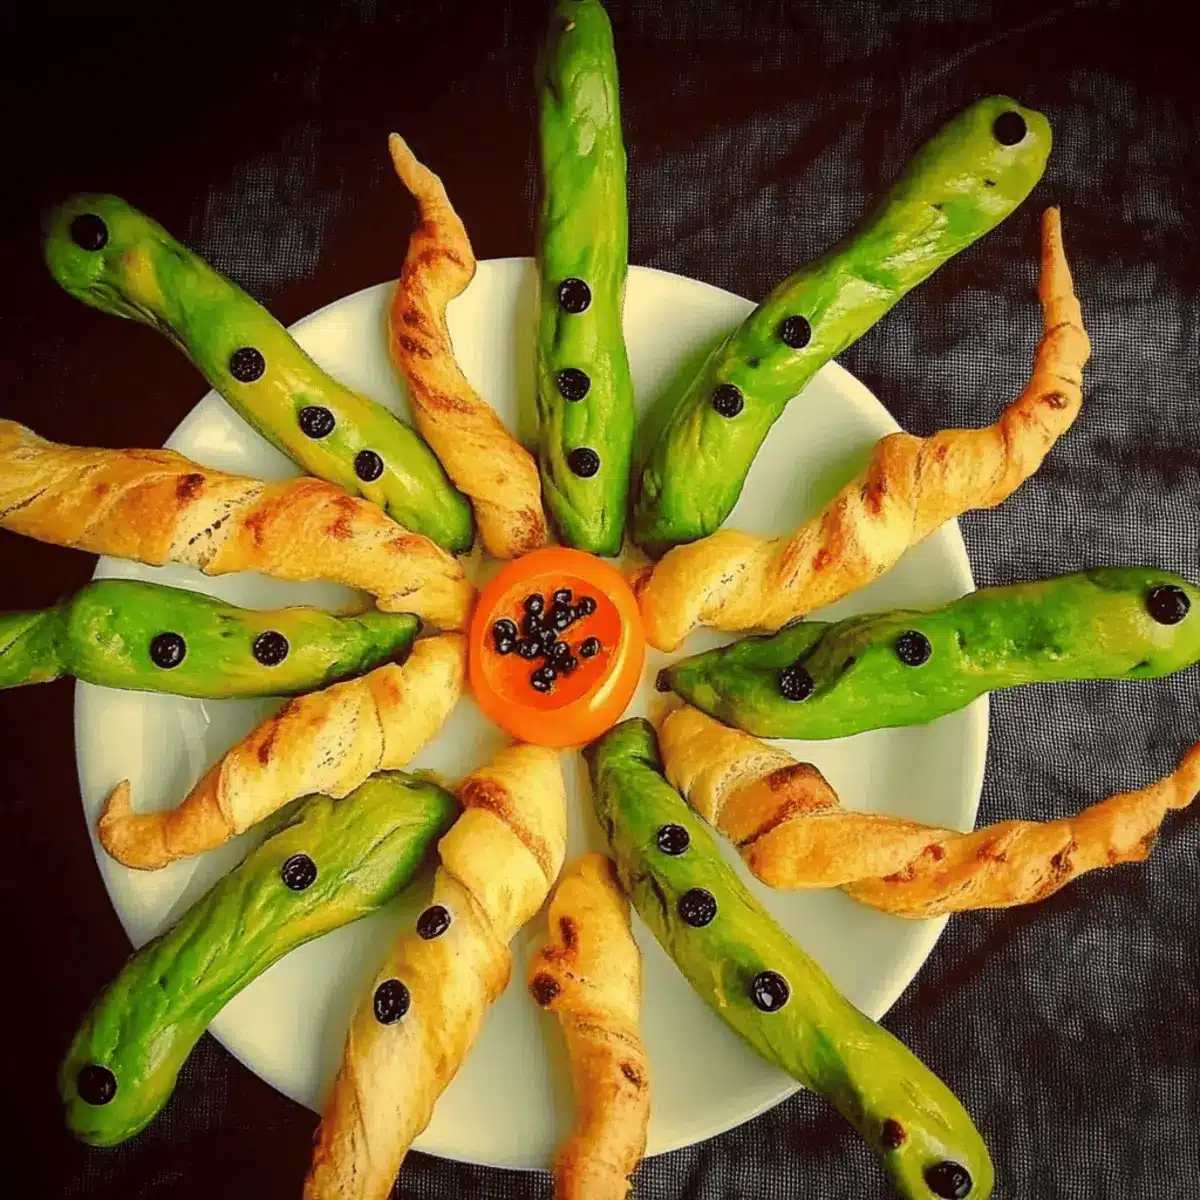
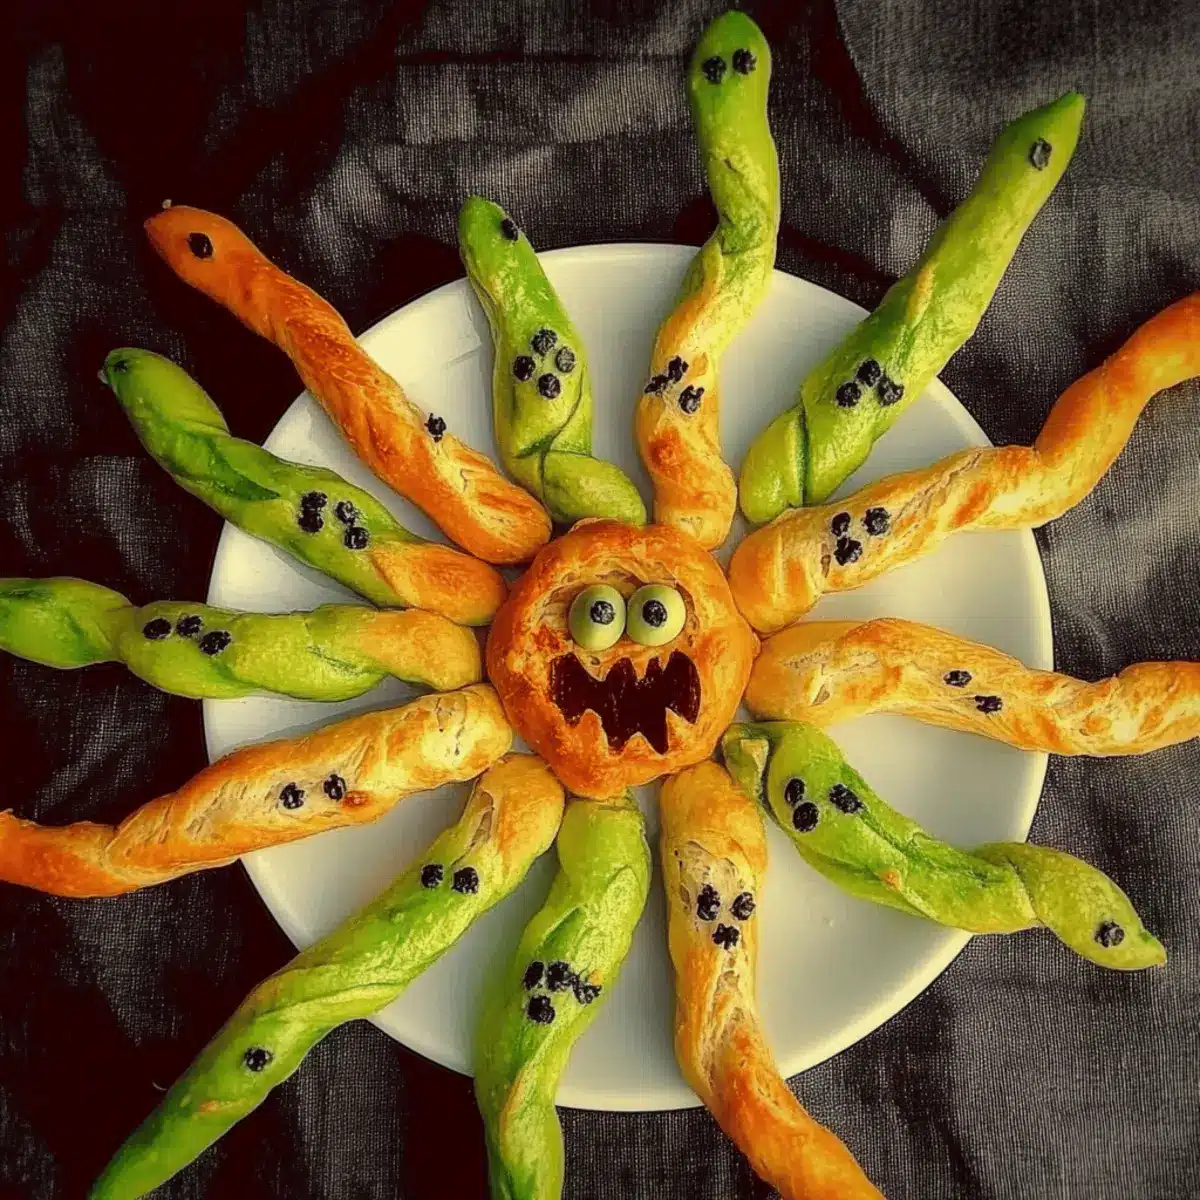
As the sun sets and Halloween looms closer, I can’t help but feel that familiar flutter of excitement. What could be more delightful than transforming simple ingredients into enchanting Spooky Halloween Snake Breadsticks? These whimsical bites are not just for the little ghouls and goblins; they’re a playful twist that will make your party table come alive! Easy to whip up and healthy, these breadsticks charm adults while bringing joy to kids—even those who are notorious for turning their noses up at vegetables. Whether you’re conjuring up a Harry Potter-themed feast or simply looking to spice up your Halloween snacks, these snake breadsticks are bound to steal the show. Ready to unearth the secrets to creating these captivating treats? Let’s dive in!

Why Are Snake Breadsticks a Must-Try?
Fun and Festive: These Spooky Snake Breadsticks add a playful twist to your Halloween party, ensuring smiles from all ages.
Easy to Make: With simple ingredients and straightforward steps, even novice bakers can whip these up in no time.
Customizable: Whether you want a Harry Potter theme or a creepy critter look, the creative possibilities are endless!
Healthy Appetizer: Unlike typical party snacks, these breadsticks are a healthier choice, with about 184 calories each.
Perfect for Dipping: Pair them with garlic mayo or BBQ sauce for a flavor boost that’s sure to impress your guests.
Crowd-Pleasing Appeal: They’re not just kid-friendly; adults love them too, making them the perfect addition to any gathering.
Snake Breadsticks Ingredients
• Get ready to create a spooktacular treat!
For the Dough
- Dried Active Yeast – Provides leavening, helping your Snake Breadsticks rise perfectly; you can use instant yeast instead for quicker results.
- Warm Water – Activates yeast and hydrates the dough; ensure it’s warm, not hot, to keep those bubbles alive!
- Olive Oil – Adds moisture and a hint of flavor; melted butter can be a delicious substitute for extra richness.
- Plain Flour – The main building block for your breadsticks; whole wheat flour works too for a healthier twist, though it might alter the texture.
- Salt – Enhances flavor and regulates yeast action; don’t skip this essential ingredient!
For Decoration and Personalization
- Olives (for eyes) – Spooky decoration that really brings your Snake Breadsticks to life; feel free to use small round vegetables like capers as a substitute.
- Orange Pepper (for tongue) – Adds a fun pop of color; red bell pepper offers a similar sweetness and look if you’d rather use that.
- Extra Strong Food Colour Gel – Make your snakes extra creepy with color; any food-safe coloring can be an alternative if you have it on hand.
- Water (for mixing food color) – Helps to achieve a smooth, even application for your creepy designs.
- Sesame or Nigella Seeds (optional) – Sprinkle these for added crunch and flavor; you can skip them if you prefer a cleaner look.
These Snake Breadsticks are not just fun to make, they’re a healthy, delightful snack option for your party, ready for customization and creativity!
Step‑by‑Step Instructions for Spooky Halloween Snake Breadsticks
Step 1: Prepare the Dough
Begin by mixing 1 cup of warm water with 2 teaspoons of dried active yeast in a bowl. Stir the mixture gently until it becomes frothy, which should take about 5 minutes. Then, in a separate bowl, sift together 3 cups of plain flour and 1 teaspoon of salt to ensure an even distribution of ingredients before combining with the yeast mixture.
Step 2: Knead the Dough
Pour the frothy yeast mixture into the flour mixture, followed by 2 tablespoons of olive oil. Combine the ingredients using a hand mixer with a dough hook or knead by hand for about 10 minutes until the dough is smooth and elastic. You’ll know it’s ready when it springs back after a gentle poke, indicating the gluten has developed nicely.
Step 3: Proof the Dough
Once your dough is kneaded to perfection, form it into a ball and place it in a lightly greased bowl. Cover the bowl with a clean kitchen towel and let the dough rise in a warm, draft-free area for about 1 hour, or until it has doubled in size. This step is crucial for achieving fluffy and airy Snake Breadsticks.
Step 4: Shape the Snakes
After the dough has risen, gently punch it down to release any air. Divide the dough into 50-gram portions and roll each piece into long snake-like shapes, tapering one end for the tail and thickening the other for the head. For an added fun element, you can wrap each snake around a skewer to create a playful presentation.
Step 5: Bake the Breadsticks
Preheat your oven to 200°C (425°F) while placing your shaped Snake Breadsticks on a lined baking tray. Allow some space between each, as they will expand while baking. Bake them for about 15 minutes until they are golden brown and crispy, where they will start to look delightfully spooky.
Step 6: Color the Snakes
Once baked, remove the tray from the oven and prepare a mixture of water and extra strong food color gel. Brush this colorful mix onto your breadsticks for a creepy effect and sprinkle sesame or nigella seeds on top if desired. Return the tray to the oven for an additional 5 minutes to set the color and enhance the appearance.
Step 7: Finish Decorations
Let the Snake Breadsticks cool slightly before removing the skewers by gently twisting while pulling them out to avoid breaking. Poke small holes for olive eyes and add bits of orange or red pepper for tongues, bringing your spooky creations to life. Your charming Spooky Halloween Snake Breadsticks are now ready to be served and enjoyed!

Expert Tips for Snake Breadsticks
-
Warm Water: Ensure your water is warm, not too hot; overly hot water can kill the yeast, preventing your snake breadsticks from rising properly.
-
Kneading Technique: When kneading the dough, use a floured surface to prevent sticking, and ensure the dough is elastic for the best texture.
-
Leave Space: On the baking tray, place your snake shapes with adequate space between them. This allows for expansion during baking, preventing sticking.
-
Skewer Removal: Gently twist while pulling out the skewers after baking. This prevents your snake breadsticks from breaking and helps maintain their fun shape.
-
Customizing Colors: Use natural food color alternatives for a healthier option, ensuring your snake breadsticks are as vibrant as they are delicious.
-
Serving Ideas: Pair the finished snake breadsticks with a variety of dips, like hummus or ranch dressing, to elevate their flavor and impress your guests!
What to Serve with Spooky Halloween Snake Breadsticks
These charming breadsticks are perfect for creating an inviting and festive Halloween feast, enhancing both sights and flavors.
- Garlic Mayo: A creamy dip that adds a deliciously rich flavor, enhancing the breadsticks’ crispy texture.
- BBQ Sauce: This smoky sauce brings a sweet and tangy flavor that pairs beautifully with the savory breadsticks.
Imagine gathering around to enjoy the eerie ambiance while savoring gooey dips and spirited snacks.
- Homemade Chili Sauce: Spice things up with this zesty sauce that not only complements the breadsticks but also awakens the taste buds.
- Hummus: A smooth and creamy alternative that offers a contrasting texture, making for a delightful munching experience.
Encourage creative pairings while enjoying tender moments with family and friends this Halloween!
-
Mini Veggie Platter: Serve alongside fresh vegetables like carrots and cucumbers for a crunchy contrast and a healthy touch to the spread.
-
Spooky Fruit Skewers: Add fun fruit arrangements to balance the savory elements with sweetness, bringing vibrant colors to the table.
-
Festive Punch: A fruity punch or cocktail can invigorate the gathering, acting as a refreshing backdrop to your Halloween atmosphere.
-
Chocolate Dipped Marshmallows: For a simple, sweet ending, these treats will delight kids and adults alike, closing the meal with a sugar rush!
How to Store and Freeze Snake Breadsticks
Airtight Container: Store baked Snake Breadsticks in an airtight container at room temperature for up to 3 days to maintain their crispness and flavor.
Fridge: If you need to keep them longer, place the breadsticks in the fridge for up to a week; however, they may lose some of their crunchiness.
Freezer: For longer storage, freeze the breadsticks in a single layer, then transfer to a freezer bag for up to 3 months. Thaw and reheat before serving.
Reheating: To restore their crispiness, reheat frozen Snake Breadsticks in the oven at 180°C (350°F) for about 10-12 minutes.
Make Ahead Options
These Spooky Snake Breadsticks are perfect for busy home cooks looking to save time on Halloween festivities! You can prepare the dough up to 24 hours in advance. Simply mix and knead the dough as instructed, then cover it tightly and refrigerate. On the day of your gathering, allow the dough to come to room temperature before shaping into snakes. Additionally, you can shape and refrigerate the formed breadsticks for up to 3 days. Make sure to place them on a lined baking tray, covered with plastic wrap, to prevent drying out. When it’s time to bake, just pop them in the oven directly from the fridge—these Snake Breadsticks will be just as delightful and fun as if made fresh!
Snake Breadsticks Variations & Substitutions
Feel free to explore these creative twists and substitutions, making your snake breadsticks your very own delicious surprise!
-
Whole Wheat: Swap plain flour for whole wheat for a healthier, nutty taste that adds earthy depth.
-
Cheesy Delight: For a tantalizing twist, mix in some grated cheese into the dough before baking. This will create an irresistibly cheesy flavor that’ll have everyone coming back for more.
-
Gluten-Free: Use a gluten-free flour blend to make these breadsticks accessible for those with dietary restrictions. A solid option that won’t compromise texture!
-
Spicy Kick: For those who enjoy a little heat, add a pinch of cayenne or chili flakes to the dough. This spicy surprise is sure to raise the excitement!
-
Herb Infusion: Incorporate herbs like rosemary or thyme into the dough for an aromatic flavor that beautifully complements the breadsticks’ crispy exterior.
-
Creative Colors: Shift the spooky vibe by substituting the food coloring with natural alternatives like beet juice and spinach for vibrant, colorful snakes that are still healthy!
-
Fun Shapes: Get creative with the shaping! Form your dough into fun designs like lizards or worms for a playful alteration that kids will adore.
-
Seed Variety: Experiment with different seeds like poppy or chia for a unique texture and flavor profile, giving your breadsticks an extra crunch!
We hope these ideas inspire you to customize your snack! Don’t forget to serve with a delicious dip like homemade chili sauce or garlic mayo for an enhanced flavor experience that will dazzle your guests!

Spooky Halloween Snake Breadsticks Recipe FAQs
How do I select the right ingredients for my Snake Breadsticks?
Absolutely! When picking ingredients, focus on the freshness of your dried active yeast; it should be within its expiration date and stored in a cool, dry place. The flour should be all-purpose for the best structure, but if you’re feeling adventurous, whole wheat flour can be a great healthy alternative, although it may change the texture a bit. For the olives, choose plump, briny ones for an appealing “eye” effect, and ensure your peppers are vibrant and fresh to add that pop of color!
How do I store my baked Snake Breadsticks?
To keep your Snake Breadsticks crisp and delicious, store them in an airtight container at room temperature for up to 3 days. If you’re aiming for a slightly longer shelf life, placing them in the fridge can extend freshness for up to a week, though they might lose some of their delightful crunch. I recommend consuming them within the first couple of days for the best experience!
Can I freeze my Snake Breadsticks?
Yes, you can! To freeze your Snake Breadsticks, first allow them to cool completely. Then, lay them out in a single layer on a baking sheet and place them in the freezer until solid. Once frozen, transfer them to a freezer bag or an airtight container, where they can be kept for up to 3 months. When you’re ready to enjoy them, simply thaw and reheat in the oven at 180°C (350°F) for about 10-12 minutes to restore that delightful crunch.
What should I do if my dough doesn’t rise?
Very! If your dough doesn’t rise, there could be a couple of reasons. First, check the temperature of your warm water; it should feel warm to the touch but not too hot, as excessive heat can kill the yeast. If the yeast didn’t activate (look for that bubbly froth!), it’s worth trying again with new yeast. Ensure you’re also allowing enough time for proofing; giving it at least an hour in a warm, draft-free area allows the yeast to work its magic. Patience is key!
Are there any dietary considerations for Snake Breadsticks?
Certainly! These Snake Breadsticks can be made pet-friendly by omitting salty ingredients like olives and seeds. For those with gluten allergies, a gluten-free flour substitute can be used, but keep in mind that it may alter the texture slightly. Always double-check labels on all ingredients you use to ensure they meet any dietary restrictions, especially the food coloring, which should be noted for any allergies. It’s all about creating a joyful treat that everyone can enjoy!
Can I customize the decorations on my Snake Breadsticks?
The more the merrier! Absolutely, you can customize the decorations as much as you’d like! Use edible googly eyes, or replace olives with other small fruits or veggies for a unique twist. You could swap the orange pepper for diced jalapeños for a spicy kick. And if you’re feeling creative, consider different food color gels or even natural colors from vegetable purees to paint your snakes, making the experience both fun and personal!

Spooky Snake Breadsticks That Wow Kids and Adults Alike
Ingredients
Equipment
Method
- Mix 1 cup of warm water with 2 teaspoons of dried active yeast in a bowl. Stir until frothy (about 5 minutes).
- In a separate bowl, sift together 3 cups of plain flour and 1 teaspoon of salt.
- Combine frothy yeast mixture with flour mixture and add 2 tablespoons of olive oil. Mix and knead for about 10 minutes until smooth and elastic.
- Form the dough into a ball and place in a greased bowl. Cover and let rise in a warm area for about 1 hour.
- Punch down the dough, divide into portions, and roll each into snake shapes. Place on a lined baking tray.
- Preheat oven to 200°C (425°F) and bake for about 15 minutes until golden brown.
- Brush baked breadsticks with a mixture of water and food color gel. Add sesame or nigella seeds, and return to oven for 5 minutes.
- Cool slightly, poke for olive eyes, and add pepper tongues to finish.

Leave a Reply