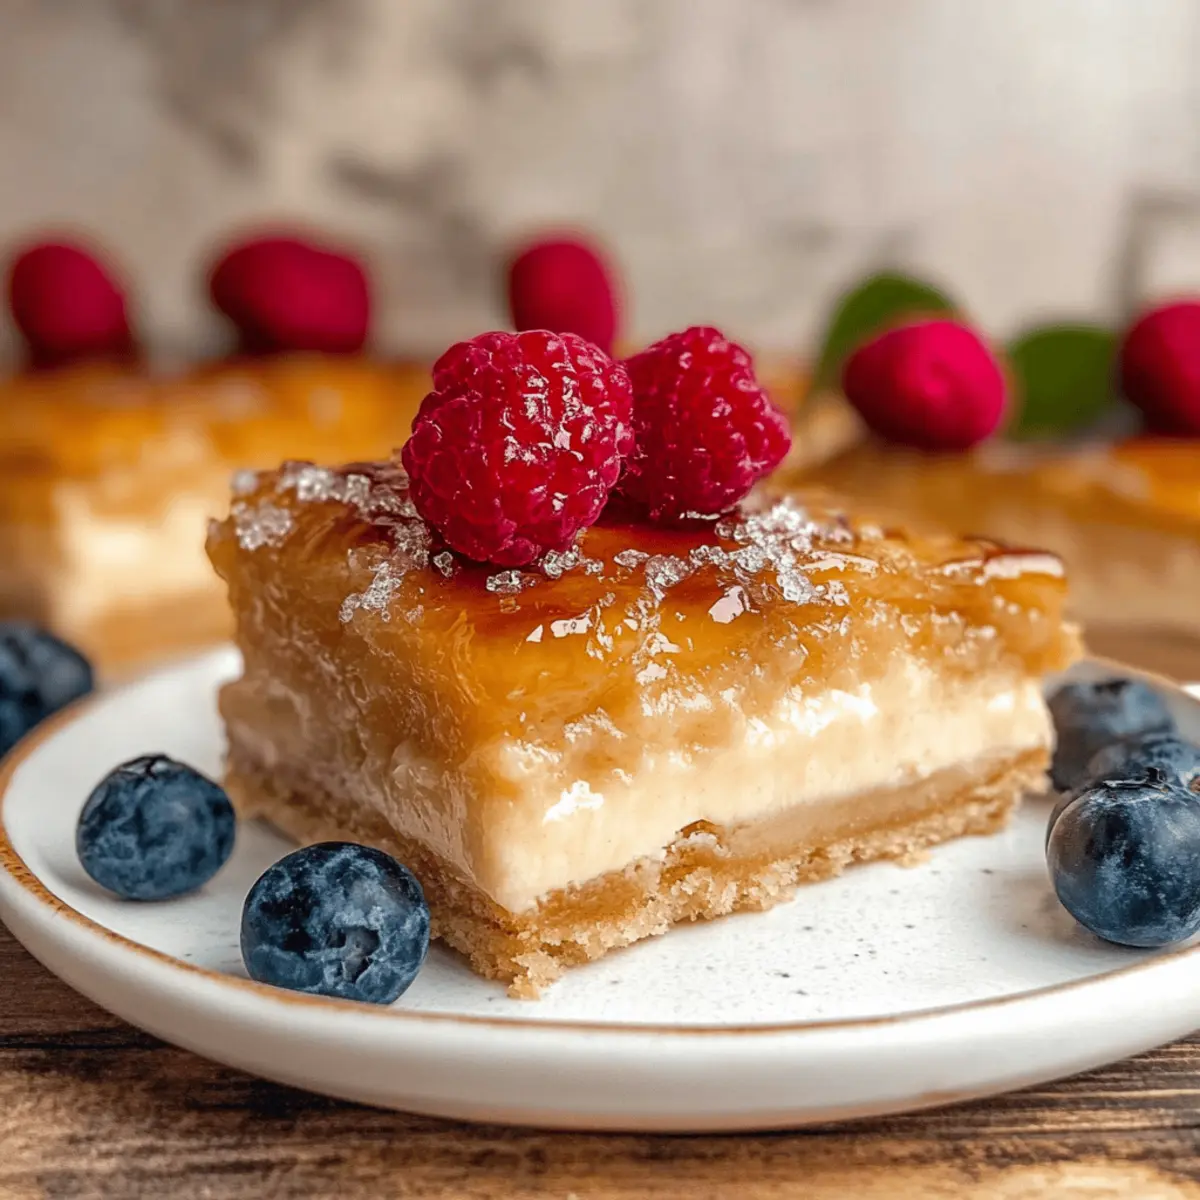
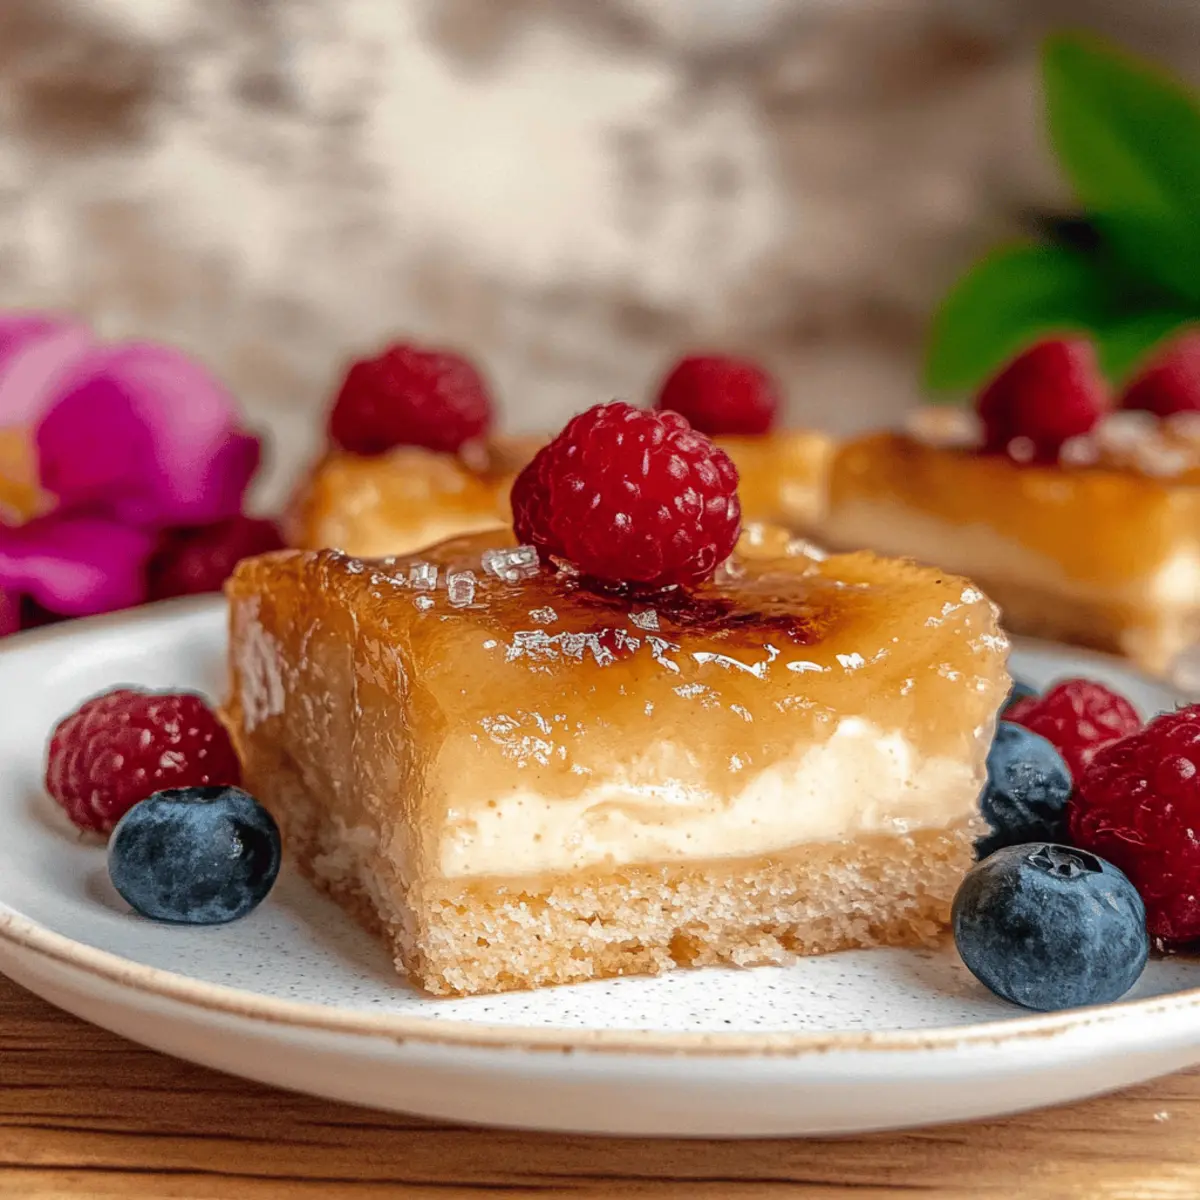
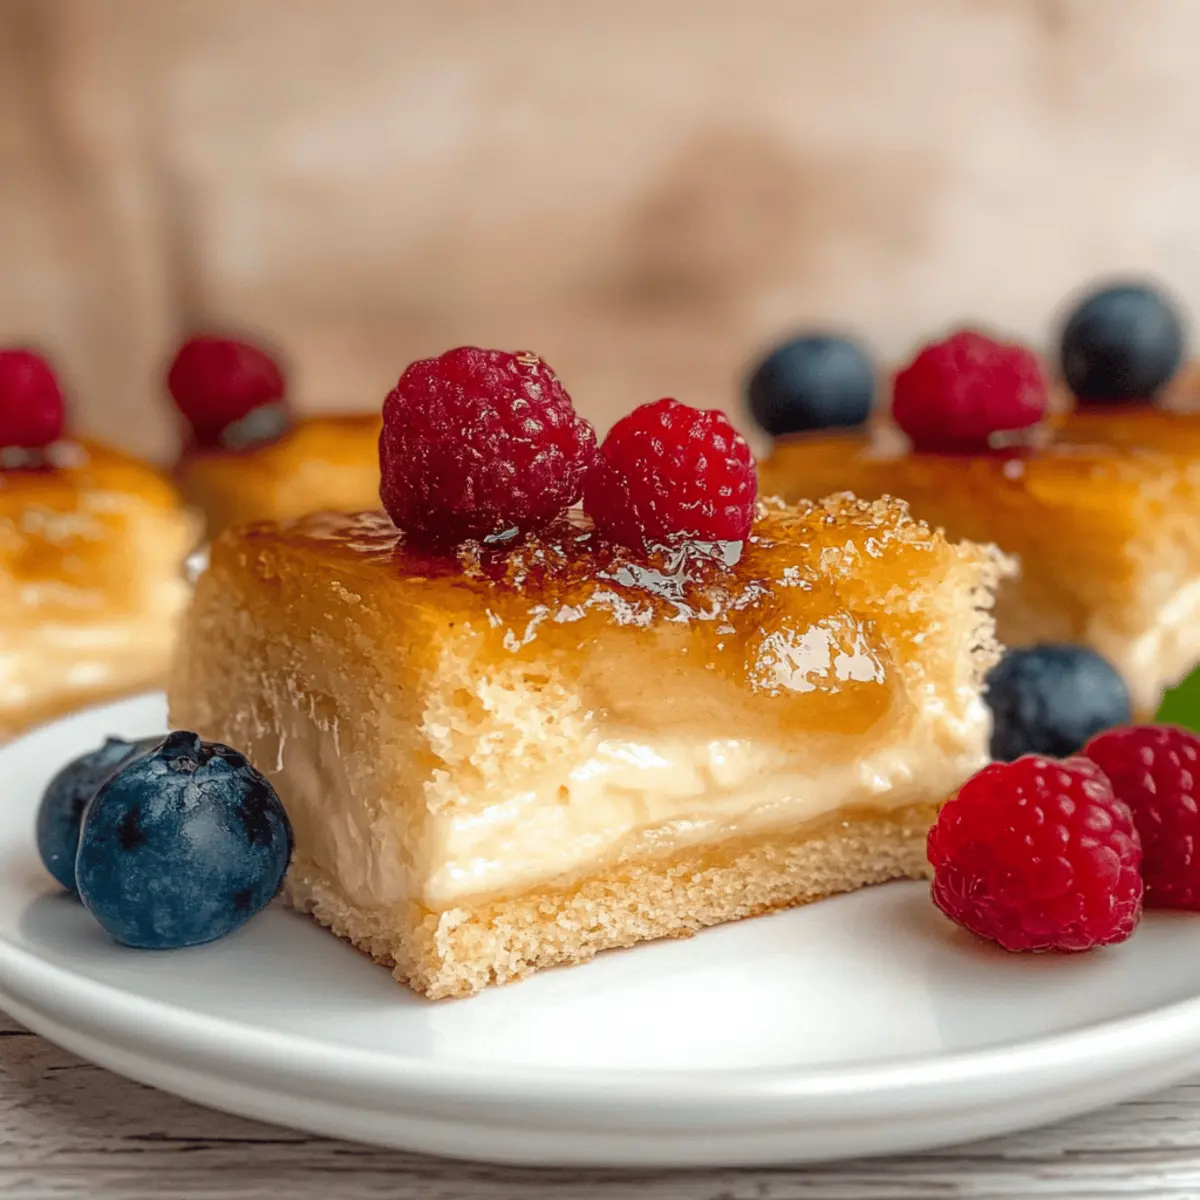
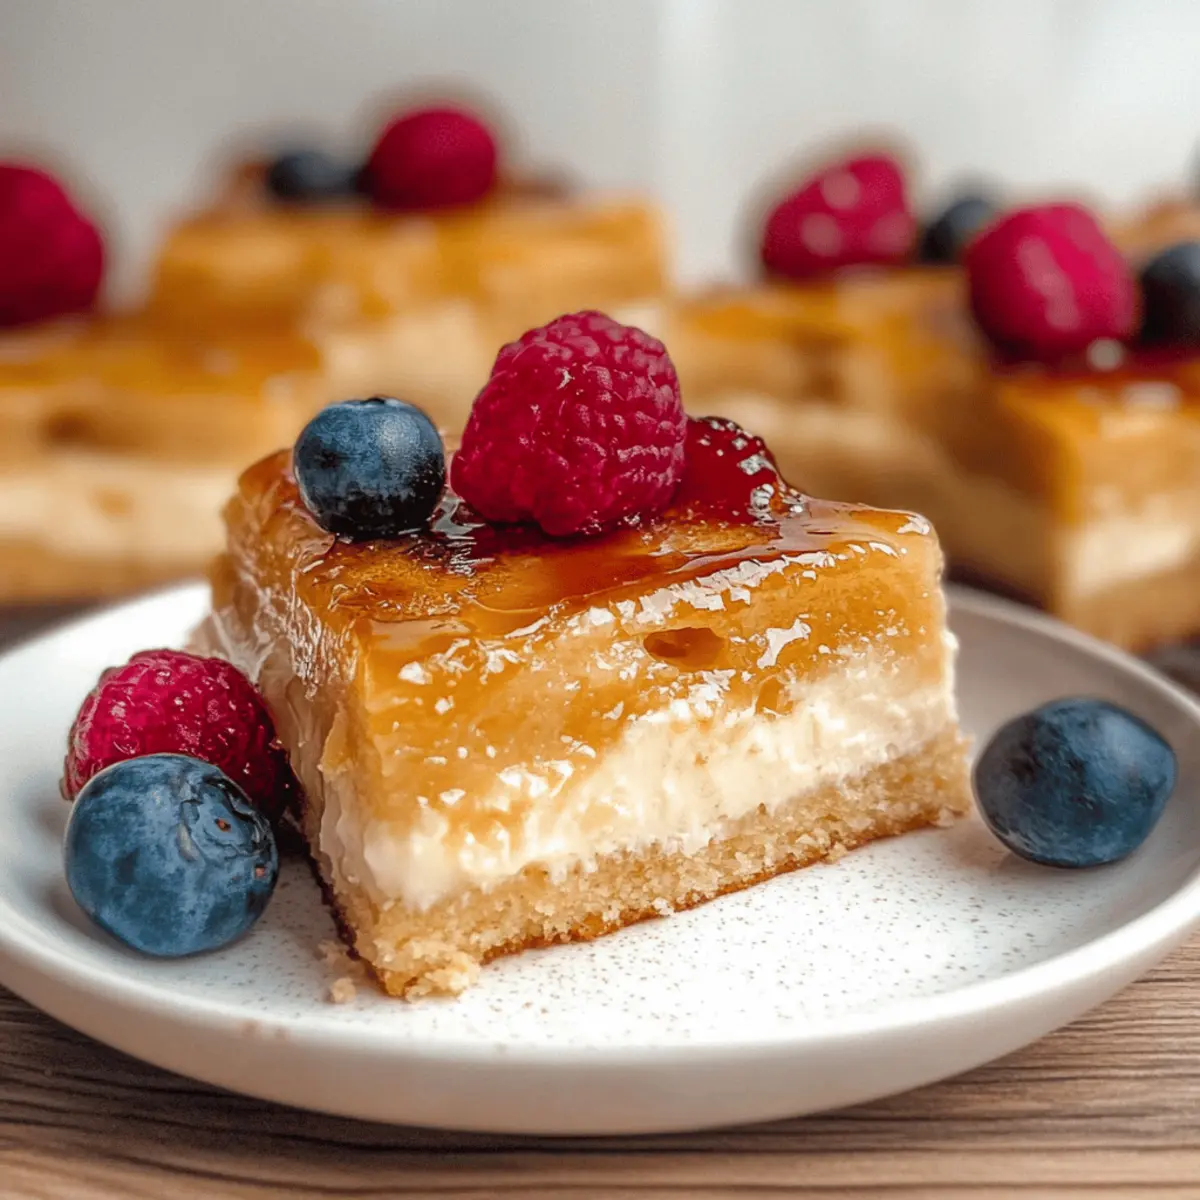
As the torch crackles in the kitchen, I can’t help but smile at the magic about to happen—it’s creme brûlée cake time! This delightfully indulgent dessert combines the rich, velvety texture of a traditional crème brûlée with a moist vanilla cake, effortlessly bringing a touch of elegance to any gathering. The real selling point? With a quick prep time and the option to make it gluten-free, this creme brûlée cake isn’t just a showstopper; it’s accessible for all. Imagine serving slices that melt in your mouth, topped with silky pastry cream and that irresistible caramelized sugar layer—perfect for satisfying any sweet tooth. Are you ready to embark on this delightful journey? Let’s dive into the details!

Why is this cake a must-try?
Decadent Flavor: The combination of rich vanilla cake and creamy pastry cream creates an unforgettable dessert experience that delights the senses.
Effortless Elegance: This cake elevates any occasion, making it perfect for birthdays, brunches, or simply when you want to impress guests without the fuss.
Quick Preparation: With a short prep time, you’ll have a show-stopping dessert without spending hours in the kitchen.
Gluten-Free Option: Easily adaptable for gluten-free diets, using products like Bob’s Red Mill 1-to-1 baking flour—everyone can join in on the indulgence!
Visual Appeal: The caramelized sugar topping not only looks stunning but also adds a satisfying crunch that contrasts perfectly with the soft cake beneath.
If you’re looking for other delightful desserts, you might want to check out my Lemon Cake Die or the irresistible Copycat Birthday Cake!
Creme Brûlée Cake Ingredients
• Indulge in the refined flavors of this creme brûlée cake with these essential ingredients!
For the Cake
- Whole Milk – Provides moisture and creaminess; substitute with almond milk for a lighter option.
- Unsalted Butter – Contributes to the cake’s flavor and moisture; can substitute with vegan butter for a dairy-free version.
- Granulated White Sugar – Sweetens the cake and pastry cream; can use coconut sugar for a healthier alternative.
- Egg Yolks – Essential for richness and thickening the pastry cream; no direct substitutes recommended for this role.
- Vanilla Bean Paste – Adds a deep vanilla flavor and aroma; substitute with high-quality vanilla extract if unavailable.
- All-Purpose Flour – Forms the structure of the cake; for gluten-free, use Bob’s Red Mill 1-to-1 baking flour.
- Baking Powder & Baking Soda – Crucial leavening agents for rise; important for the cake structure; do not substitute one for the other.
- Salt – Enhances flavors; no substitutes needed.
- Buttermilk – Adds moisture and tenderness to the cake; substitute 1 cup of milk plus 1 tbsp of lemon juice if buttermilk isn’t available.
For the Pastry Cream
- Cornstarch – Thickens the pastry cream; not interchangeable as it’s important for texture.
- Half & Half or Whole Milk – Provides a rich soak for the cake; regular or lactose-free milk works as substitutes.
- Sweetened Condensed Milk – Enhances sweetness and moisture; can be substituted with a mix of milk and sugar if unavailable.
Enjoy the process of baking this sublime creme brûlée cake, and delight in every melt-in-your-mouth bite!
Step‑by‑Step Instructions for Creme Brûlée Cake
Step 1: Prepare Pastry Cream
In a saucepan over medium heat, combine 2 cups of whole milk and bring to a simmer. In a mixing bowl, whisk together 6 egg yolks, 1 cup of granulated sugar, and ¼ cup of cornstarch until smooth. Gradually add the hot milk to the egg mixture, whisking continuously. Return the combined mixture to the saucepan, cooking until thickened, about 5-7 minutes, and then set aside to cool.
Step 2: Make Vanilla Cake
Preheat your oven to 350°F (175°C) and prepare a 9-inch round cake pan by greasing it lightly. In a large mixing bowl, cream together ½ cup of unsalted butter and 1 cup of granulated sugar until fluffy. Mix in 3 eggs and 2 teaspoons of vanilla bean paste, then alternate adding 1 ½ cups of all-purpose flour, 1 teaspoon of baking powder, ½ teaspoon of baking soda, and ½ cup of buttermilk until fully combined. Pour the batter into the prepared pan and bake for 39-44 minutes or until a toothpick comes out clean.
Step 3: Cool Cake
Once the cake is done baking, let it cool in the pan for 30 minutes. Afterward, carefully turn it out onto a wire rack to cool completely, about 1 hour. This cooling step is crucial for allowing the cake’s structure to set, ensuring it holds together well when assembled.
Step 4: Create Vanilla Milk Soak
While the cake cools, prepare the soaking liquid. In a bowl, mix 1 cup of half & half, ½ cup of sweetened condensed milk, and 1 teaspoon of vanilla extract until well combined. Chill this mixture in the refrigerator while you prepare to assemble the cake. This soak will add moisture and richness, enhancing the flavor of the creme brûlée cake.
Step 5: Assemble Cake
Once the cake has fully cooled, carefully cut off the top layer to create an even surface. Using a fork or skewer, poke holes all over the cake. Pour the chilled vanilla milk soak evenly over the cake, allowing it to absorb for about 10 minutes. After soaking, spread the pre-prepared pastry cream on top, smoothing it out to create an even layer.
Step 6: Brûlée Sugar
To finish your creme brûlée cake, sprinkle an even layer of granulated sugar over the top of the pastry cream. Using a kitchen torch, carefully caramelize the sugar until it turns a golden brown color, which should take about 1-2 minutes. Move the torch in circular motions to ensure even caramelization and allow it to cool slightly before slicing and serving.

Make Ahead Options
These Creme Brûlée Cakes are perfect for busy home cooks seeking to save time without sacrificing flavor! You can prepare the pastry cream and the vanilla milk soak up to 3 days in advance, storing them in the refrigerator for maximum freshness. Additionally, you can bake the cake and allow it to cool completely up to 24 hours ahead; simply wrap it tightly in plastic wrap to prevent it from drying out. When you’re ready to serve, stack the components by soaking the cake with the chilled milk mixture, topping it with the pastry cream, and caramelizing the sugar just before serving to maintain that delightful crunch. This way, you’ll have a stunning dessert that’s as delicious as it is convenient!
Creme Brûlée Cake Variations & Substitutions
Feel free to get creative with this recipe; the options are as delightful as the cake itself!
-
Vanilla Swaps: Substitute vanilla bean paste with pure vanilla extract for a different flavor profile. It’s a simple swap that maintains richness.
-
Fruit Infusion: Consider adding fresh fruit purées, like raspberry or mango, to the batter for a fruity twist. It pairs beautifully with the creamy layers.
-
Dairy-Free Delight: Use coconut milk and dairy-free butter alternatives for a vegan-friendly version that doesn’t sacrifice taste. Everyone deserves to enjoy this indulgence!
-
Flour Variety: For a gluten-free option, replace all-purpose flour with Bob’s Red Mill 1-to-1 baking flour, ensuring everyone can savor a slice.
-
Chocolate Lovers: Fold in cocoa powder into the cake batter for a chocolatey version. It adds a rich flavor that complements the creamy pastry.
-
Nutty Flavor: Incorporate ground almonds or hazelnuts into the cake mix for added texture and a nutty undertone that enhances the overall taste.
-
Sweetness Adjustment: Swap granulated sugar for coconut sugar for a deeper, caramel-like sweetness that works wonderfully with the cake’s flavor profile.
If you’re feeling inspired, don’t forget to check out my Vegan Mango Cheesecake Bars or try the luscious Mini Chocolate Cheesecake Bites for more indulgent ideas!
How to Store and Freeze Creme Brûlée Cake
Fridge: Store any leftover creme brûlée cake in an airtight container for up to 3 days to maintain its moisture and flavor.
Freezer: If desired, you can freeze the cake without the brûlée topping. Wrap it tightly in plastic wrap and aluminum foil, storing for up to 2 months for best quality.
Reheating: To enjoy your cake after freezing, thaw it in the refrigerator overnight and bring it to room temperature before serving. Add the brûlée topping just before serving for that perfect crunch.
Storage Tip: For optimal texture, avoid soaking the cake in the vanilla milk for an extended period if storing; instead, keep the soaking liquid separate until ready to assemble.
Expert Tips for Making Creme Brûlée Cake
-
Room Temperature Ingredients: Ensure your eggs and buttermilk are room temperature to achieve the best cake texture; cold ingredients can cause it to become dense.
-
Precise Measurements: Use a kitchen scale for measuring flour to avoid packing it into the cup, which may lead to a dry and dense creme brûlée cake.
-
Even Baking: Opt for a light-colored metal cake pan, which helps achieve an even bake and avoids burning; dark pans can cause the edges to cook too fast.
-
Chill the Cake Well: Allow the cake to cool completely before assembling; this step ensures the pastry cream doesn’t melt and maintains a beautiful layered structure.
-
Brûlée Techniques: Move the kitchen torch in circular motions for even caramelization, and let the sugar cool slightly before serving to maintain that satisfying crunch.
What to Serve with Creme Brûlée Cake
Enhancing your dessert experience with the perfect accompaniments can turn a delightful indulgence into a memorable feast.
-
Fresh Berries: A burst of tartness from mixed berries like raspberries and blackberries balances the sweetness beautifully, adding a refreshing element.
-
Whipped Cream: Light and airy, a dollop of freshly whipped cream lends a creamy texture that complements the rich layers of the cake perfectly.
-
Espresso or Coffee: The bold flavors of a strong espresso or coffee contrast wonderfully with the sweet, creamy cake, making each bite a delightful experience.
These pairings work together to elevate the richness of the creme brûlée cake, making it truly special. Whether it’s a festive gathering or a quiet evening at home, these options will round out a delightful dessert experience!

Creme Brûlée Cake Recipe FAQs
What type of milk works best for this recipe?
For the creme brûlée cake, whole milk provides the ideal moisture and creaminess. If you prefer a lighter option or are lactose intolerant, almond milk can be a suitable substitute.
How should I store leftover creme brûlée cake?
Absolutely! Store any leftover cake in an airtight container in the refrigerator for up to 3 days. This keeps the cake moist and flavorful—just remember to apply the brûlée topping right before serving for that perfect crunchy texture!
Can I freeze creme brûlée cake?
Yes, you can freeze the cake without the brûlée topping. Wrap it tightly in plastic wrap followed by aluminum foil, and it can last in the freezer for up to 2 months. When you’re ready to enjoy, simply thaw it in the refrigerator overnight and allow it to reach room temperature before adding the sugar topping.
What do I do if my pastry cream doesn’t thicken?
If your pastry cream isn’t thickening, it might be because the mixture hasn’t cooked long enough. Keep it on medium heat, stirring constantly. If it still doesn’t reach the desired consistency after 7-8 minutes, you can create a slurry with a bit of cornstarch mixed in cold milk and add it to the mixture, continuing to cook until thickened.
Is there any dietary consideration for pets or allergies?
Indeed! This cake contains milk, eggs, and butter, so it’s not suitable for pets, particularly dogs—dairy can upset their stomachs. If you have allergies to any of the ingredients, such as gluten or dairy, I recommend using gluten-free flour and dairy alternatives to create a version that works for your needs.
How do I prevent my cake from becoming dense?
To avoid a dense cake, ensure your eggs and buttermilk are at room temperature. This helps create a light texture. Additionally, when measuring flour, use a kitchen scale instead of scooping directly with a measuring cup, as packing flour can lead to using too much and, subsequently, a denser cake.

Crème Brûlée Cake: A Melt-in-Your-Mouth Delight
Ingredients
Equipment
Method
- In a saucepan over medium heat, combine 2 cups of whole milk and bring to a simmer. In a mixing bowl, whisk together 6 egg yolks, 1 cup of granulated sugar, and ¼ cup of cornstarch until smooth. Gradually add the hot milk to the egg mixture, whisking continuously. Return the combined mixture to the saucepan, cooking until thickened, about 5-7 minutes, and then set aside to cool.
- Preheat your oven to 350°F (175°C) and prepare a 9-inch round cake pan by greasing it lightly. In a large mixing bowl, cream together ½ cup of unsalted butter and 1 cup of granulated sugar until fluffy. Mix in 3 eggs and 2 teaspoons of vanilla bean paste, then alternate adding 1 ½ cups of all-purpose flour, 1 teaspoon of baking powder, ½ teaspoon of baking soda, and ½ cup of buttermilk until fully combined. Pour the batter into the prepared pan and bake for 39-44 minutes or until a toothpick comes out clean.
- Once the cake is done baking, let it cool in the pan for 30 minutes. Afterward, carefully turn it out onto a wire rack to cool completely, about 1 hour.
- While the cake cools, prepare the soaking liquid. In a bowl, mix 1 cup of half & half, ½ cup of sweetened condensed milk, and 1 teaspoon of vanilla extract until well combined. Chill this mixture in the refrigerator while you prepare to assemble the cake.
- Once the cake has fully cooled, carefully cut off the top layer to create an even surface. Using a fork or skewer, poke holes all over the cake. Pour the chilled vanilla milk soak evenly over the cake, allowing it to absorb for about 10 minutes. Spread the pre-prepared pastry cream on top, smoothing it out to create an even layer.
- Sprinkle an even layer of granulated sugar over the top of the pastry cream. Using a kitchen torch, carefully caramelize the sugar until it turns a golden brown color, about 1-2 minutes. Move the torch in circular motions for even caramelization and allow it to cool slightly before slicing and serving.

Leave a Reply