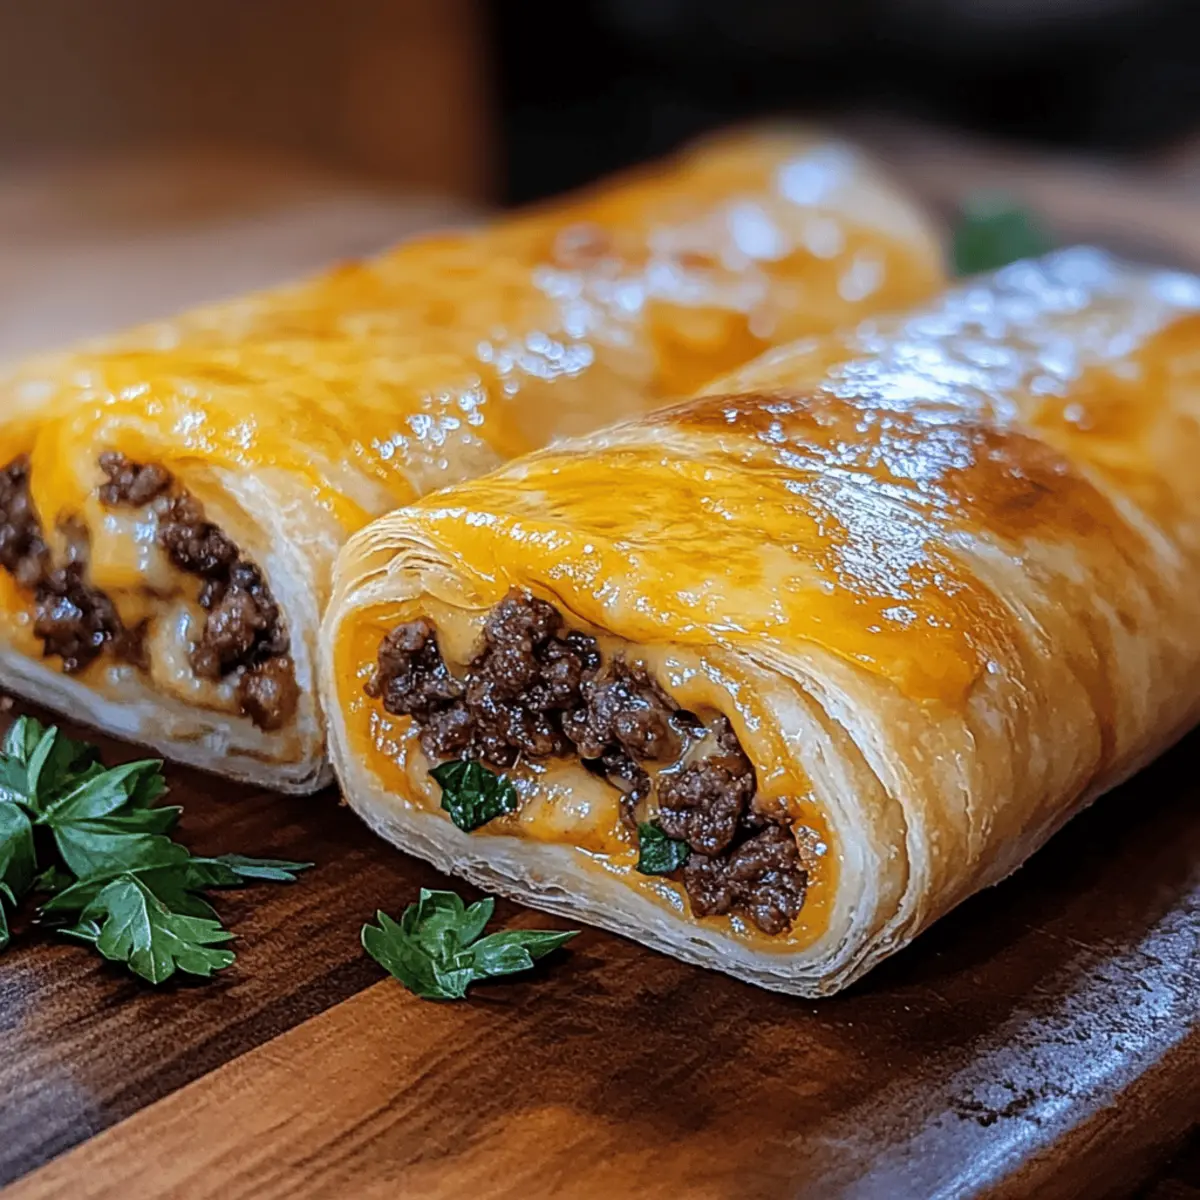
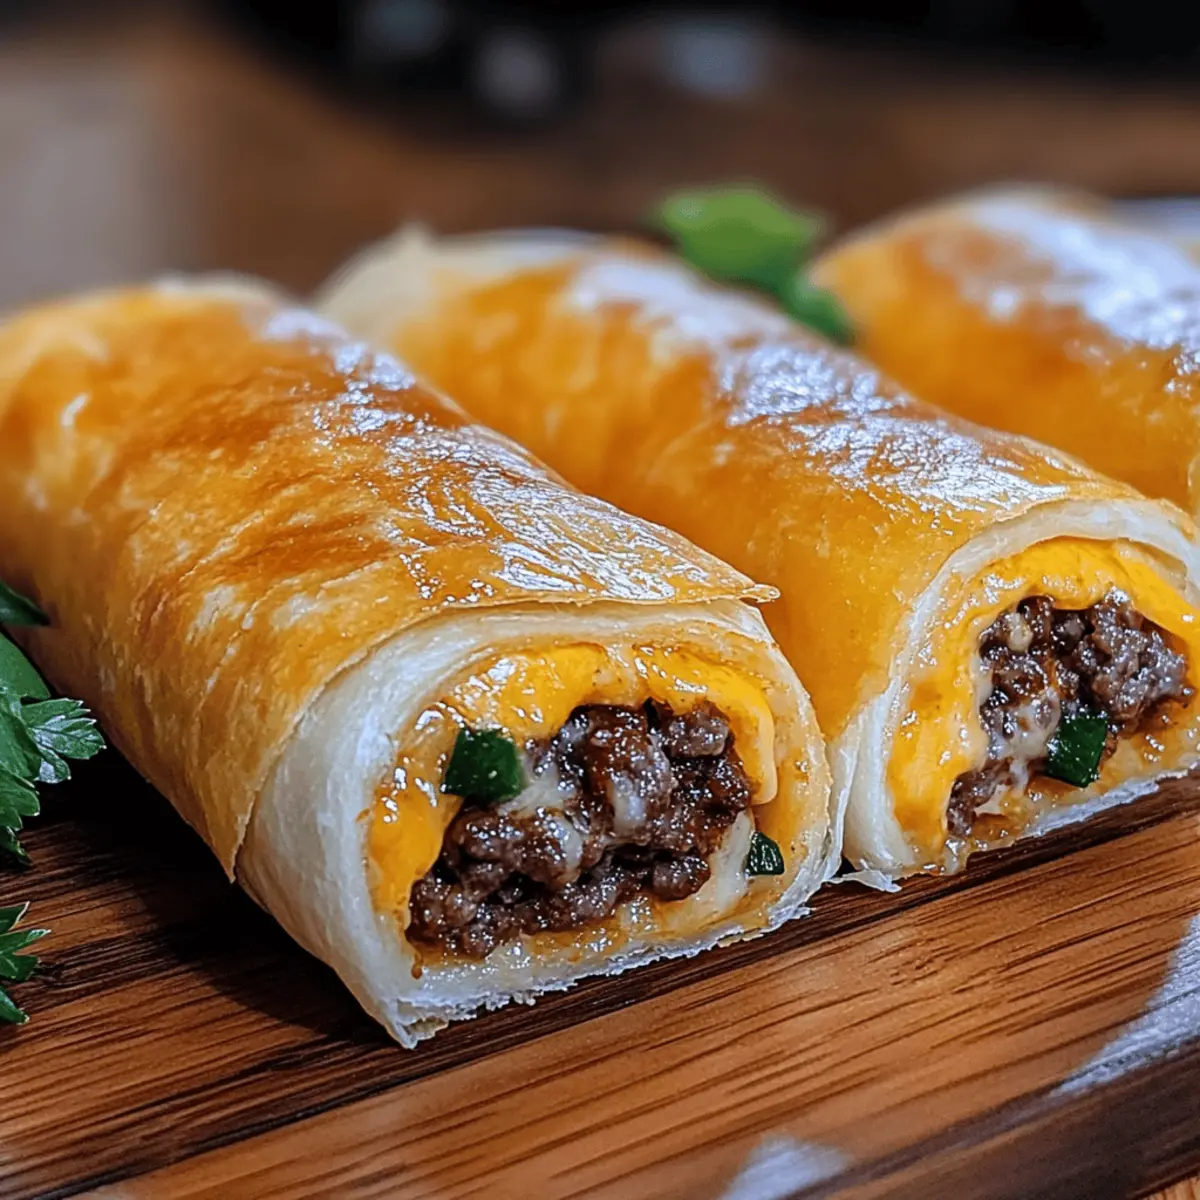
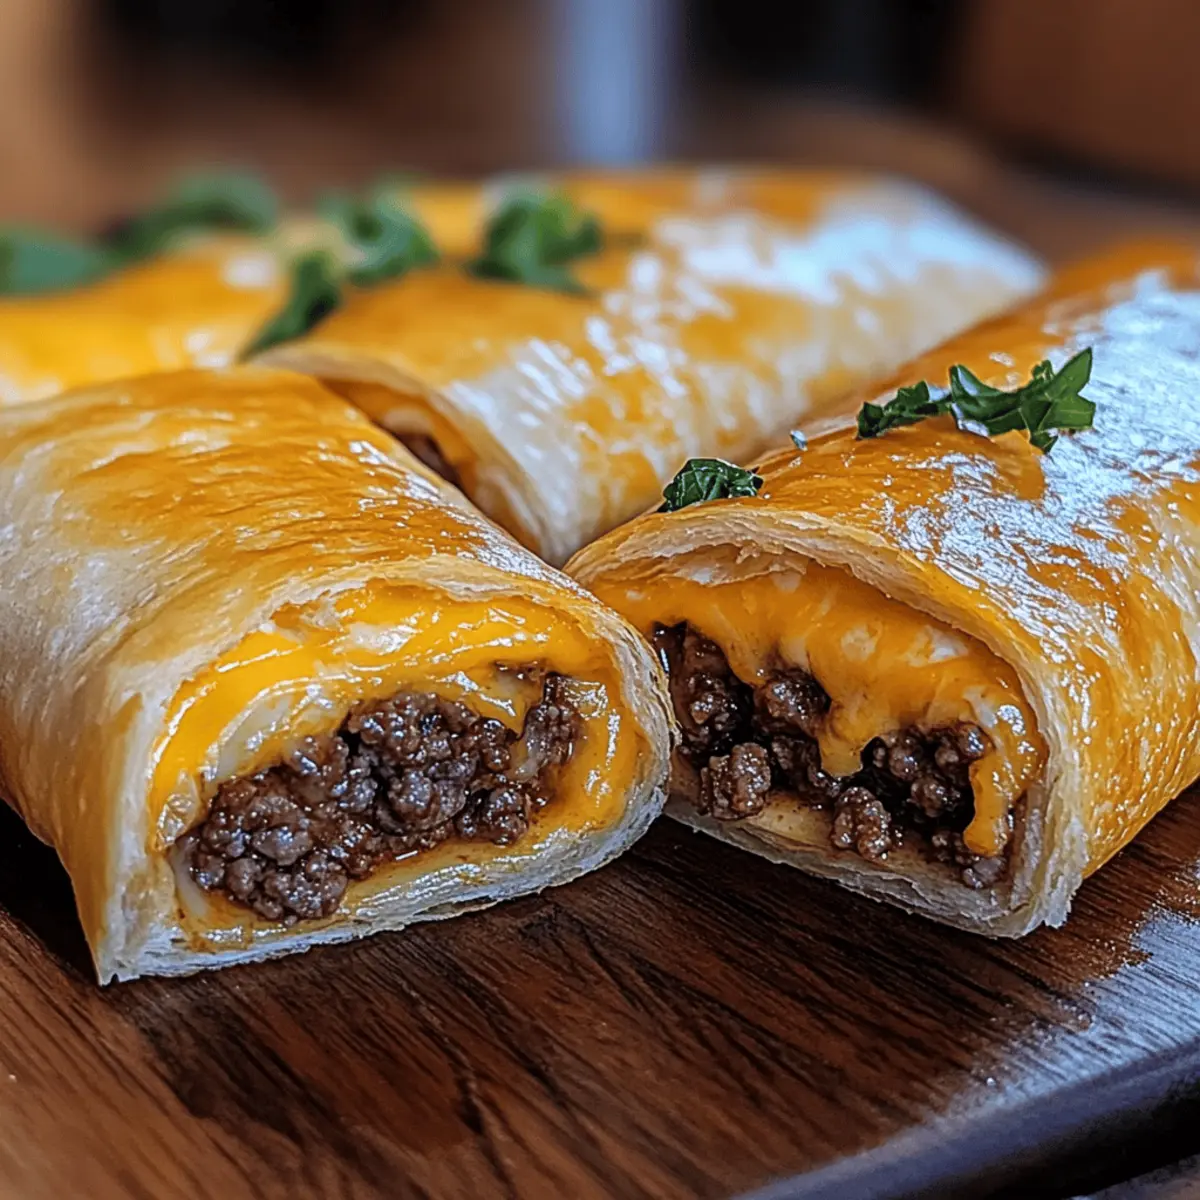
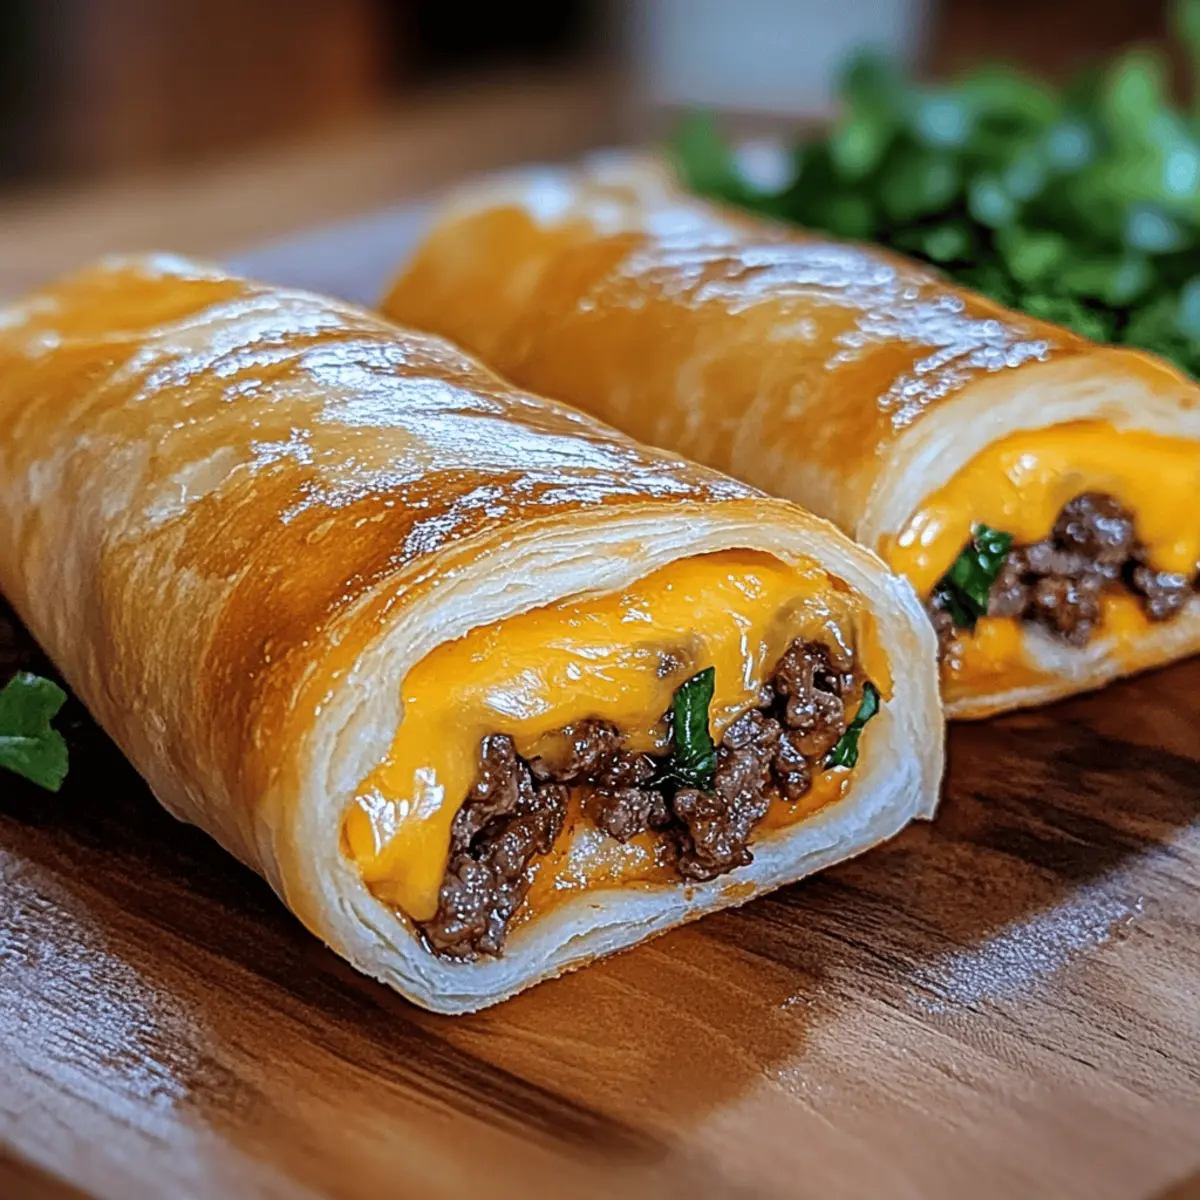
The moment I unwrapped a warm tortilla, the inviting aroma of garlic butter lingered in the air, instantly transporting me to a cozy kitchen filled with laughter and family. That’s exactly what you’ll experience with these Easy Garlic Butter Beef Cheeseburger Rollups. This recipe beautifully combines comfort food nostalgia with a convenient, portable meal option that’s perfect for busy weeknights or a fun family gathering. With just a handful of ingredients, you can whip up a dish that not only delights the taste buds but also invites customization to suit your family’s preferences. Imagine gooey cheese and savory beef wrapped in a golden, crispy shell—what could be more satisfying? Curious about how to create this mouthwatering sensation in your own kitchen? Let’s dive into the recipe!

Why You’ll Love These Rollups
Simplicity at Its Best: The preparation is quick and easy, making it perfect for busy weeknights.
Flavor Explosion: With garlic butter, melty cheese, and juicy beef, each bite offers a burst of savory delight that will leave you craving more.
Customizable Goodness: Feel free to add your favorite toppings or mix-ins, like sautéed veggies or different cheese varieties, to make each rollup uniquely yours.
Crowd-Pleasing Appeal: These rollups cater to everyone, from kids to adults, making them the ultimate appetizer for gatherings or a comforting family dinner.
Make Ahead: Prep them in advance and store in the fridge; simply pop them in the oven whenever you’re ready to enjoy. Serve with a side of your favorite sauce, like ranch or ketchup, for the perfect dip! Who can resist?
Garlic Butter Beef Cheeseburger Rollup Ingredients
For the Filling
- Ground Beef – A rich protein source; choose ground chuck for optimal juiciness in your rollups.
- Shredded Cheddar Cheese – Adds sharp flavor; you can swap it with Gruyère or Monterey Jack for a different twist.
- Shredded Mozzarella Cheese – Contributes melty goodness; feel free to use any melting cheese you love.
- Worcestershire Sauce – Elevates the beef’s umami flavor; soy sauce is a decent substitute for a unique touch.
For Assembly
- Flour Tortillas – The perfect wrapping for your filling; opt for whole wheat or gluten-free versions as desired.
- Garlic – Fresh is best for depth of flavor; dried garlic can be used but may lack intensity.
- Butter – Creates a rich, golden crust; go for unsalted butter to control seasoning.
- Olive Oil – Ideal for browning the beef; any neutral oil will work just fine.
For Seasoning
- Salt and Pepper – Essential seasonings to taste; remember, it’s about boosting the overall flavor without overpowering.
- Onion Powder – Adds a subtle onion flavor; fresh onions could be sautéed for a different texture.
- Garlic Powder – Reinforces the garlic flavor; if using fresh garlic, you can skip it.
- Smoked Paprika – Infuses a delightful smokiness; regular paprika can replace it if desired.
Optional Extras
- Sliced Pickles – A tangy garnish that contrasts beautifully with the savory filling; they’re a must-try!
Step‑by‑Step Instructions for Garlic Butter Beef Cheeseburger Rollups
Step 1: Preheat Your Oven
Begin by preheating your oven to 375°F (190°C) and line a baking sheet with parchment paper. This preparation creates a non-stick surface for your Garlic Butter Beef Cheeseburger Rollups, ensuring they come out perfectly golden without sticking. While the oven heats up, gather your ingredients to streamline the cooking process.
Step 2: Brown the Beef
In a spacious skillet, heat a drizzle of olive oil over medium-high heat. Once hot, add in the ground beef and cook it for about 7–8 minutes, breaking it apart with a spatula. Keep stirring until it turns a deep brown, signaling that the beef is well-browned and ready. Drain any excess fat before proceeding to the next step for a leaner filling.
Step 3: Season the Beef Mixture
After browning the beef, reduce the heat to low and stir in Worcestershire sauce along with your chosen seasonings: onion powder, garlic powder, and smoked paprika. Mix well and let the beef cool slightly for about 5 minutes. The flavorful combination will truly enhance your Garlic Butter Beef Cheeseburger Rollups, ensuring every bite is packed with deliciousness.
Step 4: Prepare the Garlic Butter
In a small bowl, combine melted butter with freshly minced garlic. Stir until well blended, allowing the aromas of the garlic to infuse the butter. This garlic butter will not only enrich the rollups but also create a delightful crust during baking, so it’s essential for the ultimate flavor experience.
Step 5: Assemble the Rollups
Lay a flour tortilla flat on a clean surface. Spread a generous amount of the beef mixture over the tortilla, then sprinkle shredded cheddar and mozzarella cheese on top. Begin rolling the tortilla tightly, tucking in the edges as you go, to form a secure roll. Repeat this process until all the filling is used up, resulting in mouthwatering Garlic Butter Beef Cheeseburger Rollups.
Step 6: Place and Brush with Garlic Butter
Position the rolled tortillas seam-side down on the prepared baking sheet. Carefully brush the tops with the garlic butter mixture, ensuring each roll is coated. This step is key to achieving that rich, golden crust you desire for your Garlic Butter Beef Cheeseburger Rollups as they bake.
Step 7: Bake to Perfection
Slide the baking sheet into your preheated oven and let the rollups bake for 12–15 minutes. Keep an eye on them; they are ready when they turn golden brown and the cheese is bubbling joyfully. The enticing aroma will fill your kitchen, letting you know that a delicious meal is almost ready.
Step 8: Slice and Serve
Once baked, remove the rollups from the oven and allow them to cool for a few minutes. If desired, slice them into pinwheels for bite-sized portions. Garnish with sliced pickles or serve them with your choice of dipping sauces like ketchup or ranch. These Garlic Butter Beef Cheeseburger Rollups are the perfect handheld delight, ready to please family and friends alike!

Make Ahead Options
These Easy Garlic Butter Beef Cheeseburger Rollups are ideal for meal prep enthusiasts looking to save time during busy weeknights! You can fully assemble the rollups and refrigerate them up to 24 hours in advance, which allows the flavors to meld beautifully. Simply wrap the prepared rollups tightly in plastic wrap or place them in an airtight container to maintain their quality. When you’re ready to serve, brush them with garlic butter, bake them straight from the fridge, and enjoy that satisfying, crispy finish—just as delicious as if you made them fresh! If you plan to enjoy them later, they can also be stored in the fridge for up to 3 days and reheated in the oven to restore that golden crunch.
Garlic Butter Beef Cheeseburger Rollup Variations
Feel free to get creative with these rollups and make them uniquely yours!
-
Veggie Add-Ins: Incorporate sautéed bell peppers, onions, or mushrooms for extra flavor and nutrition. These colorful additions not only boost health but also add texture and a lively twist to each bite.
-
Spicy Kick: Try adding diced jalapeños or a sprinkle of crushed red pepper flakes to the beef mixture for a flavorful heat that takes these rollups to the next level. Your taste buds will thank you!
-
Different Cheeses: Swap the cheddar and mozzarella for pepper jack for a spicy melt or even feta for a tangy surprise. Mixing cheeses can create delightful new flavor profiles that keep your meals exciting.
-
Turkey or Chicken: For a lighter option, substitute ground beef with ground turkey or chicken. This leaner filling retains the joy of the recipe while cutting down on fat.
-
Whole Wheat Tortillas: Opt for whole wheat tortillas instead of regular flour ones for a more wholesome twist. They add a nutty flavor and pair beautifully with the savory filling.
-
Herb Infusion: Add a sprinkle of fresh herbs like chopped parsley or cilantro into the beef mixture before rolling to infuse freshness and brightness, making each bite sing.
-
Sweet and Savory: Include caramelized onions or a dollop of barbecue sauce in the filling for a delightful balance of sweetness and savory goodness. This twist makes each rollup unforgettable.
-
Accompaniment Ideas: Serve with a side of Garlic Butter Steak or some tangy Chinese Eggplant Garlic to create an enticing meal spread. A touch of variety enhances your dining experience and keeps everyone coming back for more.
What to Serve with Easy Garlic Butter Beef Cheeseburger Rollups
When you bring these warm, cheesy rollups to the table, you’ll want equally delightful companions for a truly satisfying experience.
-
Crispy French Fries: The classic pairing with burgers; their crunch and soft insides complement the rollups’ texture perfectly.
-
Creamy Coleslaw: This tangy, crunchy side adds freshness and balances the richness of the rollups, enhancing your meal beautifully.
-
Garlic Breadsticks: Keep the garlic love going! Their buttery flavor harmonizes with the rollups, making every bite incredibly satisfying.
-
Seasoned Potato Wedges: The savory seasoning on potato wedges adds an extra crunch that meshes wonderfully with the hearty beef filling.
-
Mixed Green Salad: A light, crisp salad offers a refreshing contrast to the richness of the rollups; toss it with a zesty vinaigrette for extra zing.
-
Sweet Potato Fries: Their slight sweetness complements the savory beef and cheese, making this a delightful twist on traditional fries.
-
Dipping Sauces: Serve with an array of sauces, like ranch, ketchup, or barbecue, allowing guests to customize their bites and enjoy the rollups even more.
-
Iced Tea: A chilled glass of iced tea refreshes the palate and balances the comforting flavors of the rollups.
-
Chocolate Chip Cookies: End on a sweet note; these classic cookies provide satisfaction after the savory meal, leaving everyone happy.
Expert Tips for Garlic Butter Beef Cheeseburger Rollups
-
Choose the Right Beef: Select ground chuck with 15-25% fat content. This ensures a juicy filling without excessive greasiness, making the Garlic Butter Beef Cheeseburger Rollups even more delectable.
-
Tight Rolling: Be sure to roll the tortillas tightly to prevent any filling leakage during baking. A snug roll will keep all that flavorful goodness inside for every bite.
-
Perfect the Seasoning: Avoid over-seasoning the beef mixture; letting the natural flavors of garlic and cheese shine through will elevate your Garlic Butter Beef Cheeseburger Rollups immensely.
-
Fresh Garlic Is Key: Freshly minced garlic provides a depth of flavor that dried garlic can’t match. For the best taste, always opt for fresh when making the garlic butter.
-
Crispier Finish: For an even crispier exterior, raise the oven temperature to 400°F (200°C) during the last few minutes of baking, keeping a watchful eye to prevent burning.
How to Store and Freeze Garlic Butter Beef Cheeseburger Rollups
Fridge: Store any leftover Garlic Butter Beef Cheeseburger Rollups in an airtight container for up to 3 days to maintain freshness and flavor.
Freezer: Freeze individual rollups wrapped in plastic wrap, then place them in an airtight bag for up to 2 months. This way, you can enjoy them anytime!
Reheating: To reheat, place frozen rollups in the oven at 375°F (190°C) for about 15-20 minutes until heated through and crispy again. Alternatively, use an air fryer for a quicker, crispier result!

Garlic Butter Beef Cheeseburger Rollups Recipe FAQs
How do I select the best ground beef for this recipe?
Absolutely! For the richest flavor and juiciness, I recommend using ground chuck with a fat percentage of 15-25%. This balance ensures your Garlic Butter Beef Cheeseburger Rollups stay moist without becoming greasy. Look for bright red color with a bit of marbling for the best results.
What is the best way to store leftover rollups?
Very straightforward! You can keep your leftover Garlic Butter Beef Cheeseburger Rollups in an airtight container in the refrigerator for up to 3 days. Be sure they are tightly sealed to preserve their flavor and texture, preventing them from drying out.
Can I freeze the rollups, and if so, how?
Absolutely! To freeze, wrap each individual rollup in plastic wrap and then place them in a freezer-safe bag. This method prevents freezer burn and keeps them fresh for up to 2 months. When you’re ready to enjoy them, just remove the wraps and bake straight from the freezer!
What should I do if my rollups are coming apart during baking?
No worries! The key is to roll your tortillas tightly. If you’re experiencing issues, try burrito-style rolling to tuck in the sides as you go. If they still unfold, securing them with toothpicks before baking can help. This way, every delicious bite of your Garlic Butter Beef Cheeseburger Rollups stays intact.
Are there any dietary considerations I should keep in mind?
Definitely! These rollups can be customized to accommodate dietary restrictions. For those allergic to gluten, substitute flour tortillas with gluten-free varieties. You can also consider using lean turkey or chicken to lower the fat content. Don’t forget to ask about any cheese allergies if you’re serving guests—throw in some dairy-free alternatives, and everyone can enjoy!
How long can I reheat the frozen rollups for optimal taste?
When reheating frozen Garlic Butter Beef Cheeseburger Rollups, preheat your oven to 375°F (190°C) and bake for about 15-20 minutes until warmed through and crispy again. Alternatively, using an air fryer can cut down time to approximately 10-12 minutes for an even crispier finish—perfect for a quick meal!

Garlic Butter Beef Cheeseburger Rollups: Comfort in Every Bite
Ingredients
Equipment
Method
- Preheat your oven to 375°F (190°C) and line a baking sheet with parchment paper.
- In a spacious skillet, heat a drizzle of olive oil over medium-high heat. Add ground beef and cook for about 7–8 minutes until well browned.
- Reduce heat to low, stir in Worcestershire sauce and chosen seasonings, then let the beef cool slightly for about 5 minutes.
- In a small bowl, combine melted butter with freshly minced garlic. Stir until well blended.
- Lay a tortilla flat, spread the beef mixture, sprinkle shredded cheeses, and roll tightly, tucking in edges.
- Position rolled tortillas seam-side down on the baking sheet and brush the tops with garlic butter.
- Bake in the preheated oven for 12–15 minutes until golden brown and cheese is bubbling.
- Remove from the oven, cool for a few minutes, then slice into pinwheels if desired and serve with dipping sauces.

Leave a Reply